Installs the ElectroMagnetic (EM) clutch into the dockable table motor and EM clutch assembly.
Prerequisites
| Personnel requirements |
|---|
| Required persons | Preliminary requirements | Procedure | Finalization |
|---|
| 1 | - | 5 minutes | - |
| Tools and test equipment |
|---|
| Item | Quantity | Part number | Manufacturer |
|---|
| Nonmagnetic Titanium Service Tool Kit, Large Set | 1 | 5112581 | - |
| Consumables |
|---|
| Item | Quantity | Part number | Manufacturer |
|---|
| Loctite #243 | As needed | 5415261-3 | - |
Procedure
- Install the EM clutch into the motor and EM clutch assembly.
Figure 1. EM clutch
- Make sure the screw is inside the fork of the clutch.
Figure 2. Clutch fork position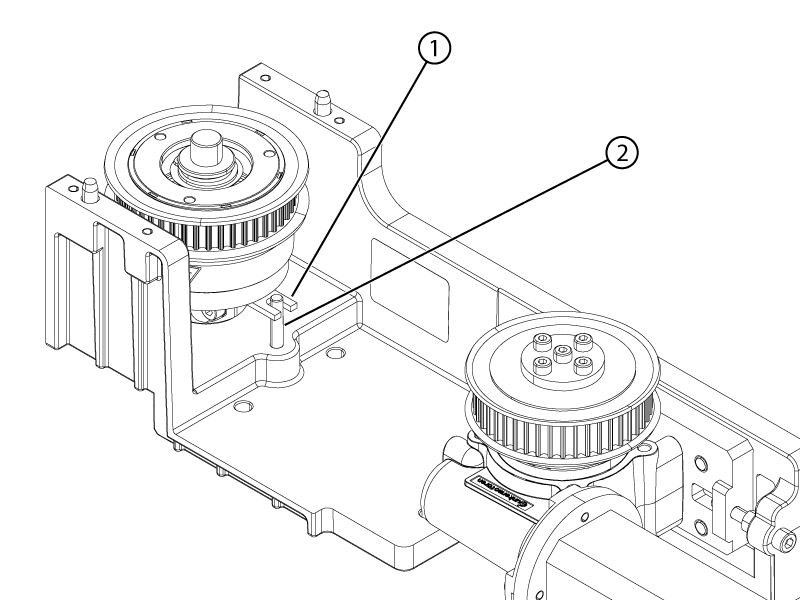
- Install the new belt on the EM clutch and motor pullies.
Note: Make sure the belt is at the center of the pullies.
Figure 3. Belt centered on pulley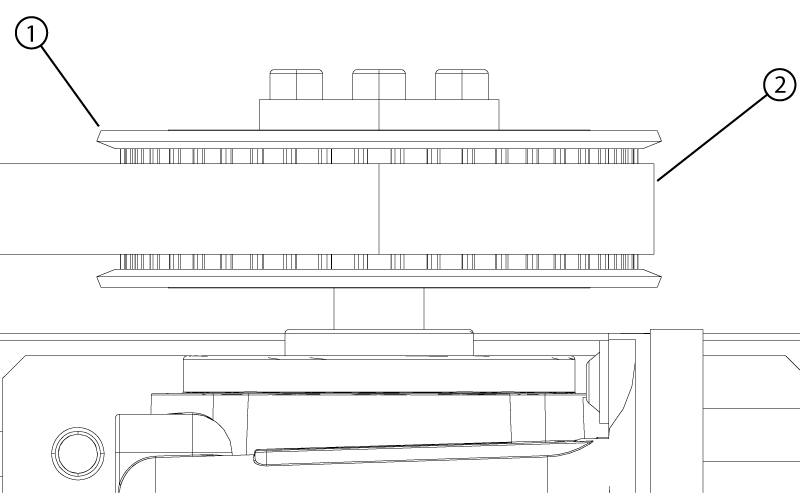
- Install the clutch cover plate onto the motor and clutch assembly.
Note: Align the guide pins on the motor and clutch assembly housing with the alignment holes on the clutch cover plate.
Figure 4. EM clutch cover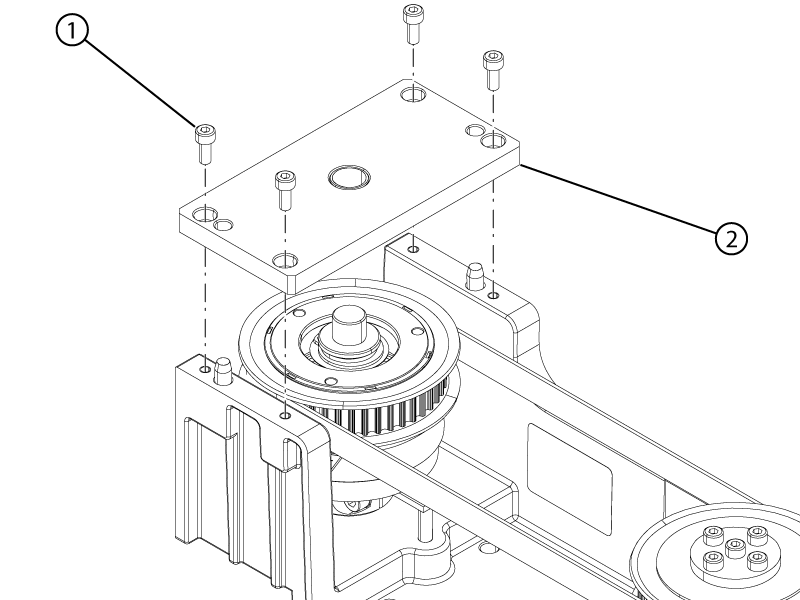
- Apply Loctite #243 to the four cover screws.
- Install the four screws securing the clutch cover to the motor and clutch assembly.
- Make sure the belt is still centered on the pulleys.
- Align the edge of the motor with the mark on the motor housing.
Note: Move the motor close to the mark by hand then use the belt tension screw to complete the alignment.
Figure 5. Motor position mark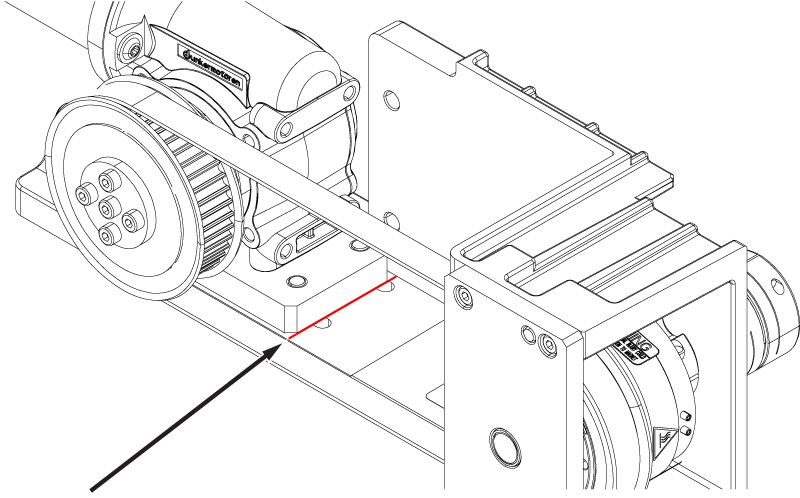
- Tighten the four screws securing the motor to the motor and clutch assembly.
Note: Make sure the motor does not move from its aligned position while tightening the screws.
