- SIGNA™ Hero 3.0T Service Methods
- 5852800-8EN Revision 1.0
- Object ID: 00000018WIA30C59350GYZ
- Topic ID: id_2020646 Version: 1.11
- Date: Apr 23, 2020 8:52:41 PM
Installing the dock connector cables
Installs the replacement cables on the magnet-side dock.
Procedure
- Install replacement cables.Note: Refer to SIGNA Premier System Wiring Diagrams (5690024-8EN) for cable connection details.
- Route the cables through the opening inside the dock cover to install the dock harness.
- Insert the ODU connector being serviced. If you are replacing PE or P4 cables, make sure to connect all connections inside the dock unit according to the below table.
Table 1. PE cable Component cable Connection point Location Home switch Home switch connector Inside dock unit Up limit switch Up limit switch connector Inside dock unit Table 2. P4 cable Component cable Connection point Location Egress handle switch Egress switch connector Inside dock unit - Reattach the rear plate with four screws, and install new cable ties for the ODU P connector harnesses being replaced.
Figure 1. Cable ties (rear dock view) 
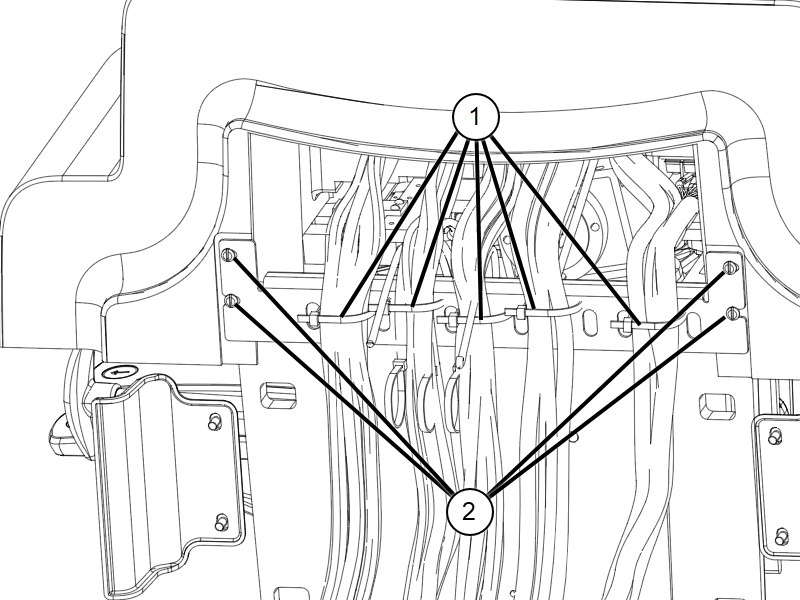
1 Cable ties 2 Screws - Install the two Allen head screws to the ODU P connector being serviced. Hand tighten each screw and then secure with an additional ¼ turn.
Figure 2. Dock ODU P connector screws 
- Taking care not to stress the cables, lift the top and place it on the base.Note: Reconnect any cables that were removed due to excessive stretching.
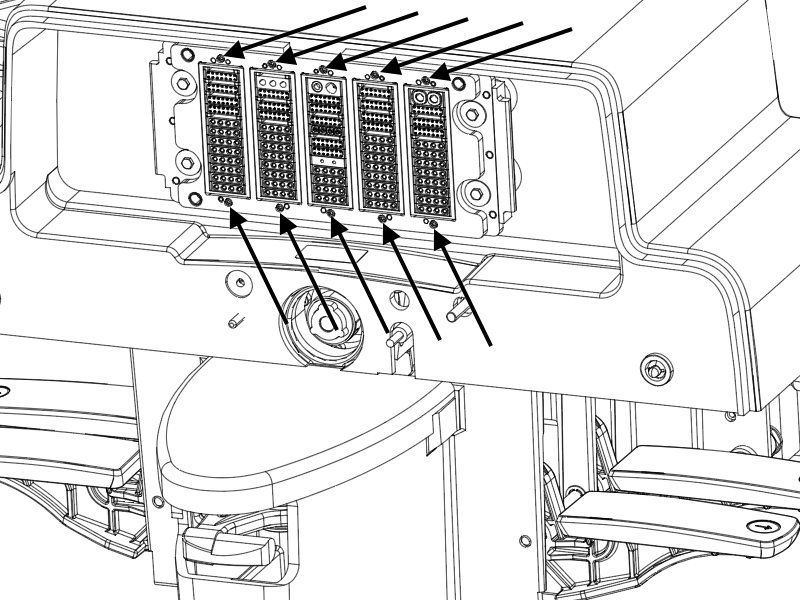
- Reconnect the UP pedal switch connector by lifting and holding the dock top while connecting the switch connector.
Figure 3. Up pedal switch connector 
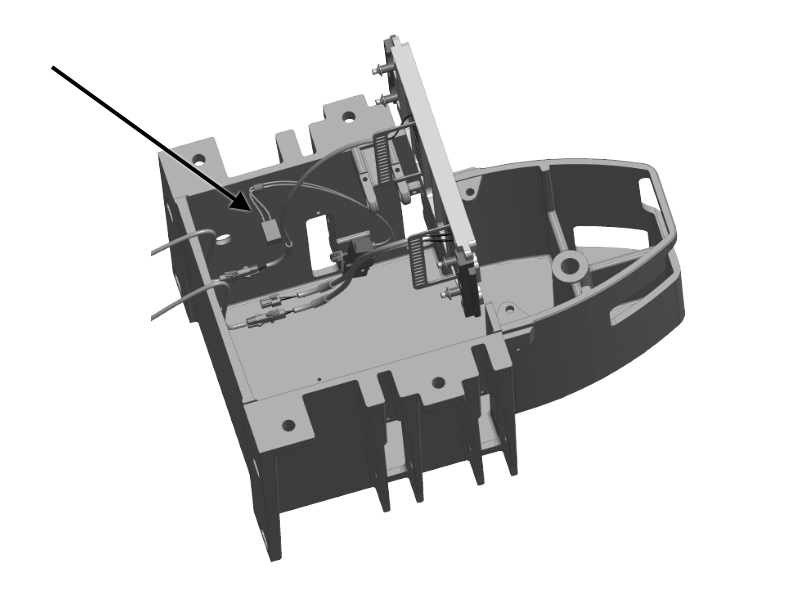
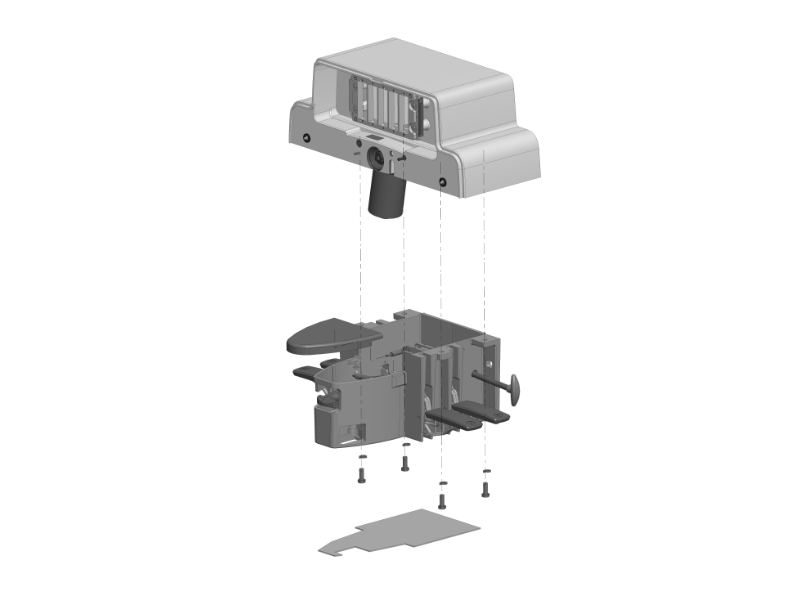
- Install the four screws securing the dock top to the dock base.
Figure 4. Dock top and base 