
- Discovery MR750 3.0T System Service Methods
- 5690009-2EN Revision 4
- 00000018WIA309ECE20GYZ
- id_131071592.0
- Feb 22, 2021 1:47:05 AM
3.0T Breast Array Coil MCQA Setup
Prerequisites
| Required persons | Preliminary requirements | Procedure | Finalization |
|---|---|---|---|
| 1 | Not Applicable | 30 minutes | Not Applicable |
| Item | Quantity | Effectivity | Part number | Manufacturer |
|---|---|---|---|---|
| 10 cm Spherical Unified Phantom | 2 | Unified Phantom Set |
2360034 | - |
| Unified Phantom Positioner | 1 | Unified Phantom Set |
5343432 | - |
| Condition | Reference | Effectivity |
|---|---|---|
|
Use the following pre-installed coil configuration names to run this tool: HDBreastRight and HDBreastLeft. | - | - |
About this task
Follow this procedure to prepare for the automated SNR test using the 3.0T Breast Array Coil, GE Healthcare Catalog Number M7000GF or M7000GG (without biopsy plates).
Note:
Coils do not ship with phantoms. Phantoms come in a Unified Phantom set with the MR system.
Procedure
- Install the Flat Filler Panel into the magnet end of the GEM
table.
Figure 1. Flat Filler Panel on GEM Table 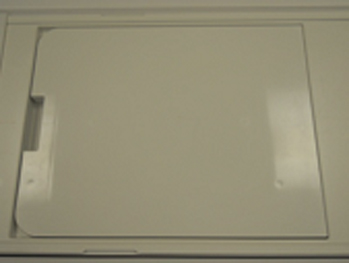
- Place the coil on the patient table, and insert the Phantom
Positioner into the coil as shown.
Figure 2. Phantom Positioner Inserted in Coil 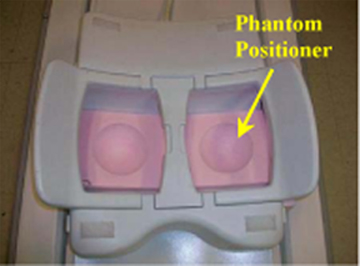 Note:
Note:The position of the spherical phantoms from the side of the coil is shown below.
Figure 3. Position of Spherical Phantoms 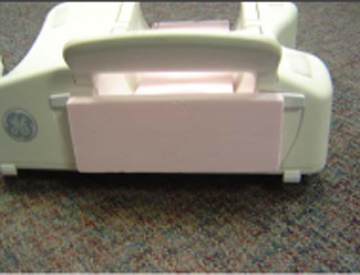
- Place the phantoms on the Phantom Positioner as shown, connect
the coil to Port A of the Low Profile Carriage Assembly (LPCA), landmark
on the center of the bridge between both chambers, and Advance to Scan.
Figure 4. Landmark on Center of Bridge 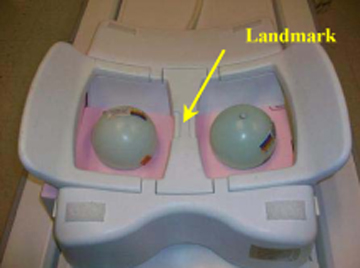
Finalization
No finalization steps.