- SIGNA™ Hero 3.0T Service Methods
- 5852800-8EN Revision 1.0
- 00000018WIA301F6E40GYZ
- id_20202422.4
- Apr 23, 2020 8:52:31 PM
Installing a dockable table armboard
Installs an armboard onto the dockable table.
Prerequisites
| Personnel requirements | |||
|---|---|---|---|
| Required persons | Preliminary requirements | Procedure | Finalization |
| 1 | - | 5 minutes | - |
| Tools and test equipment | |||
|---|---|---|---|
| Item | Quantity | Part number | Manufacturer |
| Nonmagnetic Titanium Service Tool Kit, Small Set | 1 | 5113258 | - |
About this task
Procedure
- Loosen the four set screws on the bottom side of the armboard (two at each end of the armboard).
Figure 1. Armboard set screws 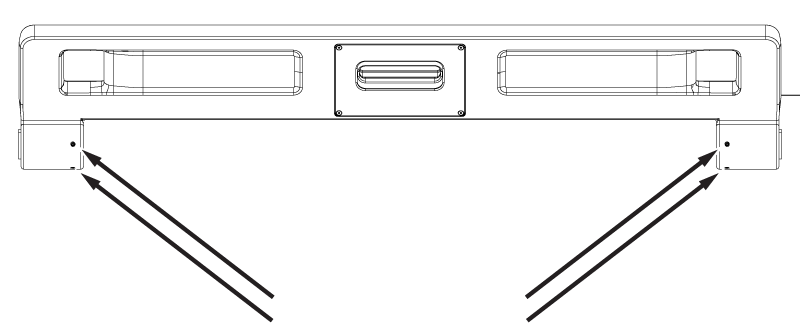
- Install the armboard onto the table at an angle 60 degrees above horizontal.
Figure 2. Armboard 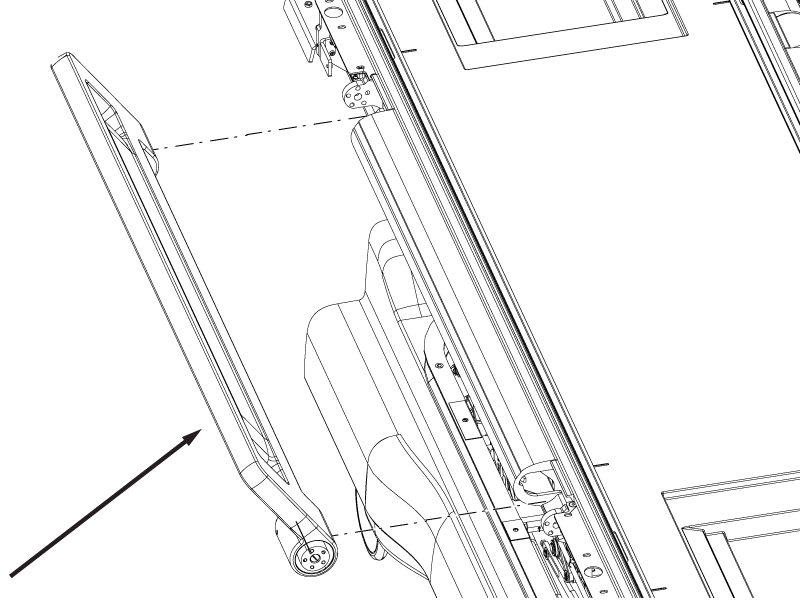
- Install the five screws on each end of the armboard securing the armboard to the table.
Figure 3. Armboard end screws 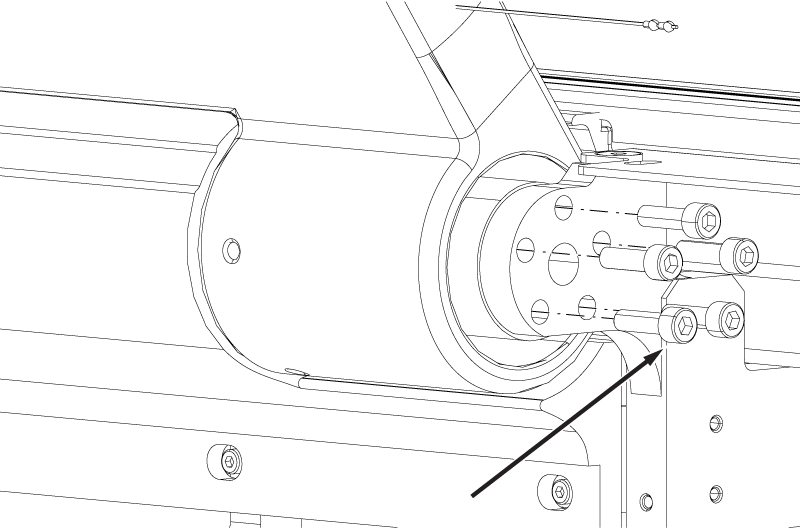
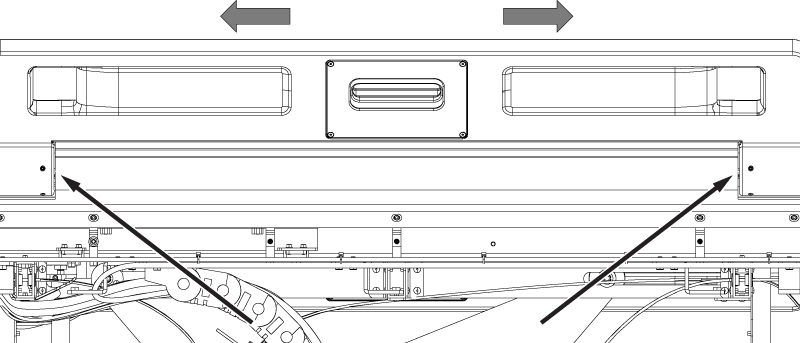
- Position the armboard in the center so that the gaps between the armboard and the middle side bumper are approximately equal.
Figure 4. Armboard to middle side bumper gaps