- SIGNA MR355 / SIGNA MR360
- Service Manual
- 5856356-3EN Revision 5.0
- Basic Service Documentation. Copyright General Electric Company.
- 00000018WHA1673D0GYZ
- task_ss2_g2p_gnb1.5
- Dec 17, 2020 1:56:27 PM
Configure a Proxy server
Learn how to configure a Proxy server on the scanner.
About this task
If the customer's site uses a Proxy server for communications between the scanner and IPM, configure the scanner to use it. If the Proxy server requires certificate-based authentication, after this procedure, install the SSL certificate.
Note: If the client uses a Domain Name System (DNS) server, you do not need to perform this procedure or the SSL certification installation procedure.
Procedure
- On the Get Connected page, click the Change proxy settings link.
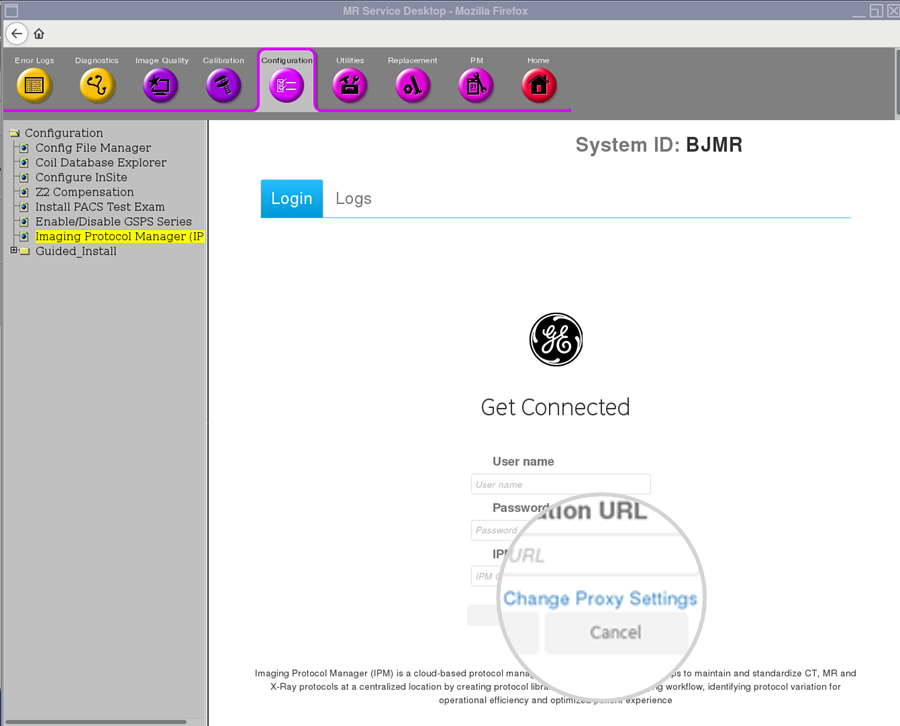
Result
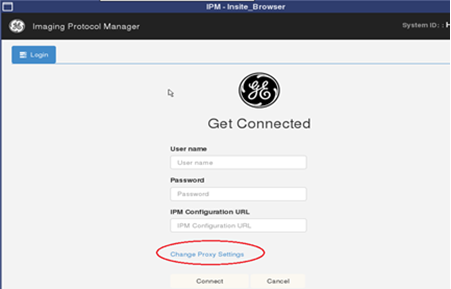
The IPM - Insite Browser window opens. - On the IPM Get Connected page, click the Change proxy settings link.
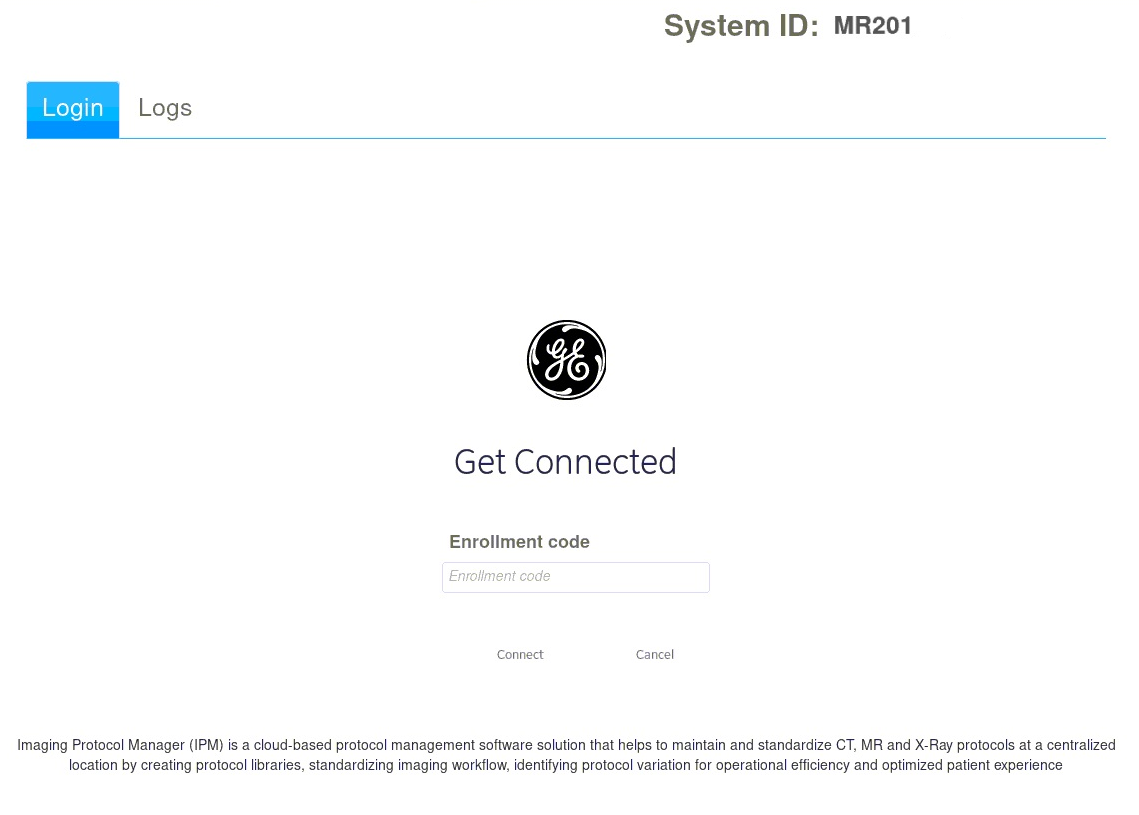
- (For IDAM deployments) , enter the Enrollment code and click Connect.
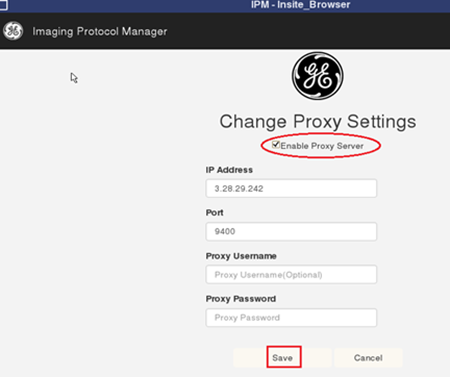
- In the IPM Change proxy settings page, select or enter the following information and then click Save:
- Enable proxy server: Select this check box.
- IP address: Enter the IP address for the customer's proxy server.
- Port: Enter the port number for the customer's proxy server.
If username/password authentication is required, also enter:- Proxy username: Enter the user name for the customer's proxy server.
- Proxy password: Enter the password for the customer's proxy server.