- SIGNA MR355 / SIGNA MR360
- Service Manual
- 5856356-3EN Revision 5.0
- Basic Service Documentation. Copyright General Electric Company.
- 00000018WHA1663D0GYZ
- task_tn2_1bp_gnb1.3
- Dec 4, 2020 12:58:08 PM
Configure a DNS server
Learn how to configure a DNS server on the scanner.
About this task
If the customer's site uses a Domain Name System (DNS) server for communications between the scanner and IPM, configure the scanner to use it.
Note: If the client uses a proxy server, you do not need to perform this procedure.
Procedure
- On the Common Service Desktop, navigate to .
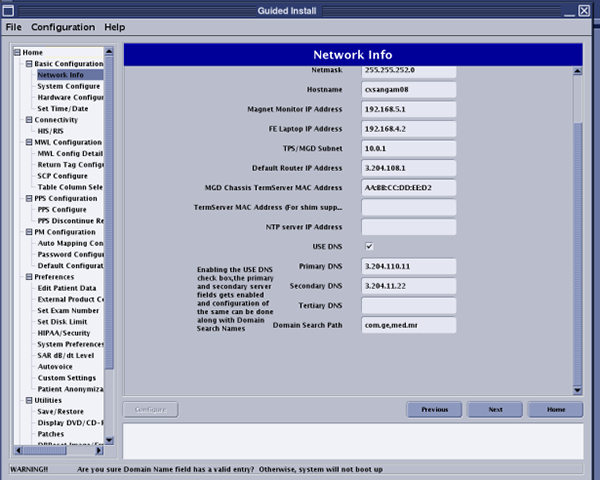
- In the network configuration page, enter or select the following details and then click Accept (the options displayed depend on your imaging device; see its Configuration Manual for specific details):
- Enable Network Time Protocol: Select this check box.
- NTP server IP address: Enter the IP address of the customer's Network Time Protocol server.
- Use DNS: Select this check box.
- Primary DNS: Enter the IP address for the customer's first DNS server.
- Secondary DNS: Enter the IP address for the customer's second DNS server.
- Tertiary DNS: Leave this field blank.
- Domain Search Name: Enter the domain search names for the customer's DNS servers.
Figure 1. Guided Install window