Removes the illuminated GE logo from the magnet front cover and installs a replacement logo.
Prerequisites
| Personnel requirements |
|---|
| Required persons | Preliminary requirements | Procedure | Finalization |
|---|
| 1 | - | 5 minutes | - |
| Tools and test equipment |
|---|
| Item | Quantity | Part number | Manufacturer |
|---|
| Nonmagnetic Titanium Service Tool Kit, Small Set | 1 | 5113258 | - |
| Consumables |
|---|
| Item | Quantity | Part number | Manufacturer |
|---|
| Self-locking Cable Tie | 1 | 46-208758P5 | - |
| Required conditions |
|---|
| The magnet front cover is removed. |
Procedure
- Remove any cable ties securing the GE illuminated logo cable to the magnet front cover.
Figure 1. GE illuminated logo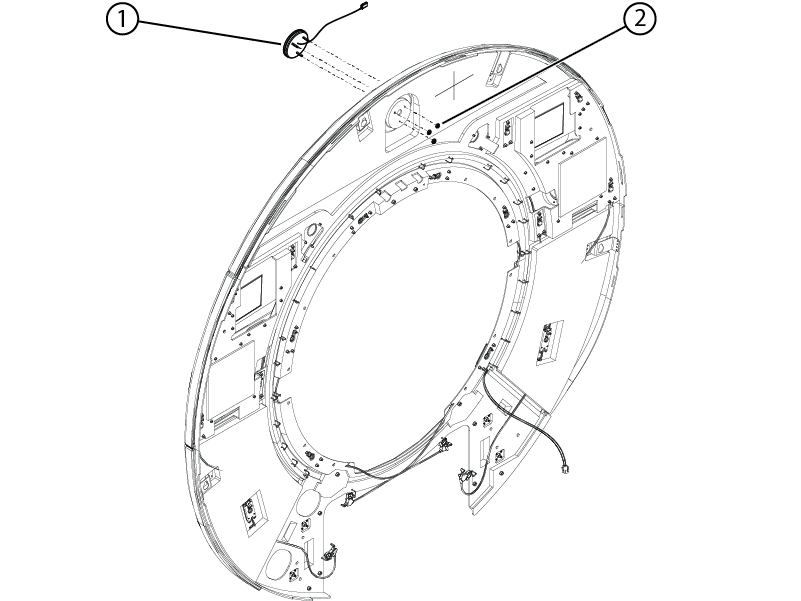
| 1 | GE illuminated logo |
| 2 | Nuts |
- Remove the three nuts securing the logo to the front cover.
- Remove the logo from the front cover.
- Install the new logo onto the front cover.
- Install the three nuts securing the logo to the front cover.
- Install cable ties securing the cable to the front cover in locations where cable ties were previously removed.
Finalization
After LOTO is removed, turn on the illuminated logo and make sure it is functioning properly.