
- SIGNA™ Hero 3.0T Service Methods
- 5852800-8EN Revision 1.0
- 00000018WIA3047C230GYZ
- id_156670451.9
- Jul 13, 2021 4:27:36 PM
Patient Blower Cleaning and Replacement
Prerequisites
| Required persons | Preliminary requirements | Procedure | Finalization |
|---|---|---|---|
| 1 | Not Applicable | 60 minutes | 15 minutes |
| Item | Quantity | Effectivity | Part number | Manufacturer |
|---|---|---|---|---|
| Standard Tool | 1 | - | - | - |
| Hoist Service Kit | 1 | - |
5196226 | - |
| Item | Quantity | Effectivity | Part number | Manufacturer |
|---|---|---|---|---|
| Patient Blower | 1 | - |
Refer to FRU Manual | - |
| ||||
| Condition | Reference | Effectivity |
|---|---|---|
|
ISC Power must be turned OFF. Refer to Lockout / Tagout for ISC. | - | - |
Procedure
- Open ICC Cover and remove it.
Figure 1. Remove cover 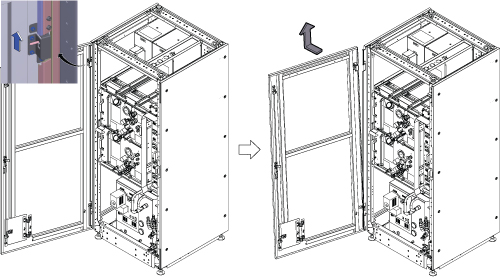
- Setup Hoist. Refer to Hoist Setup
Figure 2. Setup Hoist 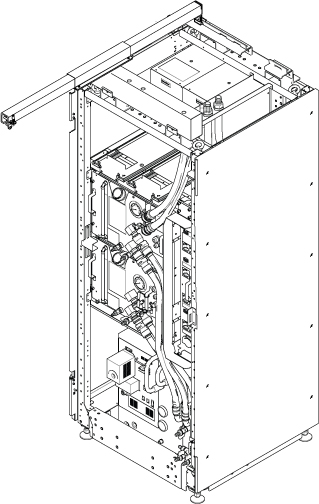
- Go to Scan Room and disconnect air hose from Patient Blower.
Figure 3. Remove Blower Hose 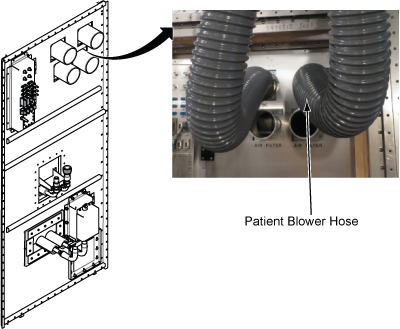
- Remove four screws fixing Patient Blower at rear panel.
Figure 4. 4 screws 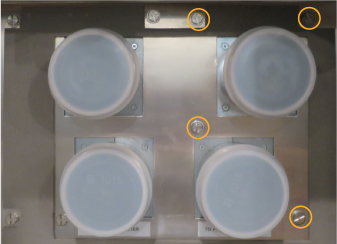
- Go to Machine Room and disconnect 3X1 cable from Control Unit.
Figure 5. Cables at CCU 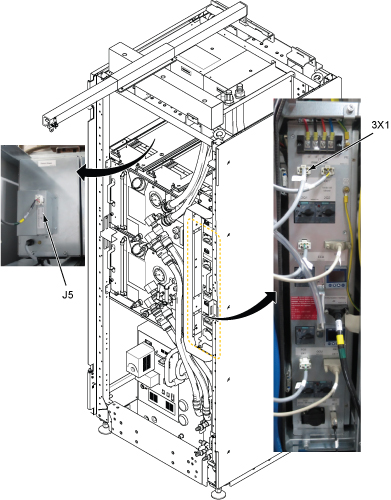
- Loosen two screws and carefully withdraw Patient Blower from the chassis.
Figure 6. Withdraw Blower 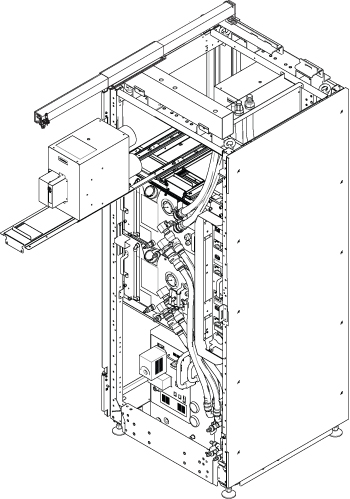
- Attach the lifting eye bolt on the top of Patient Blower.
Figure 7. Eyebolt 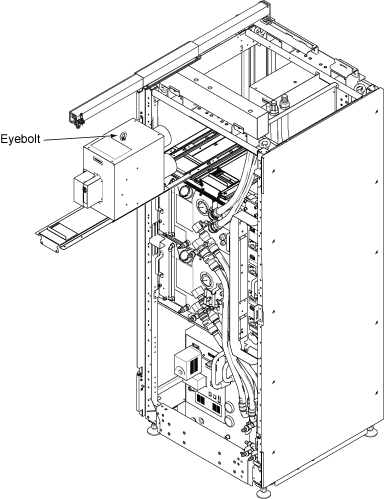
- Hook the winch from the hoist kit to the lifting eye bolt. Note: Make sure the hook is seated in the lifting eye bolt. If not, the weight can shift causing harm to the equipment or engineer.
Figure 8. Hook 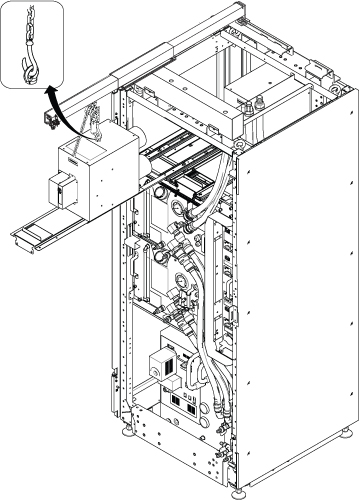
- Loosen four screws connecting Patient Blower and slide the tray front a little to release the screw.Note: Screw hole of tray is keyhole type. No need to remove the four screws.
Figure 9. Remove screws 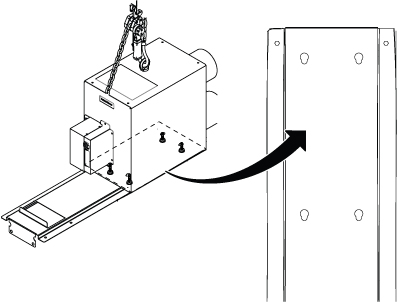
- Ratchet the winch to tighten the chain.
Figure 10. Ratchet 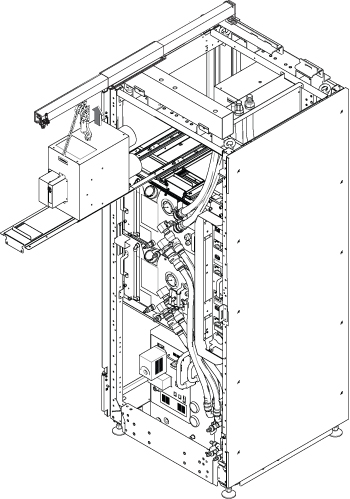
- Push the slide tray into the cabinet before lowering Patient Blower.
Figure 11. Push tray 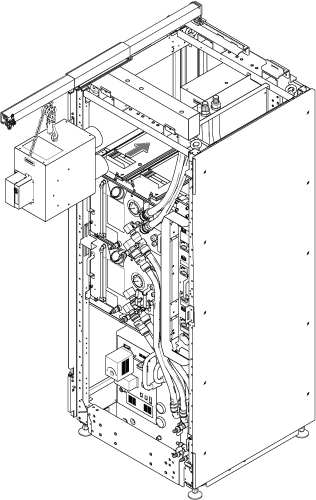
- Use the hoist and slowly lower the Patient Blower to the floor.
Figure 12. Lower Blower 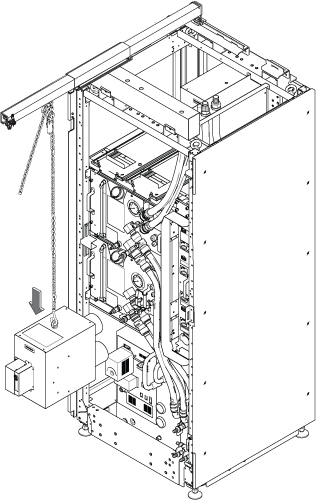
Finalization
- Restore the power. Refer to Removing LOTO - ISC.
- Check that Patient Blower is correctly running.
- Perform check scan.