- SIGNA™ Hero 3.0T Service Methods
- 5852800-8EN Revision 1.0
- 00000018WIA30480810GYZ
- id_20057053.1
- Nov 30, 2021 11:45:07 AM
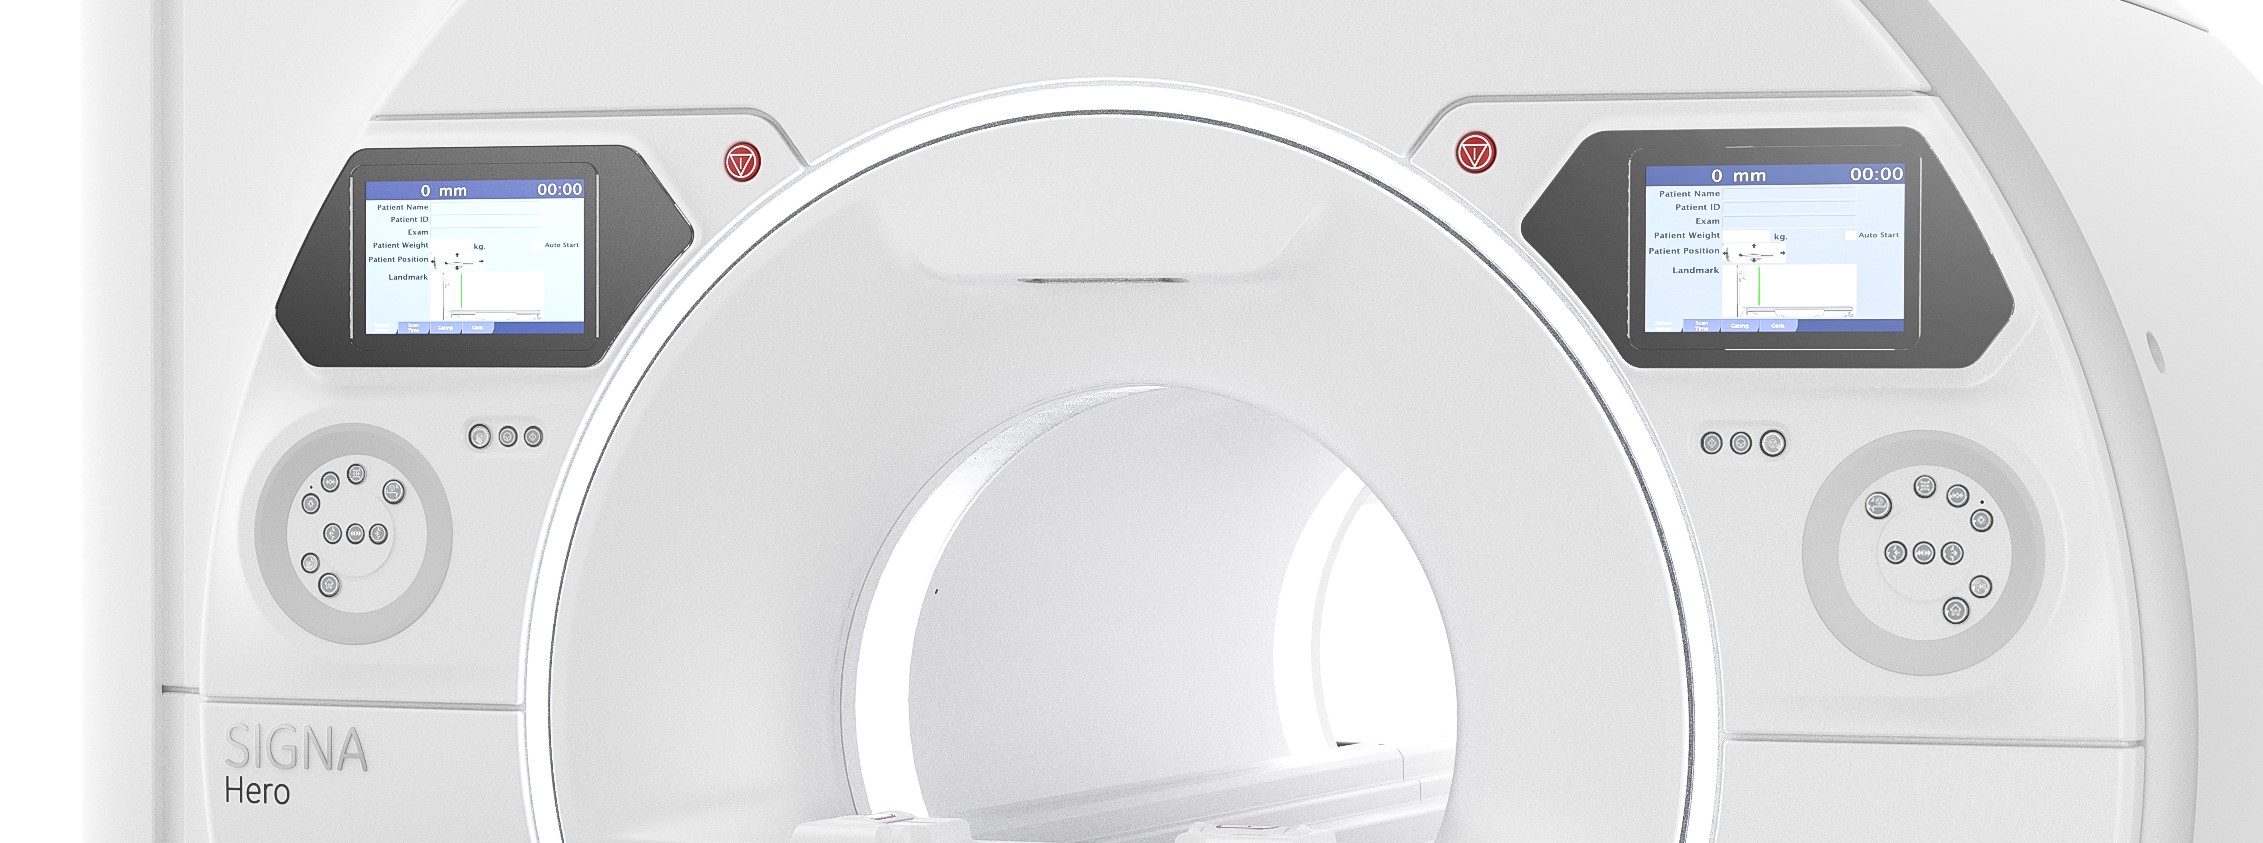
Replacing the In-Room Display (IRD)
Removal and installation of the IRD.
Prerequisites
| Personnel requirements | |||
|---|---|---|---|
| Required persons | Preliminary requirements | Procedure | Finalization |
| 1 | - | 75 minutes | - |
| Tools and test equipment | |||
|---|---|---|---|
| Item | Quantity | Part number | Manufacturer |
| Nonmagnetic Titanium Service Tool Kit, Large Set | 1 | 5112581 | - |
| Replacement parts | |||
|---|---|---|---|
| Item | Quantity | Part number | Manufacturer |
| MR Compatible 12.1 inch In Room Display | 1 | 8771126-61 | - |
| Run P5006 Cable Harness, GOC to IRD Fiber Optic | 1 | 5875244 | - |
| Run M3314, Cable IRD_OCP power, Nonmagnetic | 1 | 5476816 | |
| Safety |
|---|
|
Before working in any GE Healthcare MR suite or performing any GE Healthcare service procedure, you must:
If you have any safety concerns at any time, do not begin work or immediately stop work and move to a safe location. Immediately contact your supervisor or site safety officer for instructions on how to proceed. |
| Notice | |
|---|---|
| Warning | |
|---|---|
Removing the In-Room Display (IRD)
Prerequisites
| Personnel requirements | |||
|---|---|---|---|
| Required persons | Preliminary requirements | Procedure | Finalization |
| 1 | - | 45 minutes | - |
Procedure
- Remove the four (4) screws that attach the IRD to the control panel cover.
Figure 1. Remove screws and washers 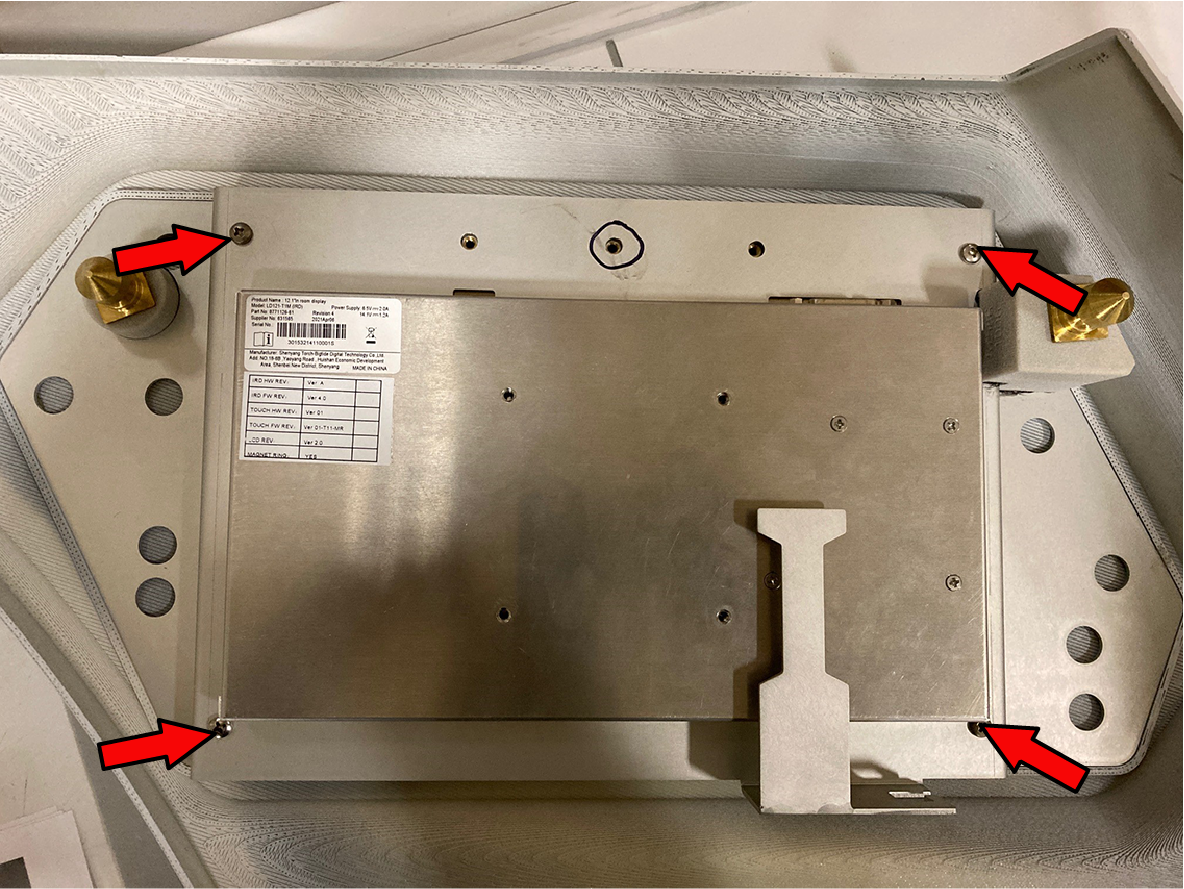
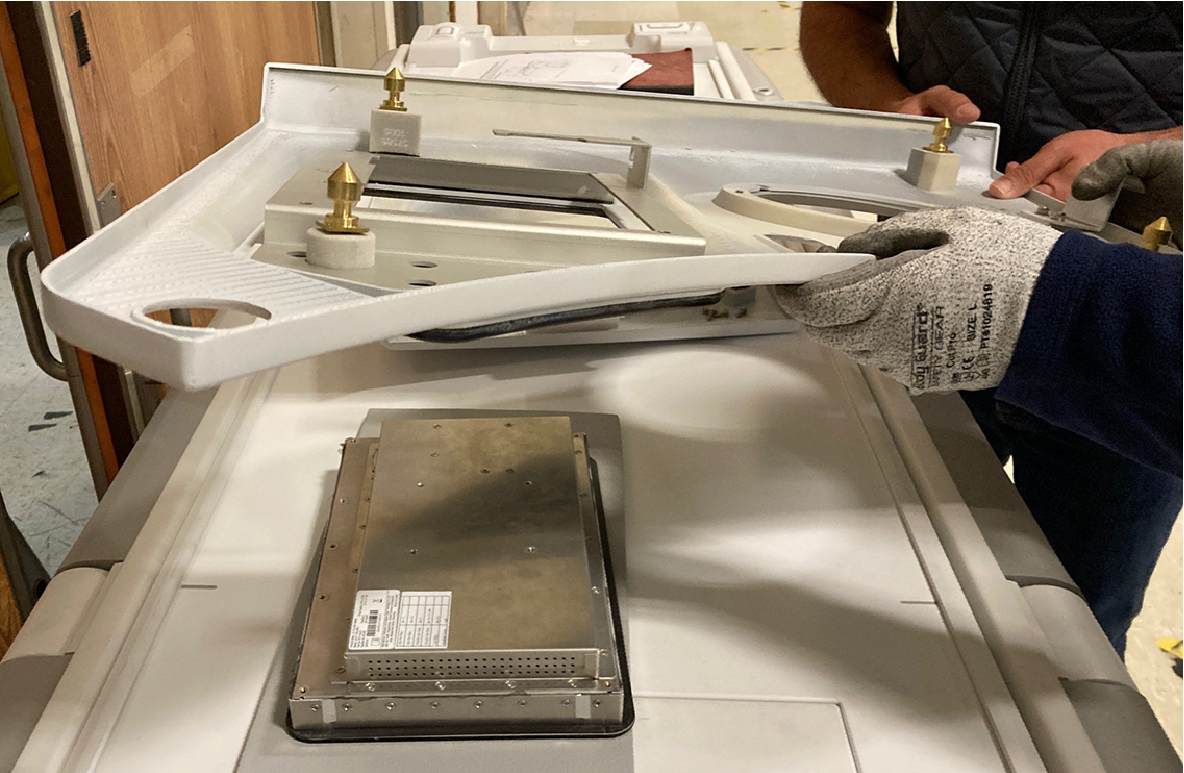
- Lift the control panel cover off of the IRD.
Installing the In-Room Display (IRD)
Prerequisites
| Personnel requirements | |||
|---|---|---|---|
| Required persons | Preliminary requirements | Procedure | Finalization |
| 1 | - | 30 minutes | - |
Procedure
- Place the new IRD on a padded surface to prevent damage to the touch screen and place the control panel cover over it. Do not remove the screen's protective cover.
- Secure the IRD to the control panel with four (4) screws. Note: Ensure that the IRD is centered as you screw it in.
Finalizing IRD replacement
Procedure
- Reinstall the covers:
Result
Figure 2. MR Compatible 12.1 inch In Room Display (8771126-61)