- id_2018413
- Version: 2.0
- Date: Oct 8, 2019 2:00:55 PM
Installing the right-hand base side cover
Installs the right-hand cover onto the dockable table base.
Prerequisites
| Personnel requirements | |||
|---|---|---|---|
| Required persons | Preliminary requirements | Procedure | Finalization |
| 1 | - | 5 minutes | - |
| Tools and test equipment | |||
|---|---|---|---|
| Item | Quantity | Part number | Manufacturer |
| Nonmagnetic Titanium Service Tool Kit, Small Set | 1 | 5113258 | - |
| Required conditions |
|---|
| The left-hand base side cover is installed. |
Procedure
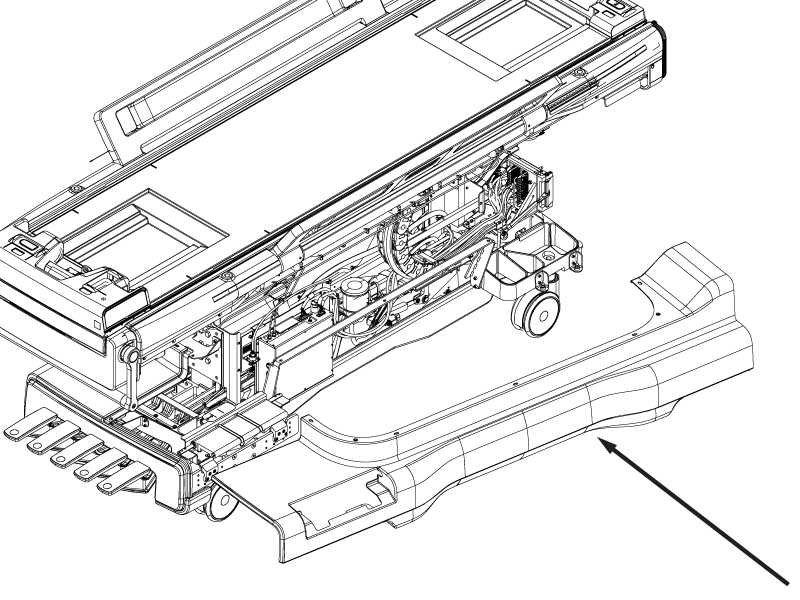
- Install the right-hand base side cover to the table, brake pedal end first.
Figure 1. Right-hand base side cover
 note: Make sure that the edge of the left-hand base cover is aligned between the three tabs on the right-hand cover and the surface of the right-hand cover.
Figure 2. Base cover tabs
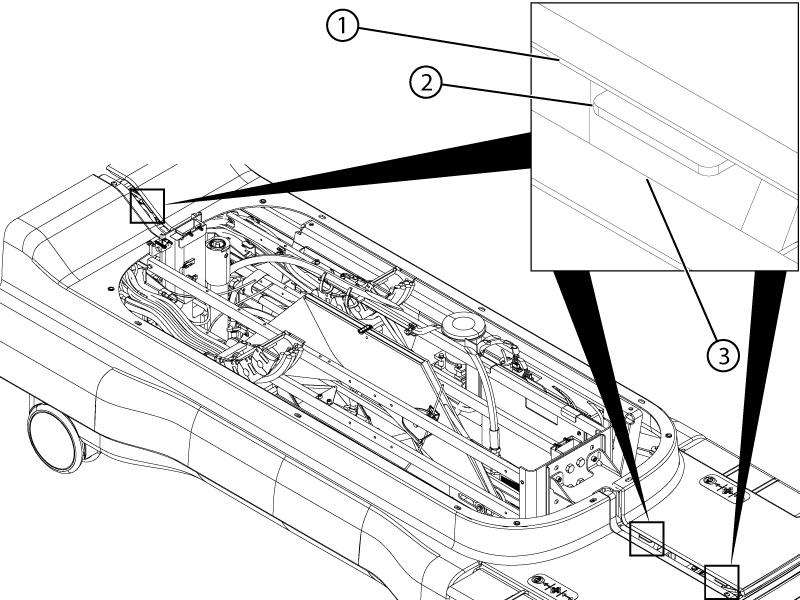
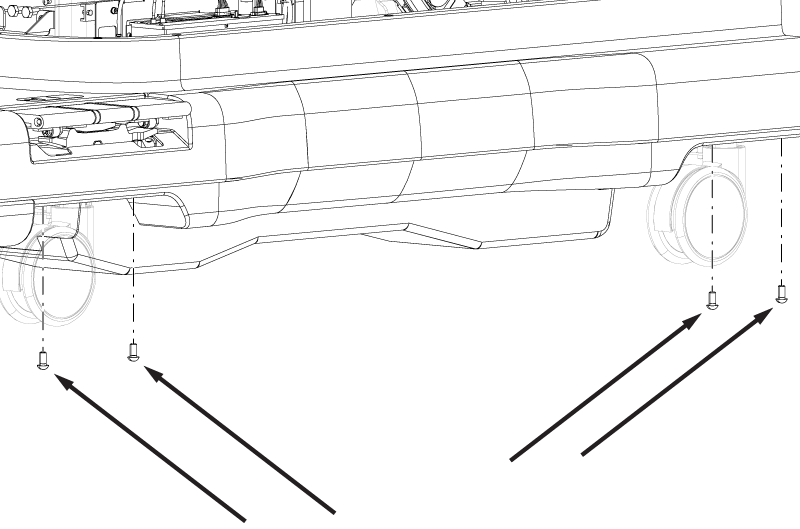
1 Right-hand cover surface 2 Tab 3 Left-hand cover edge - Install the four M10 x 20 Button Head Screws securing the base side cover to the table base.
Figure 3. Base side cover bottom screws
- Make sure the hole in the front of the base side cover is aligned with the indentation in the table base.
Figure 4. Base side cover front hole
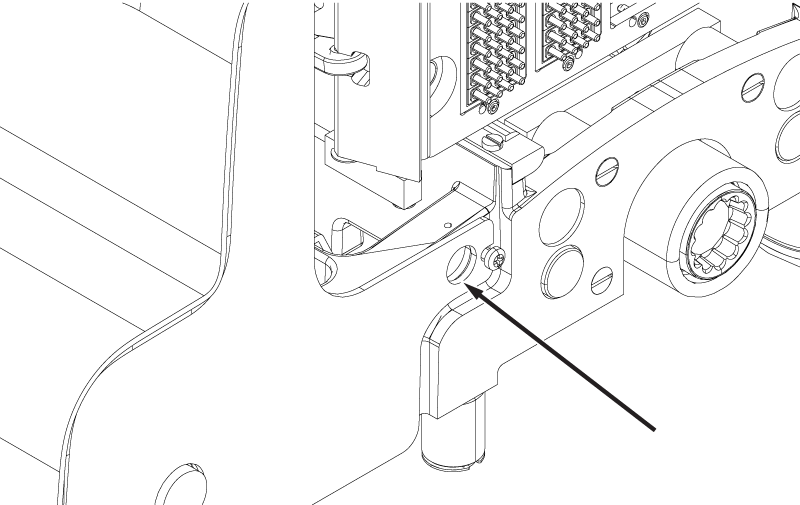
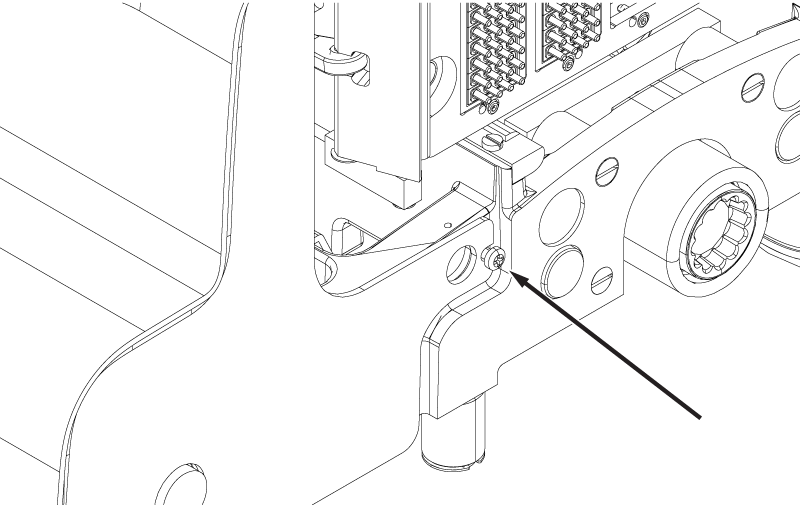
- Tighten the 10-32 x ½ Phillips Head Screw securing the front of the base side cover.note: Do not over-tighten the screw. The screw only needs to be snug to the cover.
Figure 5. Base side cover front screw
- Make sure there is no cover interference when the table is mechanically or electrically docked or undocked.
- Push the table against the dock without docking the table.
- If the electrical dock icon is displayed on the operator control panel instead of the mechanical dock icon, check the hole alignment above.