
- SIGNA MR355 / SIGNA MR360
- Service Manual
- 5856356-3EN Revision 5.0
- Basic Service Documentation. Copyright General Electric Company.
- 00000018WIA3075FF20GYZ
- id_131063371.6
- Jan 9, 2021 1:48:08 AM
Configuring a Printer on Linux Systems (Generic Applications)
Prerequisites
| Required persons | Preliminary requirements | Procedure | Finalization |
|---|---|---|---|
| 1 | Not Applicable | 15 minutes | Not Applicable |
| Condition | Reference | Effectivity |
|---|---|---|
|
Application software running. | - | - |
About this task
This document provides instruction on configuring both network and local printers on Linux systems.
Procedure for Network Printer
Procedure
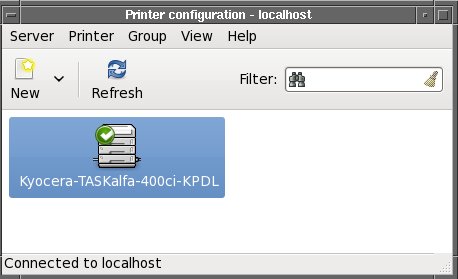
- Select Configure Printer option. The Printer configuration window appears.
Figure 1. Printer configuration 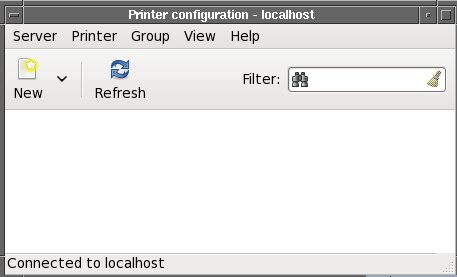
- A New Printer window appears. Click Network Printer >> Find Network Printer.
Figure 2. New Printer 
- The Queue information appears, click Forward.
Figure 3. Queue Information 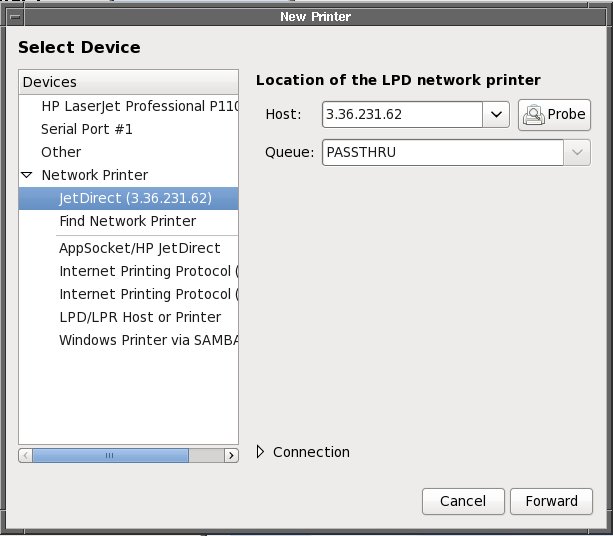
- The Choose Driver window appears. Click Forward.
Figure 4. Choose Driver 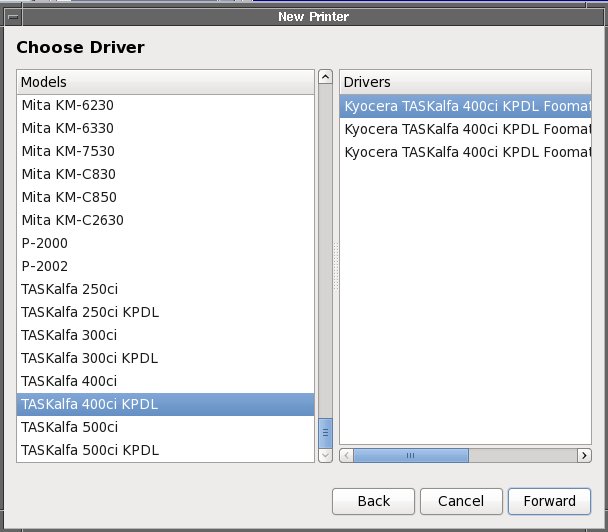
- The Describe Printer window appears. Click Apply.
Figure 5. Describe Printer 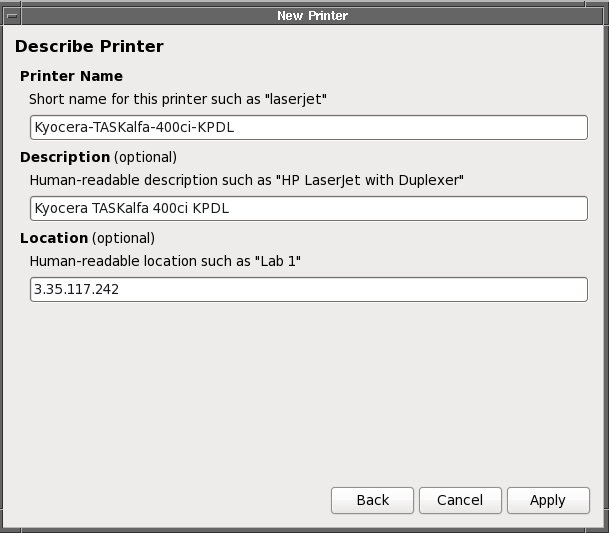
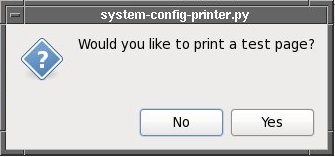
- A window pop up reminding you to print a test page. Click Yes.
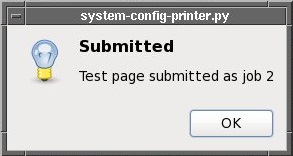
- A window pop up reminding you the test page submitted. Click OK.
- Check the paper has been printed successfully. And the printer
will show in the window.
Procedure for Local Printer
Procedure
- Click New. The Select Device window appears and the local printer is shown.
Figure 6. Local Printer 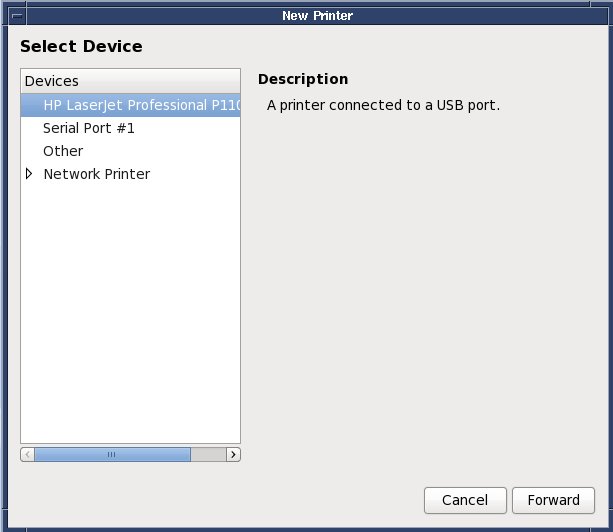
- Click Apply and a window pop up reminding
you to print a test page. Click Yes.
- A window pop up reminding you the test page submitted. Click OK.
- Check the paper has been printed successfully. And the printer
will show in the window.

Finalization
No finalization steps.