- SIGNA MR355 / SIGNA MR360
- Service Manual
- 5856356-3EN Revision 5.0
- Basic Service Documentation. Copyright General Electric Company.
- 00000018WIA30DF9060GYZ
- id_20289302.4
- Jun 23, 2021 10:59:52 PM
Installing full software releases from IRIS for releases after
Install the host system software for software releases after (IRIS load only).
| Notice | |
|---|---|
| Loading software | |
|---|---|
| Step | Procedure for IRIS load only |
|
Prerequisites |
Note: Only users that have the GESoftwareInstaller Group status can execute the remote software download.
Note: A software download can only be installed or declined by an authorized user. If user does not have an authorized role see, Accessing the EA3 admin utility.
Note: If the package user role is GEService, the FE needs to be present and with the M-Class SSA Hard Key inserted into the system before starting the installation.
|
|
Required media |
|
|
Perform SaveInfo (Check Information instead if using an older SaveInfo media) |
Saving information.
Note: If restoring from older SaveInfo is desired, insert the SaveInfo media. The installation will prioritize the restore from the DVD media over the USB Installer Media. |
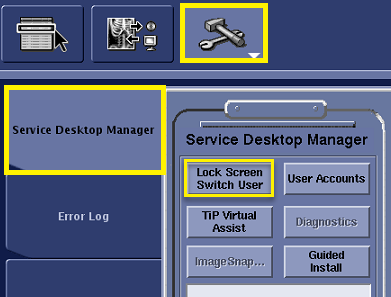
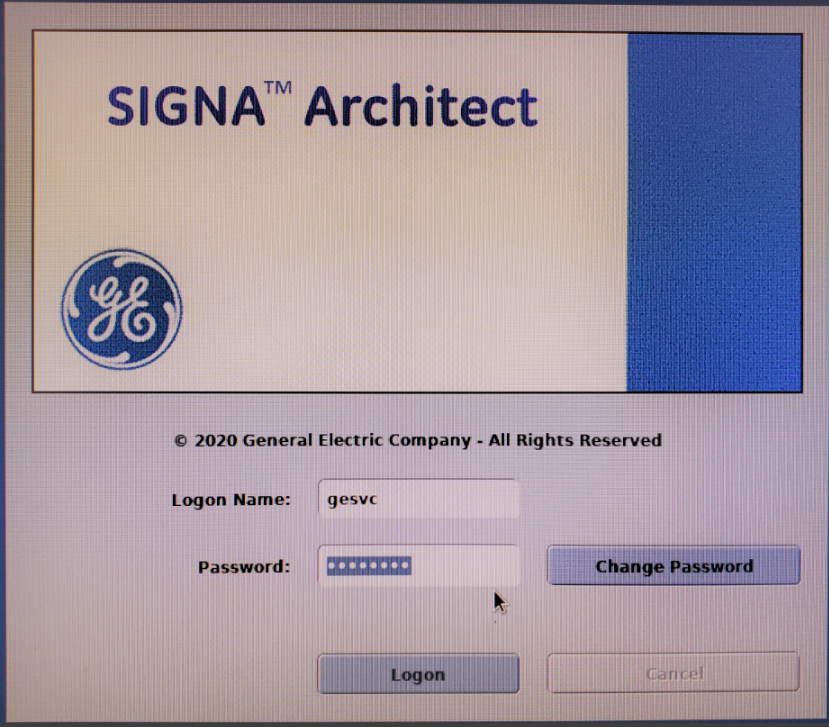
| Log in with the correct privileges |
|
| Install host system software |
Note: If a RestoreInfo media with all the required files is available, then Host OS load, Applications Software Load, ICN Configuration, and SSA licenses, including restore of connectivity settings, are all automatically executed sequentially.
Note: Beginning with software release SV25.4 software restoring information will automatically set the PNF Filter setting to ON regardless of previous setting. Make sure you re-set the PNF filter to previous setting after consulting with the customer.
In case any failures are observed, after the completion of applications software load, a dialog box appears showing all remaining tasks that need to be completed. To complete these tasks manually, see the procedures in this table. If any failures occur prior to the applications software load completion, restart the software load process. For a list of errors and possible actions during the software load process, see Troubleshooting the software load.
|
|
Configure ICN (VRE) OS |
This task is automated for software re-installations and upgrades if the RestoreInfo action is successful. In case of any failure, this can be attempted manually. See Configuring the ICN - VRE. |
|
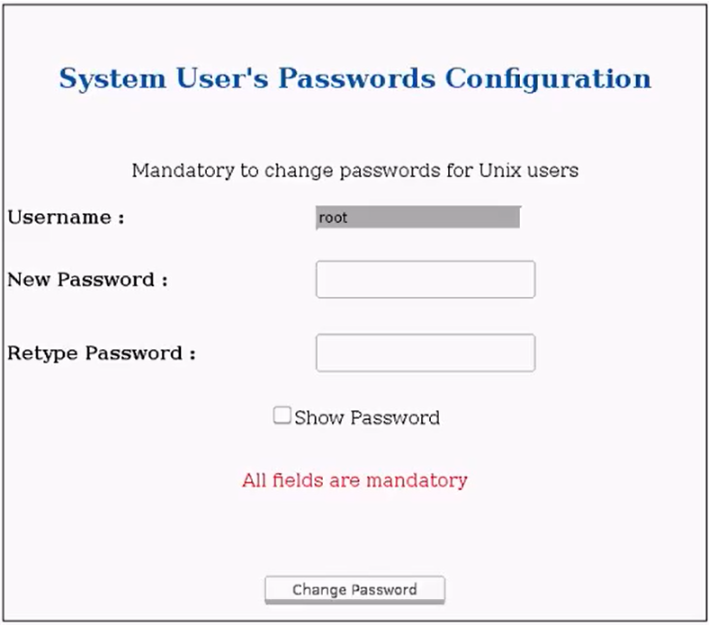
Setup Customer OS Passwords |
This task is automated for software reinstallations and upgrades if the RestoreInfo action is successful. After the calibration is complete (IIS key generated) and system is ready to be handed over to customer, the customer can now setup their OS account passwords.
|
|
RSvP registration |
This task is automated for software reinstallations and upgrades if the RestoreInfo action is successful. Register device with RSvP to establish remote connectivity. See Configuring the Remote Service Platform (RSvP) for software 29.0 and later. See Enabling the Remote Service Platform (RSvP) iLinq to enable iLinq. |
|
Install SSA |
This task is automated for software reinstallations and upgrades if the RestoreInfo action is successful. See Managing SSA service licenses for information on how to record the service license ID. See Ordering service license softkey to order the license. See Loading service license softkey to load the license. |
|
Update System configuration |
This task is automated for software reinstallations and upgrades if the RestoreInfo action is successful. Update the system configuration, hardware configuration, and Security levels for software 29.0 and later configuration in Guided Install. Complete any other site configuration as needed in Guided Install and click Configure in each tab. |
|
Loading proprietary software |
This task is automated. In case of any failure, this can be attempted manually. |
|
Install options/option keys |
For the purchasable option keys, see Option key catalog matrix. Note: Signa Secure Advanced option: If the customer purchased this license, configure the security setting in Guided Install to Signa Secure Advanced. The system must be restarted to enable the highest security configuration in Guided Install.
|
|
Install operator manual | |
|
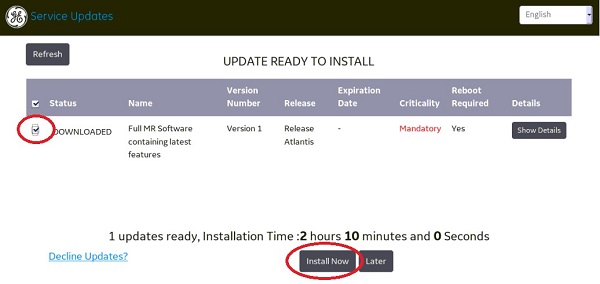
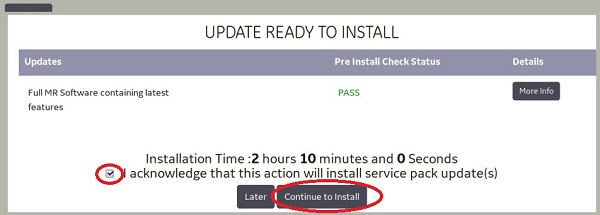
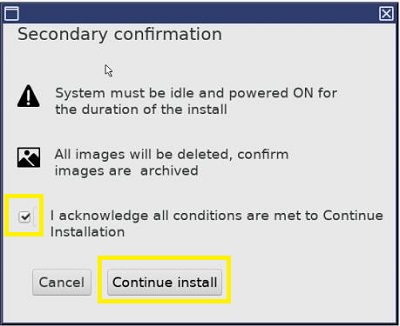
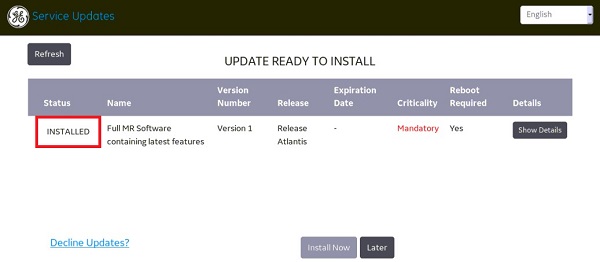
Install latest service pack (if required) |
See Loading software updates from repository or CD/DVD or Installing updates from Remote Software Download (RSD). If available, a Service Pack will download after installation of the software package. If this download does not trigger automatically, see Manually checking for download availability. Note: Refer to the MR Service Pack Software Matrix (DOC1667089), available from the online documentation library and make sure the necessary service pack media (if any) is available.
|
|
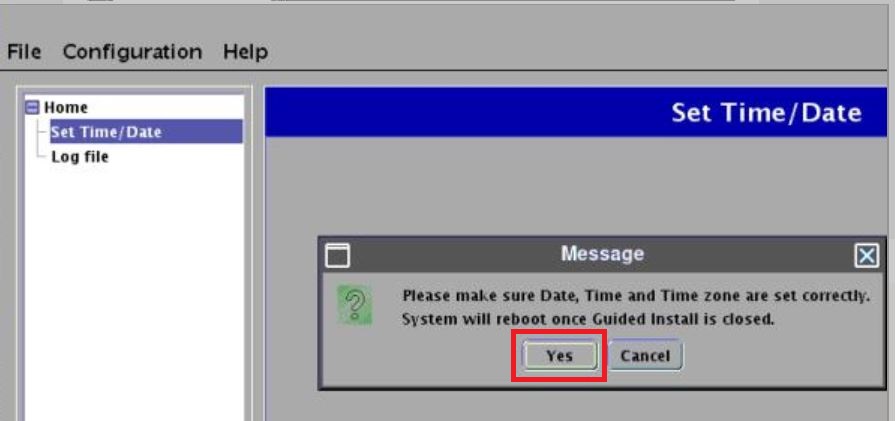
Close Guided Install from File → Quit option and then reboot the system |
|
|
Set up customer accounts and passwords (OS & EA3) | |
|
Setup EA3 gesvc password |
This task is automated for software reinstallations and upgrades if the RestoreInfo action is successful.
|
|
EA3 User Group Establishment |
Add EA3 users to their correct user groups to establish the correct permissions. For information on adding user groups, see Configure user accounts for Role Based access controls. Note:
Add the gesvc user to groups:
Add the administrator user to groups:
|
|
System Calibration |
Note:
Calibrations will restore from the RestoreInfo but additional calibrations may be needed. Launch Installation and Calibration Wizard and complete any necessary calibration procedures. Refer to Installation and calibration wizard (ICW) Upgrade mode for your product. Note: The first reboot after Install In Spec (IIS) key is generated the system will force the password setup for customer OS and EA3 accounts. Contact the customer at this point to prepare for their password setup and have the customer present at post IIS reboot time.
|
|
Reboot the system once install in spec is completed successfully |
Reboot. |
|
Do a check scan |
Note: The first boot after a software upgrade will take a long time due to extended TPS Reset.
|