
- 00000018WIA30A30130GYZ
- id_123734311.5
- Jan 17, 2020 11:10:55 AM
XGD Fan Box Assembly Replacement
Prerequisites
| Required persons | Preliminary requirements | Procedure | Finalization |
|---|---|---|---|
| 1 | Not Applicable | 20 minutes | Not Applicable |
| Item | Quantity | Effectivity | Part number | Manufacturer |
|---|---|---|---|---|
| Phillips Screwdriver or Slotted Screwdriver | 1 | - | - | - |
| Item | Quantity | Effectivity | Part number | Manufacturer |
|---|---|---|---|---|
| XGD Fan Box Assembly | 1 | - |
5183573 | - |
Removing XGD Fan Box Assembly
Procedure
- Remove cables J13 and J14 from the XGA to expose the fan.
Figure 1. Remove Cables from XGA 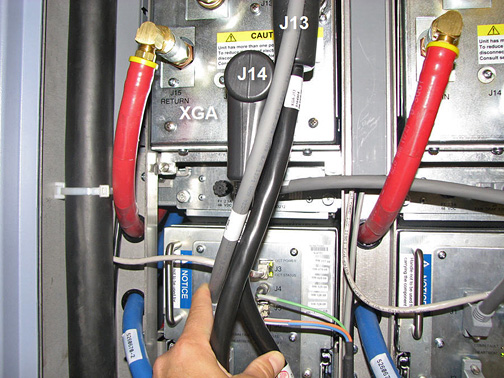
- Remove cable J2 from the fan.
Figure 2. XGD Fan Box Assembly 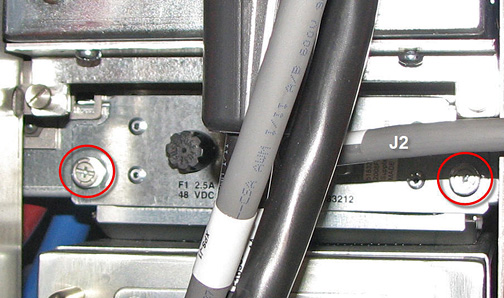
Installing XGD Fan Box Assembly
Procedure
- Slide in the new fan until it is fully seated in the cabinet.
- Tighten the two screws to secure the fan to the cabinet.
- Attach cable J2 to the fan.
- Attach cables J13 and J14 to the XGA.
Finalization
Finalization
-
Remove LOTO from the PGR PDU/gradient subsystems. See the MR Service Safety Manual, PN 5452735.
-
Verify that the fan is operating appropriately.