
- Discovery MR750 3.0T System Service Methods
- 5690009-2EN Revision 4
- 00000018WIA304A4510GYZ
- id_20046344.4
- Oct 28, 2021 5:51:40 PM
Tightening connections
About this task
Procedure
- Open left front door of the PGR cabinet to expose the front of the PDU.
Figure 1. Tighten Connections 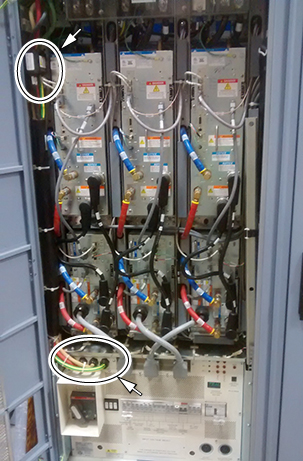
- Tighten the incoming power and ground connections on the input power block of the PDU with a socket wrench with a 3/16 hex key extension.
Figure 2. Tighten Incoming Power and Ground 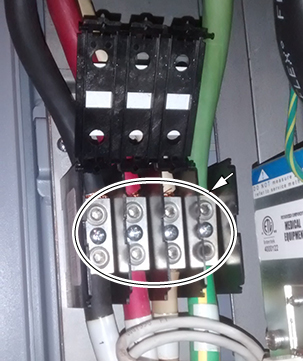
- Remove the front PDU panel to expose connections to CB1.
- Remove the four screws on the circuit breaker guard. Save the screws.
- Remove the 13 screws securing the front panel. Save the screws.
Figure 3. Remove the screws 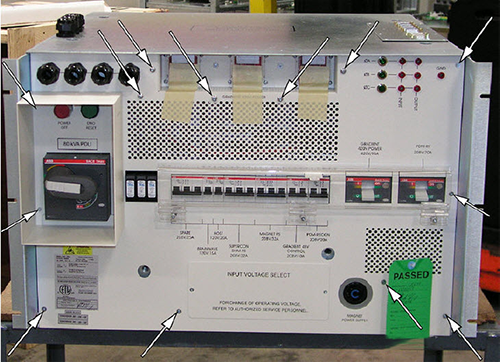
- Remove the front PDU panel to expose connections to CB1.
Figure 4. Location of CB1 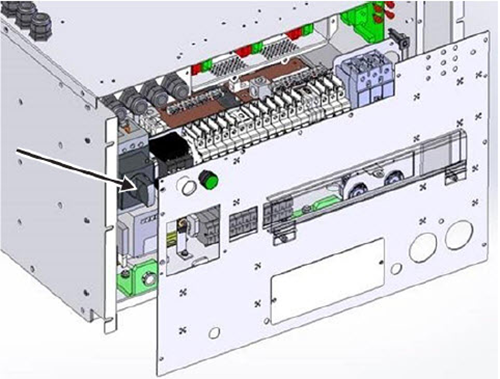
- Tighten the L1, L2, and L3 connections at CB1 inside the PDU.
Figure 5. L1, L2, and L3 connections 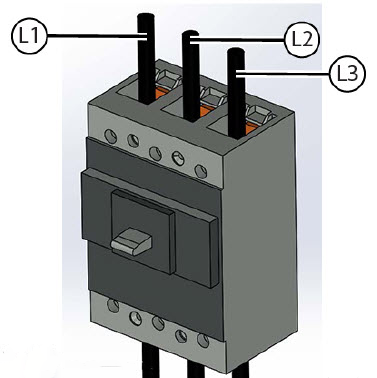
Finalization
- If any of the connections were very loose (for example, two full rotations or more on a single lug), record this as part of the ePM documentation.
- Reinstall the PDU front panel if it was removed.
- Make sure all subsystems have powered up successfully.