
- SIGNA MR355 / SIGNA MR360
- Service Manual
- 5856356-3EN Revision 5.0
- Basic Service Documentation. Copyright General Electric Company.
- 00000018WIA30396240GYZ
- id_20131187.4
- Mar 10, 2021 2:53:54 AM
Reloading or upgrading USB host system software
Prerequisites
| Personnel requirements | |||
|---|---|---|---|
| Required persons | Preliminary requirements | Procedure | Finalization |
| 1 | - | 90 minutes | 5 minutes |
| Tools and test equipment | |||
|---|---|---|---|
| Item | Quantity | Part number | Manufacturer |
| USB Software | 1 | - | |
| Service Pack DVD (if applicable) | 1 | - | - |
| Saveinfo CD/DVD | 1 | ||
| Required conditions |
|---|
| All media except for Save Info DVD must be removed during the loading of the application software, disk partitioning, and application software load. This includes other DVDs, MODs, and USB devices (for example, service keys). Failure to remove other media can cause software load failure. |
| System monitor turned on. |
| All USB devices (including service keys) are removed. |
| Any non-OS media is removed. |
| Safety |
|---|
|
Before working in any GE Healthcare MR suite or performing any GE Healthcare service procedure, you must:
If you have any safety concerns at any time, do not begin work or immediately stop work and move to a safe location. Immediately contact your supervisor or site safety officer for instructions on how to proceed. |
Procedure
- Insert the USB software device required for this procedure.Note: A USB-3 port is recommended. The port has a blue-colored plug or is labeled on the box.
Figure 1. USB-3 port symbol 
- Setup the correct Firmware on the host PC:
- (For Dell T5810 or Dell T5820) Press the Power button on the host PC to boot the system.
- Press F12 to enter the Boot menu, when DELL logo appeared on the screen.
- Make sure the Boot mode is set to UEFI. If the Boot mode is set to Legacy, you must change it to UEFI mode. See Changing Boot mode.
Figure 2. UEFI Boot manu 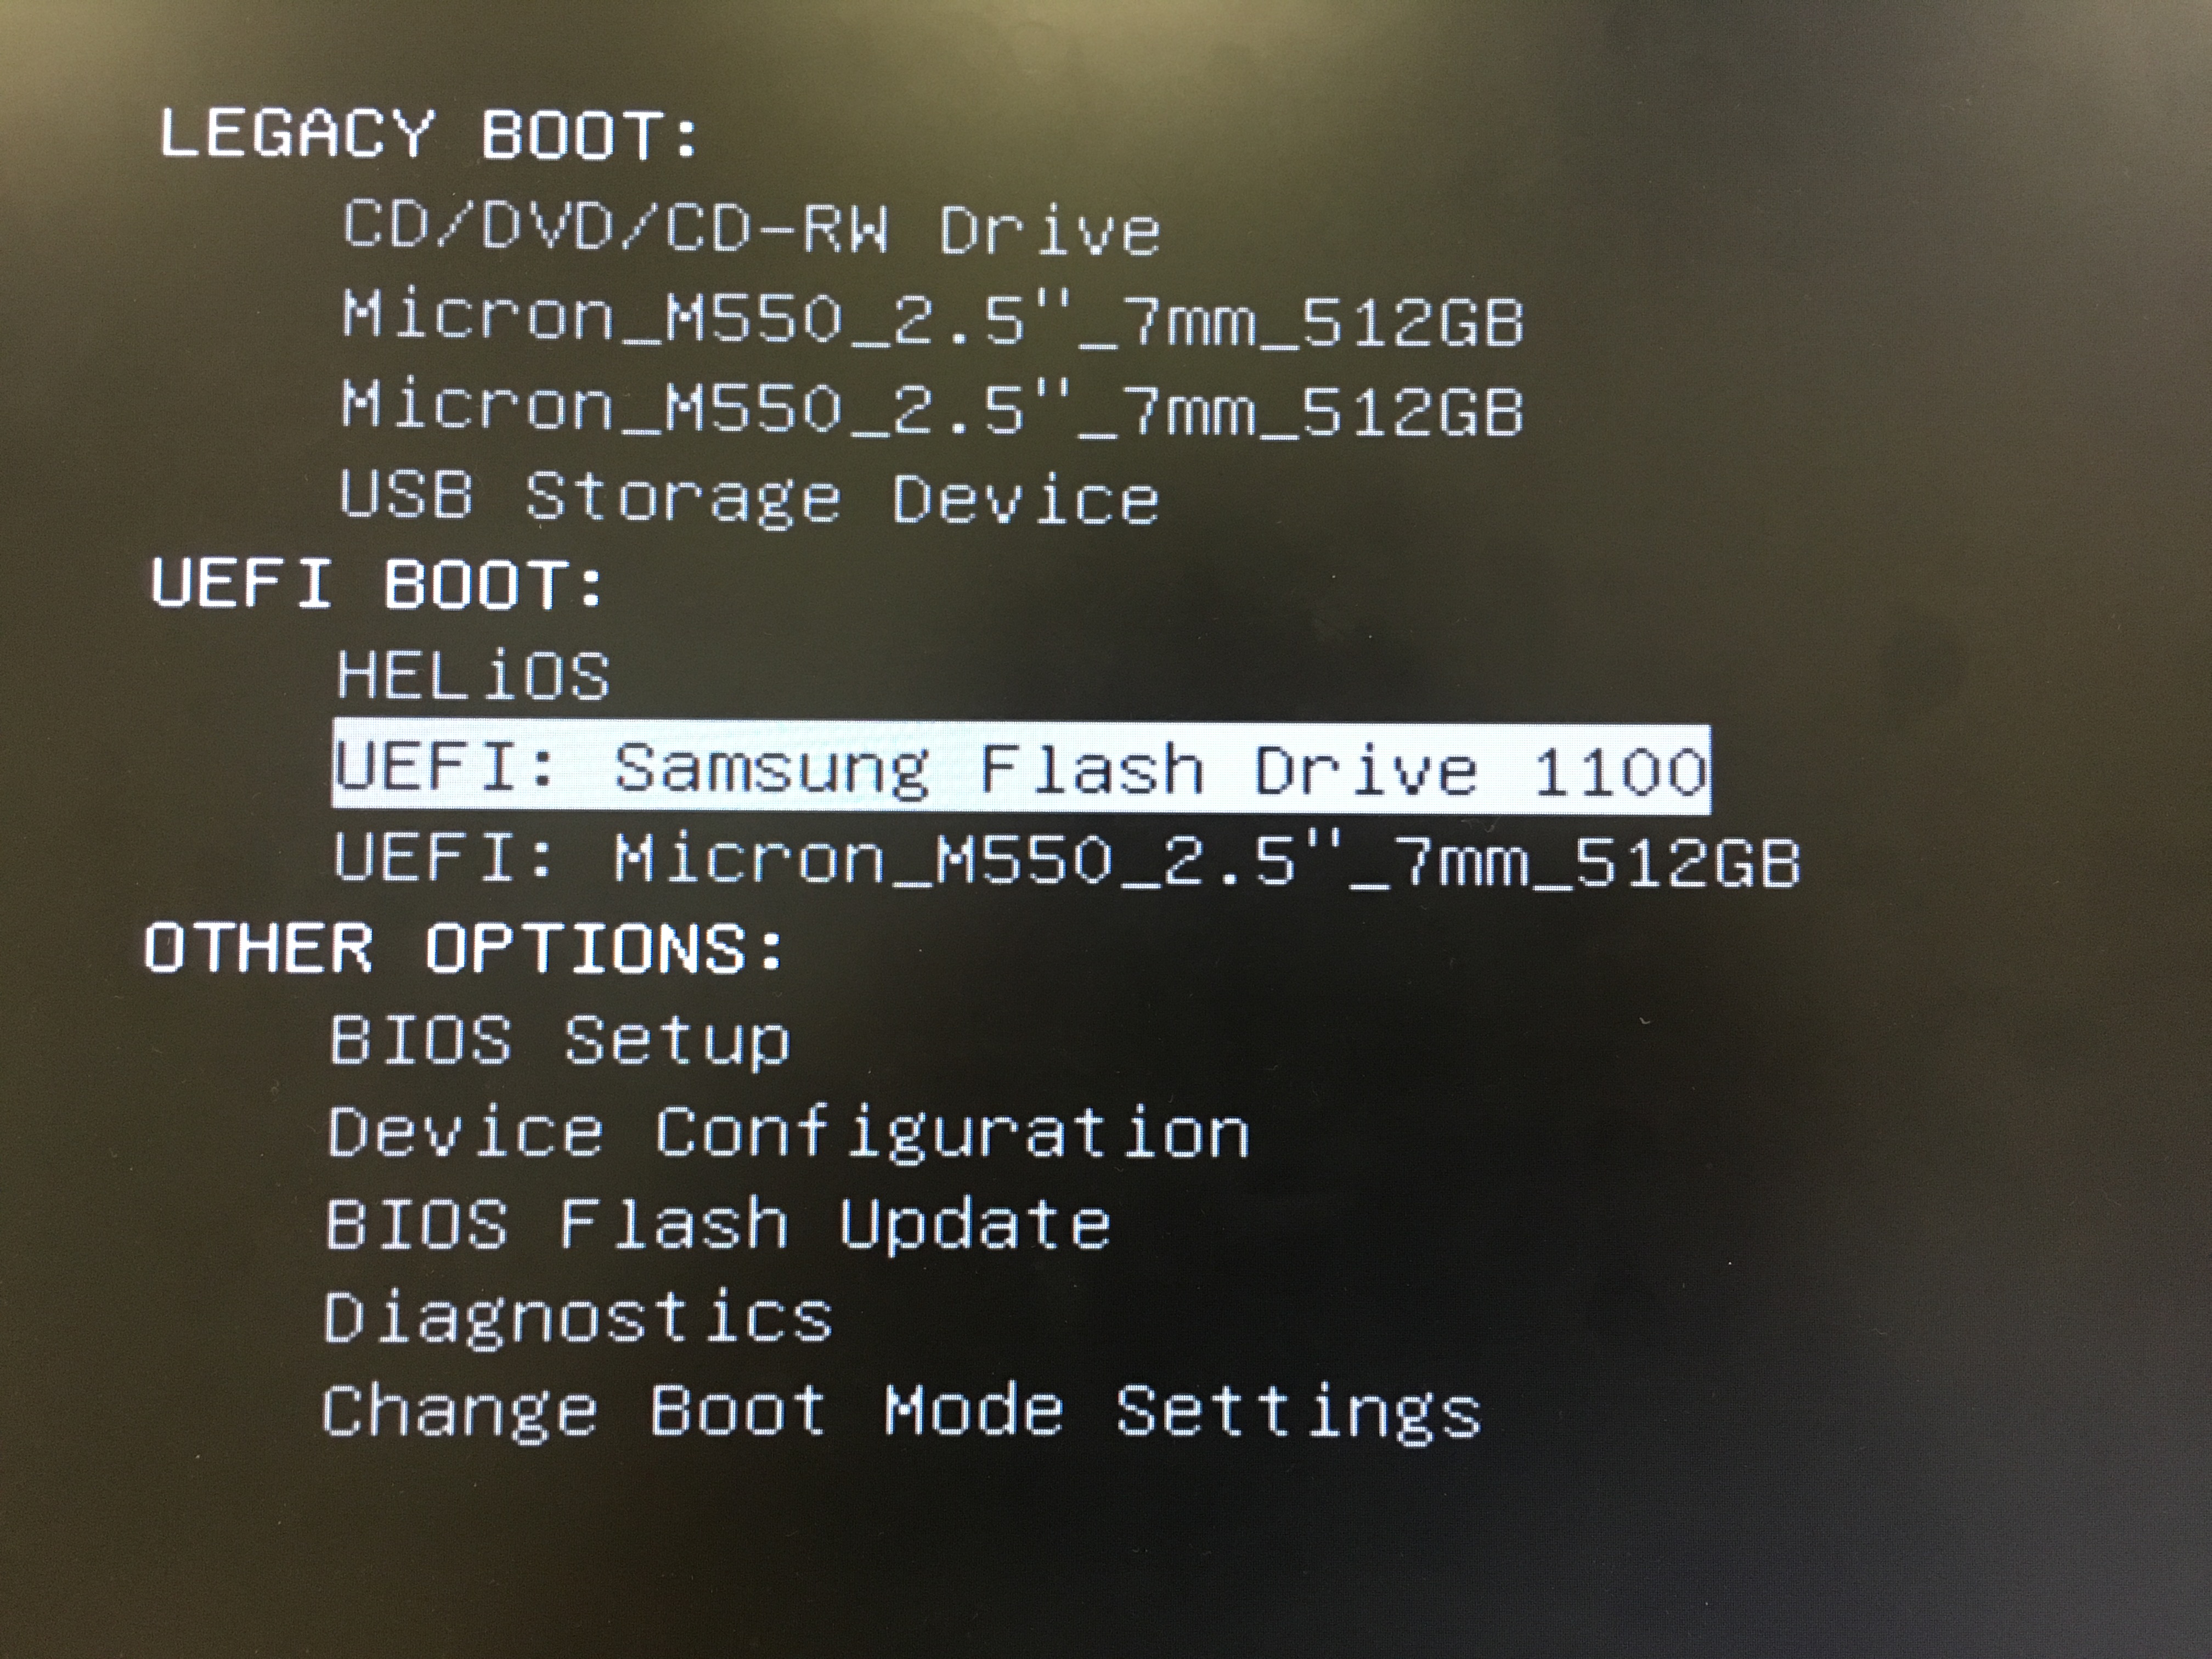
- (For Dell T5810 or Dell T5820) Press the Power button on the host PC to boot the system.
- Select the software revision to install and start the software load from Boot loader.The format of the option displayed is: [apps]<Apps Software revision>.
Figure 3. Sample of software revision to install 
- OS installation:Note: At times during the software load, a blank (frozen) screen may appear due to a known Red Hat bug (bug ID 1432436). If this occurs, you must restart the software load from the beginning. Press Ctrl + Alt + F2 to access the Command prompt screen and restart the software load.
Figure 4. Blank screen due to Red Hat bug 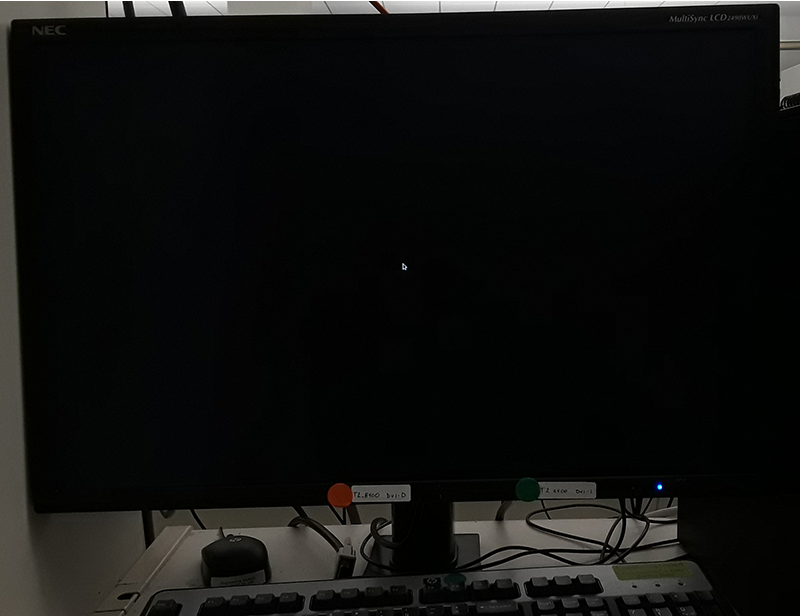
- At the start of OS installation, automated OS confiuration takes place and then OS install starts within a few minutes.
Figure 5. OS installation - start 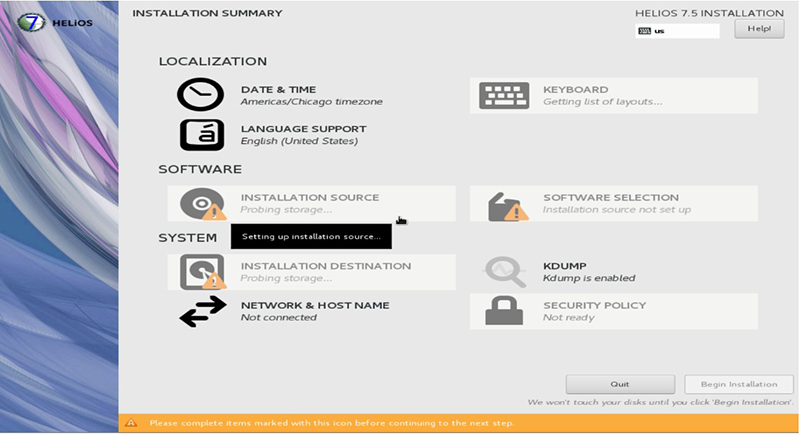
- OS installation continues to completion.
Figure 6. OS installation - completion 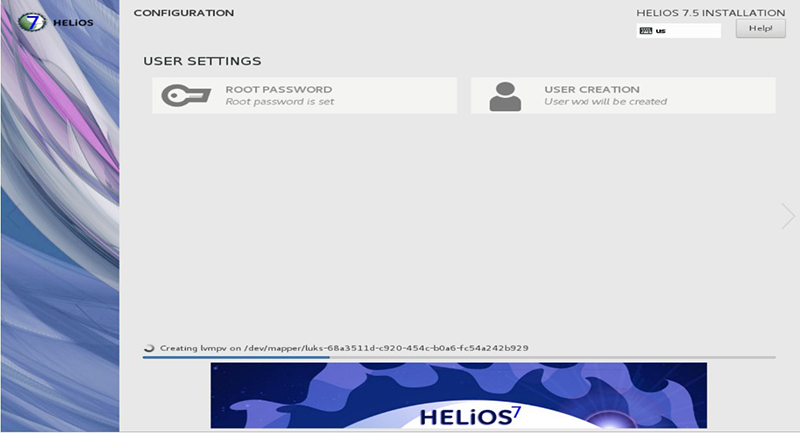
- At the start of OS installation, automated OS confiuration takes place and then OS install starts within a few minutes.
- If the OS install fails, remove and re-insert the USB software device, and try the install again.
- If the OS install is successful, the system automatically reboots.
- The applications software load automatically starts. Please check the install progress according to the progress bar at the bottom of the window.
Figure 7. Applications software load - start 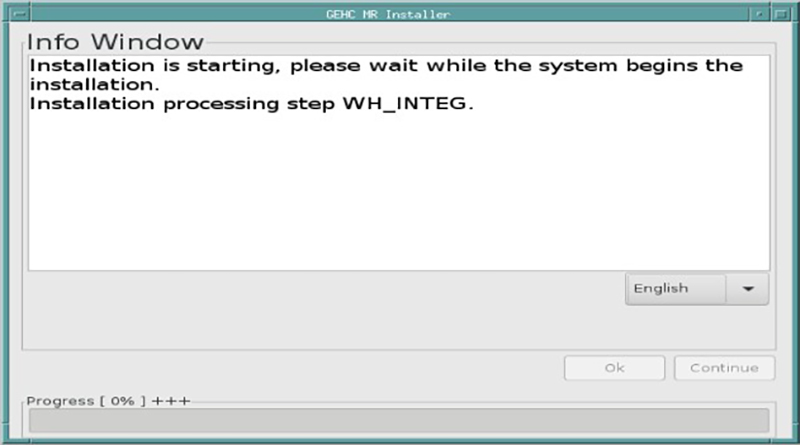
- The language menu can be used to select a different language
- If the applications software install fails for any reason, remove and re-insert the USB software device, and try the install again.
- ICN configuration starts automatically. A Java window appears showing the ICN software load progress.
- To view the installation progress window, click .
- To bypass the installation progress window, click .
- The Installer Info window appears along with the Locale Selection window. Choose "Set as default" and click "ok" to proceed the procedure.Note:
The Info Window lists all the software load actions that have either not been attempted or have failed.
Figure 8. Installer Info and Locale Selection 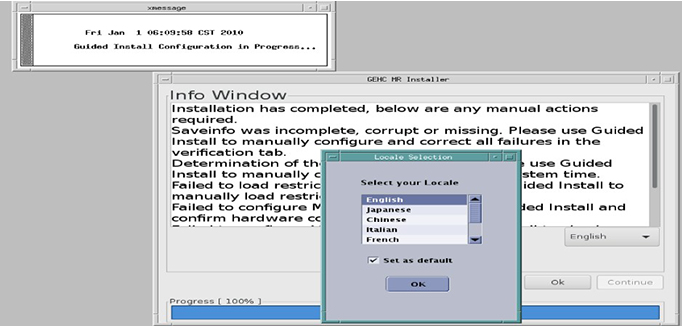
- ICN configuration starts automatically. A Java window appears showing the ICN software load progress.