
- SIGNA MR355 / SIGNA MR360
- Service Manual
- 5856356-3EN Revision 5.0
- Basic Service Documentation. Copyright General Electric Company.
- 00000018WIA30855F20GYZ
- id_131069001.4
- Jul 5, 2019 11:49:10 PM
SCISSOR COVERS
Prerequisites
| Required persons | Preliminary requirements | Procedure | Finalization |
|---|---|---|---|
| 2 | 0 minutes | 30 minutes | 0 minutes |
| Item | Quantity | Effectivity | Part number | Manufacturer |
|---|---|---|---|---|
| Standard Tool (non-ferrous) | 1 | - | - | - |
| ||||||||||||
Disassembly of SCISSOR COVERS
Procedure
- Loosen all ten the screws of the Top cover-using screwdriver
as shown in Figure 1. After Loosening, hold the cover
in one hand and remove all the screws with the other hand.
Figure 1. Loosen all ten the screws 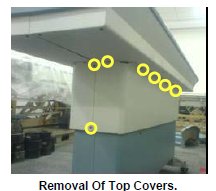
- Use the same procedure to remove the Top cover on the other
side of the table by removing remaining six screws.
Figure 2. Remove the Top cover 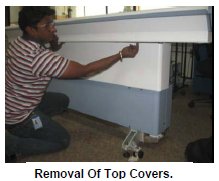
- Loosen all the twelve screws of the bottom cover using the screw
Driver. Remove the screws, hold the bottom cover and remove it as
Shown.
Figure 3. Remove the bottom cover 1 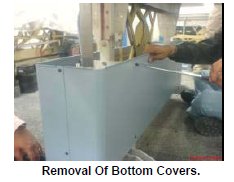
- Use the same procedure to remove the bottom cover on the other
side of the table also.
Figure 4. Remove the bottom cover 2 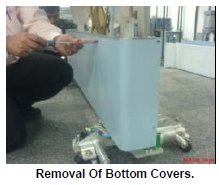
Assembly of SCISSOR COVERS
Procedure
- Place the Bottom Cover on the Table base, supporting with the
Front and Rear Weldment.
Figure 5. Placing the bottom covers 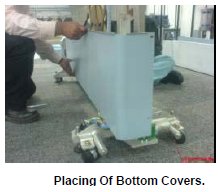
- Similarly Place the other side Bottom Cover also on the Table
base, supporting with the Front and Rear Weldment. Fix the all six
screws around the bottom cover.
Figure 6. Fixing the bottom covers 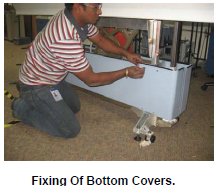
- Hold the Top Cover in one hand and hand fix all the screws.
Figure 7. Place Top cover 
- Similarly hold the other side Top Cover one hand and hand fix
all the screws.
Figure 8. Fix Top cover 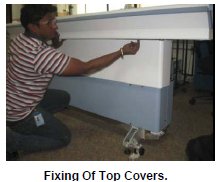
- Tighten all six screws around the table using the screw Driver.
Figure 9. Tighten all six screws 
- Tighten all the screws using the screw drive around the Cover.
Maintain uniform gap between covers while tightening front and back
end of the Table.
Figure 10. Tighten all the screws 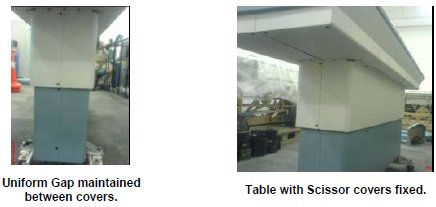
What to do next
Finalization
No finalization steps.