- SIGNA MR355 / SIGNA MR360
- Service Manual
- 5856356-3EN Revision 5.0
- Basic Service Documentation. Copyright General Electric Company.
- 00000018WIA301F0550GYZ
- id_20244641.11
- Apr 21, 2020 11:57:09 AM
Importing third-party certificates - public keys
Import the third-party certificate using a public key from a USB.
Prerequisites
| Personnel requirements | |||
|---|---|---|---|
| Required persons | Preliminary requirements | Procedure | Finalization |
| 1 | - | 20 to 30 minutes | - |
| Tools and test equipment | |||
|---|---|---|---|
| Item | Quantity | Part number | Manufacturer |
| USB Flash Drive | 1 | - | - |
About this task
Third-party certificates are provided by a Certificate Authority (CA) to the host after a request by the IT professional. When the client attempts to connect to the host, the host will provide the third-party certificate to the client upon the request for connection. This is in conjunction with/as the certificate.
Procedure
- On MR Service Desktop, click Service Browser.
Figure 1. Service Browser button 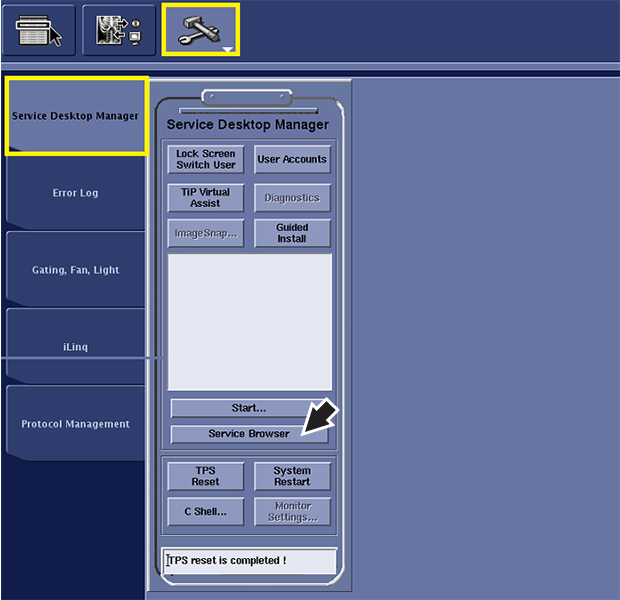
Result
The Certificate Management browser displays. - In the left toolbar, select .
Figure 2. Certificate Management browser 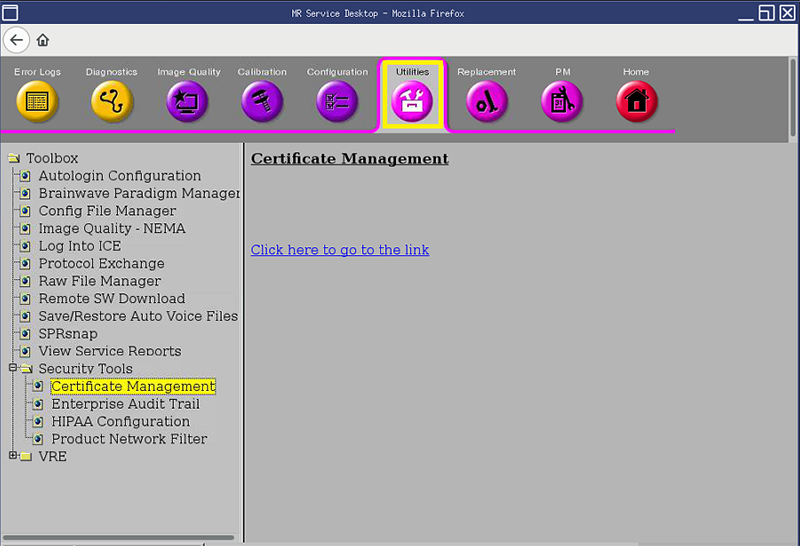
- Click Click here to go to the link.
Result
The Certificate Management window displays.Figure 3. Certificate Management window 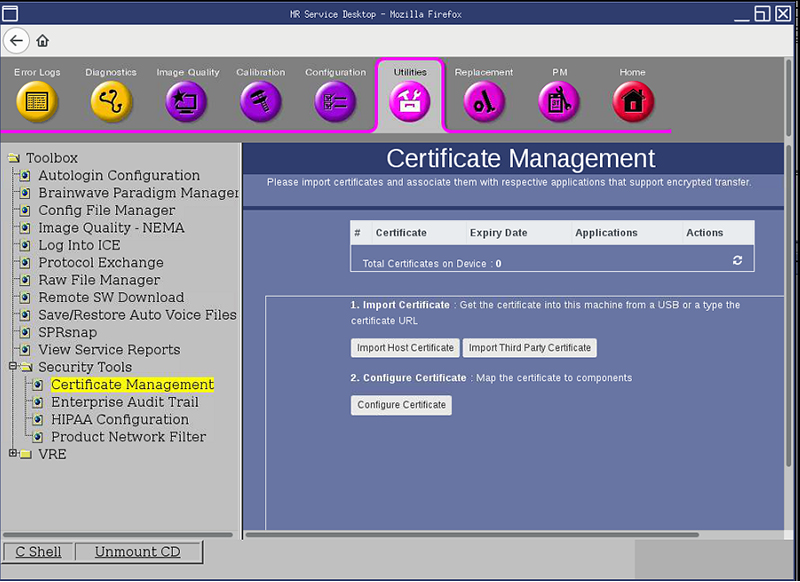
- Click Import Third Party Certificate.
Result
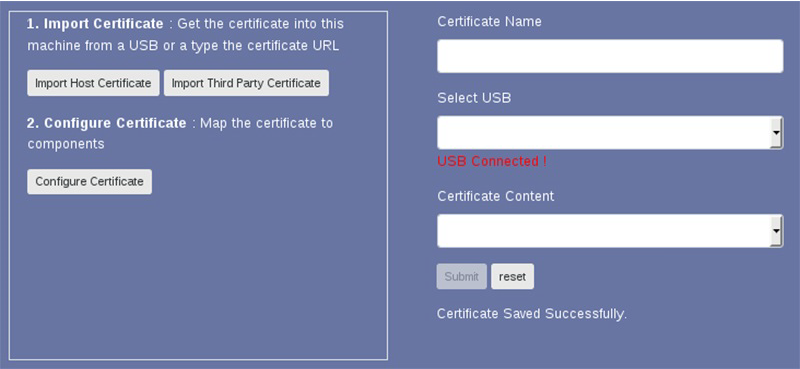
The window refreshes with the applicable fields to populate.Figure 4. Submit third-party information 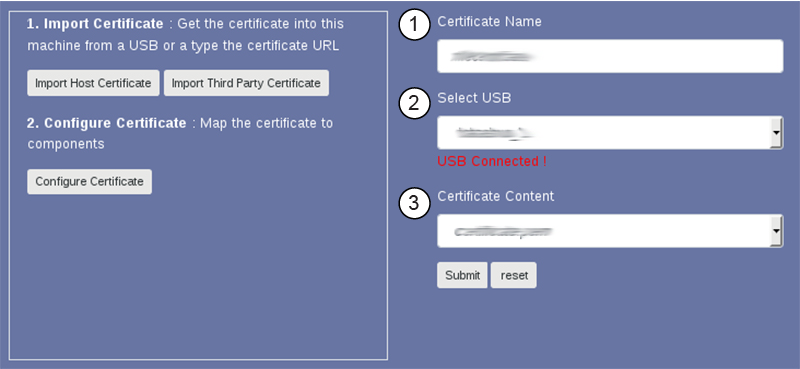
1 Certificate Name 2 Select USB 3 Certificate Content - When the dialog confirmation window appears, click Accept.
Result
The message Certificate Saved Successfully displays below the Submit button that confirms the certificate was successfully imported.Figure 5. Import confirmation window