
- SIGNA MR355 / SIGNA MR360
- Service Manual
- 5856356-3EN Revision 5.0
- Basic Service Documentation. Copyright General Electric Company.
- 00000018WIA306FFF20GYZ
- id_131072383.0
- Aug 29, 2019 1:55:23 AM
Express Coil: Head Neck Array Coil Latch Replacement
Prerequisites
| Required persons | Preliminary requirements | Procedure | Finalization |
|---|---|---|---|
| 1 | 0 minutes | 30 minutes | 0 minutes |
| Item | Quantity | Effectivity | Part number | Manufacturer |
|---|---|---|---|---|
| Flathead Screw drivers for tightening M4 and M5 Screws | 1 | - | - | - |
| Item | Quantity | Effectivity | Part number | Manufacturer |
|---|---|---|---|---|
| HNU Latch Kit- FRU | 1 | - |
5365862 | - |
About this task
Follow this process to replace the Latch assembly.
Anterior Latch replacement
Procedure
- Take the HNU Anterior Assembly.
Figure 1. 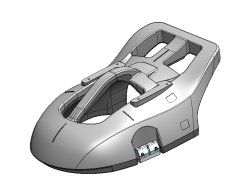
- Detach existing Latch Clip assy (2Nos) # 2422855.
Figure 2. 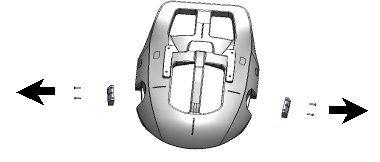
- Take new Latch Clip assy (2Nos) # 2422855.
Figure 3. 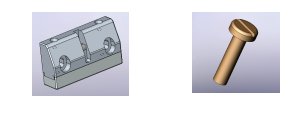
- Attach the new Latch Clip assy (2Nos) # 2422855.
Figure 4. 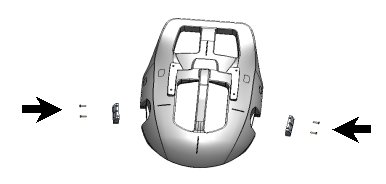
- HNU Anterior Assembly # 5344765 with replaced new latch assembly
is ready for use.
Figure 5. 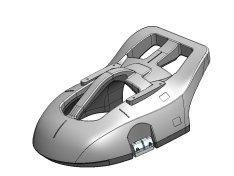
Posterior Latch replacement
Procedure
- Take the HNU posterior Assembly # 5344780.
Figure 6. 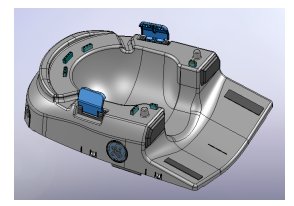
- Remove HNU Posterior Bottom # 5334673 by removing M5 Screws
(12 Nos) and M4 Screws (4Nos) using screwdriver.
Figure 7. 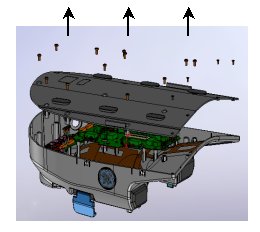
- Remove HNU Posterior Bottom # 5334673 by removing M5 Screws
(12 Nos) and M4 Screws (4Nos) using screwdriver.
Figure 8. 
- Remove the existing Latch assembly # 2422854 (2Nos) by removing
M4 Brass screws (4Nos) using screwdriver.
Figure 9. 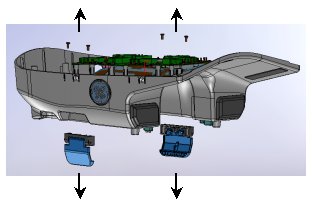
- Take new Latch Clip assembly (2Nos) # 2422854 and M4 Brass screws
(4Nos) from the FRU Kit.
Figure 10. 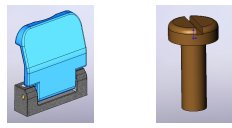
- Attach the new Latch assembly # 2422854 (2Nos) by fixing Tightly
the M4 Brass screws (4Nos) using screwdriver.
Figure 11. 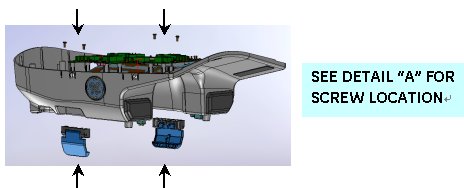
- Attach HNU Posterior Bottom # 5334673 by Tightly fixing M5 Screws
(12 Nos) and M4 Screws (4Nos) using screw driver.
Figure 12. 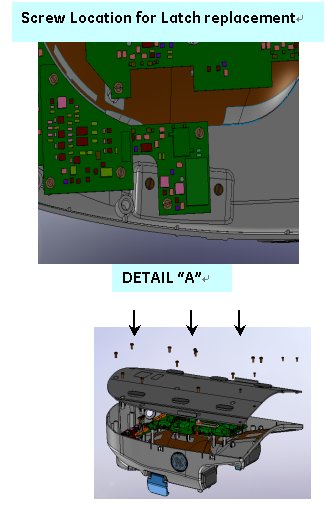
- HNU Posterior Assembly # 5344780 with replaced new latch assembly
is ready for use.
Figure 13. 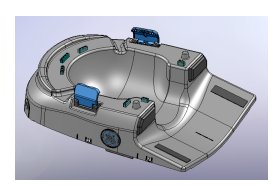
Finalization
Finalization
Ensure that the anterior and posterior sections of the coil Latch smoothly, firmly latched and are functioning properly.