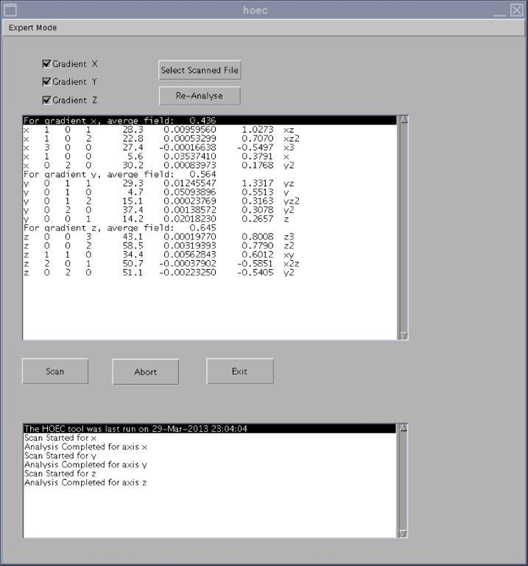
| Expert Mode button | Allows you to view the images analyzed by the tool (this is primarily used to look for sources of error). Use Expert Mode only if directed to do so by OLC. |
| Gradient X/Y/Z boxes | By default, all three of these boxes are checked. When one of these boxes is checked, that gradient is included in the HOEC calibration. |
| Select Scanned File button | Click this button to select the results file from a previous HOEC calibration. |
| Re-Analyse button | Click this button to reanalyze the results file from a previous HOEC calibration. You must select a scanned file before clicking this button. |
| Scan button | Starts the HOEC calibration. |
| Abort button | Stops the HOEC calibration. |
| Exit button | Closes the HOEC calibration tool. |