
- SIGNA™ Hero 3.0T Service Methods
- 5852800-8EN Revision 1.0
- 00000018WIA308FFD20GYZ
- id_131066115.0
- Nov 2, 2021 1:08:40 PM
TDI Posterior Array Coil Replacement
Prerequisites
| Required persons | Preliminary requirements | Procedure | Finalization |
|---|---|---|---|
| 1 | 0 minutes | 60 minutes | 0 minutes |
| Item | Quantity | Effectivity | Part number | Manufacturer |
|---|---|---|---|---|
| Non Magnetic Tool Set | 1 | - | - | - |
| Item | Quantity | Effectivity | Part number | Manufacturer |
|---|---|---|---|---|
| TDI PA Coil (FRU Manual) | 1 | - |
Refer to FRU Manual | - |
| ||||||||
Procedure
- Move cradle to in-limit.
Figure 1. Egress handle 
- At rear of the magnet, remove bore end cradle cover by removing 4 screws.
Figure 2. Bore end cradle cover 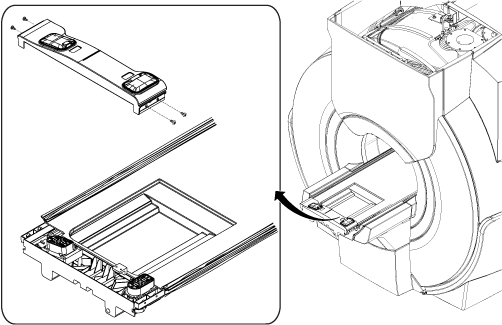
- Perform the following steps to remove the Cradle hardtop cover.
Figure 3. Cradle hardtop cover 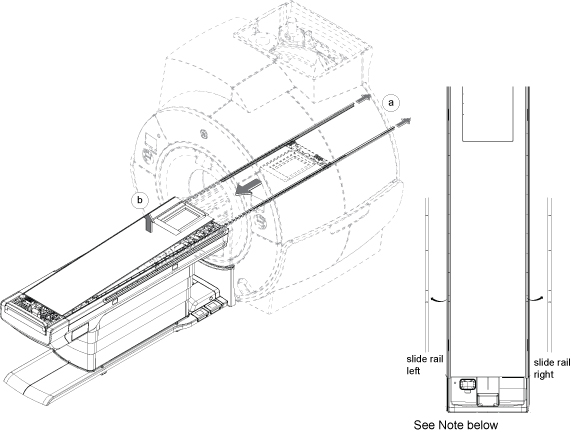 Note:
Note:Left and right slide rails are different parts. The gap of two alignment lines is narrow for handle end of slide the rail.
- Move cradle to In limit. Note:
By moving the cradle to in-limit, cradle can move freely from home position to in-limit after releasing the cradle.
Figure 4. In limit 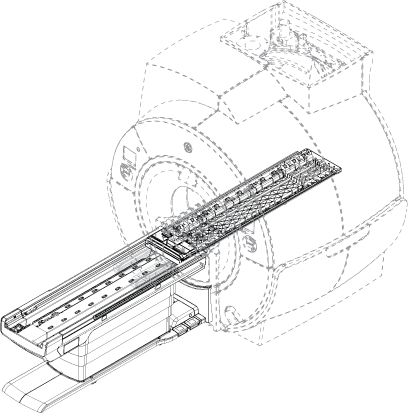
- Release cradle using egress handle.
Figure 5. Egress Handle 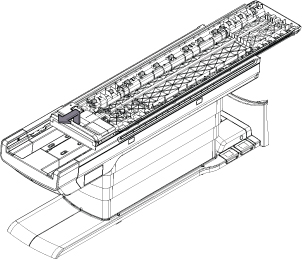
- Disconnect cable connectors from TDI Posterior Array coil (Two 16W16 and one Sub-D Connectors).
Figure 6. Connectors 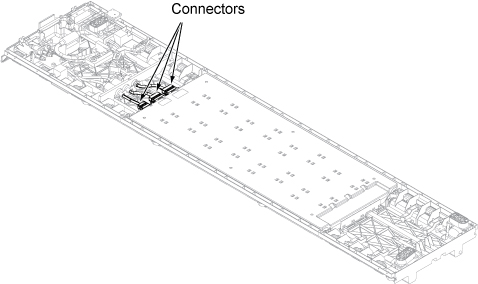
- Remove 6 screws and remove TDI Posterior Array coil.
Figure 7. TDI Posterior Array Coil 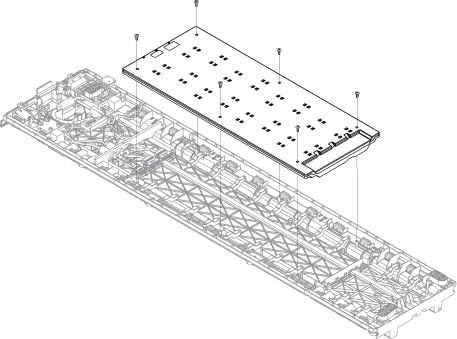
- Move the cradle to home position and restore side rails by moving cradle toward in-limit little by little.
Figure 8. Restore slide rails 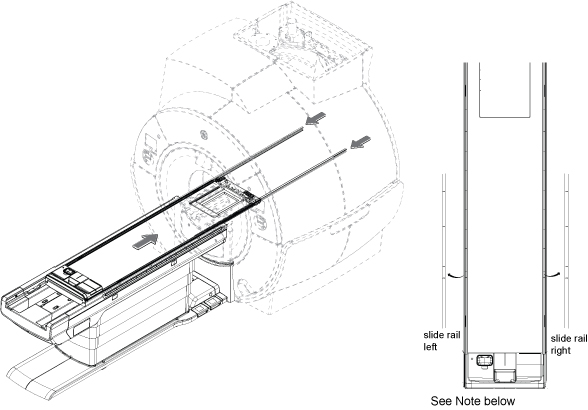 Note:
Note:Left and right slide rails are different parts. The gap of two alignment lines is narrow for handle end of slide the rail.
- Restore bore end cradle cover.
Figure 9. bore end cradle cover 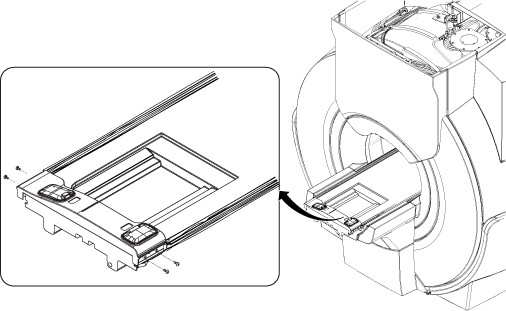
Finalization
- Check that cradle moves in and out smoothly.
- Perform MCQA Setup - TDI Posterior Array Upper .
- Perform MCQA Setup - TDI Posterior Array Lower.