
- Discovery MR750 3.0T System Service Methods
- 5690009-2EN Revision 4
- 00000018WIA3045C030GYZ
- id_123734631.3
- Jul 5, 2019 6:08:29 PM
3.0T RF Attenuator (Dummy Load) Replacement
Prerequisites
| Required persons | Preliminary requirements | Procedure | Finalization |
|---|---|---|---|
| 1 | Not Applicable | 20 minutes | 20 minutes |
| Item | Quantity | Effectivity | Part number | Manufacturer |
|---|---|---|---|---|
| Non-magnetic Allen Wrench Set | 1 | - | - | - |
| Item | Quantity | Effectivity | Part number | Manufacturer |
|---|---|---|---|---|
| 3.0T RF Attenuator (Dummy Load) | 1 | - |
5270156 | - |
Removing 3.0T RF Attenuator
Procedure
- Remove the six Allen screws from the rear of the 3.0T RF attenuator.
Figure 1. Remove Allen Screws 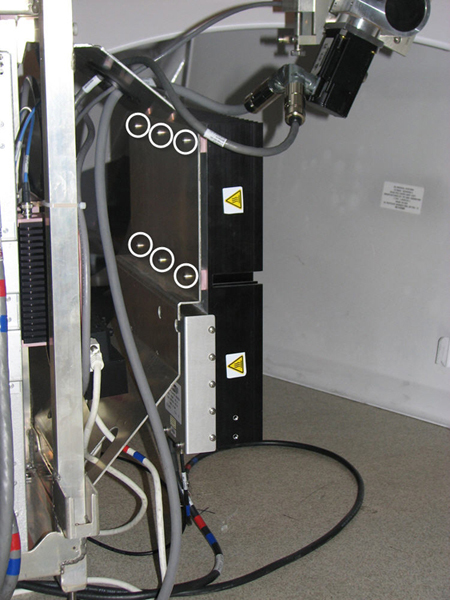
Installing 3.0T RF Attenuator
Procedure
- Mount the 3.0T RF attenuator to the rear pedestal.
- Tighten the six Allen screws to secure it. See Figure 1.
- Reattach cables J12, J13, and J14 to the bottom of the 3.0T RF attenuator.