- id_2014881
- Version: 3.1
- Date: Dec 10, 2019 1:17:10 PM
Removing the host computer - Dell T5820
Remove the host computer.
Prerequisites
| Personnel requirements | |||
|---|---|---|---|
| Required persons | Preliminary requirements | Procedure | Finalization |
| 1 | - | 30 minutes | - |
| Tools and test equipment | |||
|---|---|---|---|
| Item | Quantity | Part number | Manufacturer |
| Screwdriver | 1 | - | - |
| Disk Management Tool | 1 | - | - |
| ESD Strap | 1 | - | - |
Procedure
- If installed, disconnect the optional UPS.
- For added protection, disconnect the twist-n-lock main power cable from the rear of the console.
- Remove the two screws that secure the left side panel of the GOC.
Figure 1. GOC left side panel
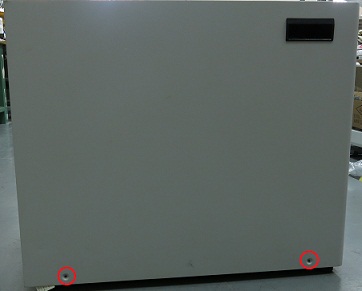 note: The side panel has a short ground lead connecting it to the main chassis. When removing the side panel, do not strain this ground lead.
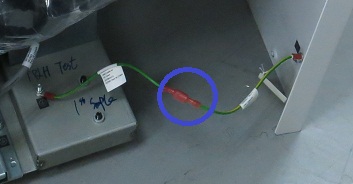
 - Disconnect the short ground lead that connects the side panel to the GOC main chassis at the center of the lead.
Figure 2. Left side panel ground lead
- Remove the left side panel and put it in a safe place.
- Make sure all the cables are properly labeled. If not, note their locations for reattachment.
- Remove all the cables connected to the computer.
- Remove the strap(s) from the computer.
- Remove the host computer from the GOC.Loosen or remove the brackets if necessary.
- When replacing the host computer or hard drives, do a disk wipe on all applicable hard drives. For more information, refer to the latest revision of the Disk Management Tool Service Manual (5500610-1EN) available from the online documentation library.