
- 00000018WIA30C5BE20GYZ
- id_131071342.3
- Jan 17, 2020 10:15:19 AM
Cradle Guide Rail Latch Adjustment
Prerequisites
| Required persons | Preliminary requirements | Procedure | Finalization |
|---|---|---|---|
| 1 | - | 30 minutes | - |
| Item | Quantity | Effectivity | Part number | Manufacturer |
|---|---|---|---|---|
| Nonmagnetic Tool Kit | 1 | - |
5112581 | - |
About this task
The cradle is locked in the home position with a latch on the patient table bridge that engages a notch on the cradle guide rail at the rear of the table. The cradle should engage this notch just enough (without extra force) so when the cradle is pushed to the home position, it tightly engages the notch to prevent the table top from moving when the patient table is undocked.
Procedure
- Undock the patient table.
- Press the cradle release shown below, and confirm the cradle
rail lock prevents the cradle from moving. (Up to 2 mm of movement
is acceptable.)
- After adjustment, confirm the cradle rail lock prevents the
cradle from moving when the cradle release is pressed.
Figure 1. Cradle Release 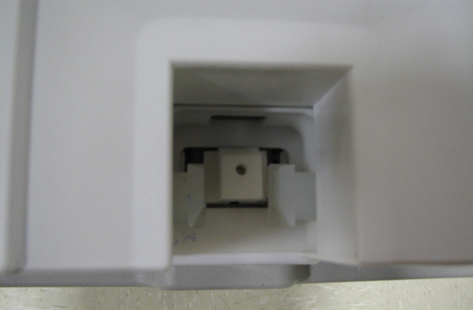
- After adjustment, confirm the cradle rail lock prevents the
cradle from moving when the cradle release is pressed.
- Push the cradle to the rear of the table, and confirm the cradle
does not go past the end of the table.
- If the cradle does go past the end of the table, loosen (do not remove) the five screws on each guide rail, and lower the guide rail to approximately 1 mm above the cradle ledge. (This should prevent the cradle from traveling past the end of the table.)
Finalization
- Dock the patient table.
- Ensure the Low Profile Carriage Assembly (LPCA) automatically drives out to engage the cradle.
- Undock the table to verify cradle release.