• Discovery MR750 3.0T System Service Methods
  • 5690009-2EN Revision 4
  • Object ID: 00000018WHA30999BGYZ
  • Topic ID: id_2002113 Version: 11.6
  • Date: Nov 3, 2021 11:31:25 AM

Setting up grafidy hardware

Procedure

  1. Unfold the six-channel Grafidy fixture and lock the arms into place (90° from center plate).
    Note: Make sure the six-channel Grafidy fixture is firmly pushed into the slit of foam support without any gap.
  2. Connect the P-port cable to the T/R board and secure with screws. Place the fixture at the front of the table with the connection box toward the bore.
  3. Connect the A-port connector to the A-port on the LPCA.
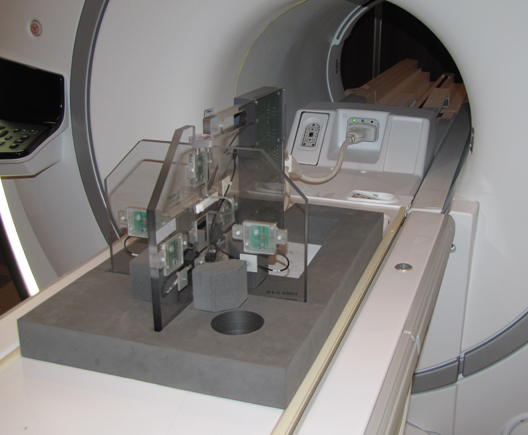
    Figure 1. Grafidy hardware setup for table
  4. Center the laser cross hairs on top of the fixture.
  5. Landmark the system and press Advance to Scan.