Loading Host System Software
Prerequisites
IMPORTANT: Make sure that the latest Service Pack is loaded. See the latest revision of MR Service Pack Software Matrix, DOC1667089, available from the online documentation library.
If more information is needed for how to load Service Packs, refer to Installing Software Updates
This document provides instructions for setting up host system software. It includes:
1 Loading Host Operating System Software
Procedure
- notice
- Insert the Linux OS Software DVD into the DVD-ROM drive of the host computer.
- Reboot the host computer.
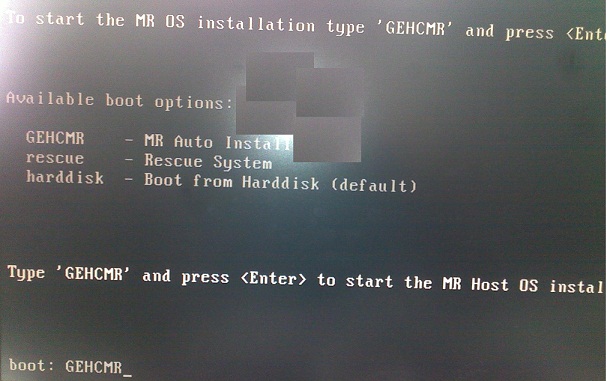
- At the boot prompt, type GEHCMR
The OS software load takes about 13 minutes.
Figure 1. boot prompt
 note:
note:As the install begins, it queries all physical drives in the system and builds/partitions all available devices. If the disk is not what the system expected, a warning indicating a bad disk may display. Software will fix during the install. Click Ignore to proceed with the install.
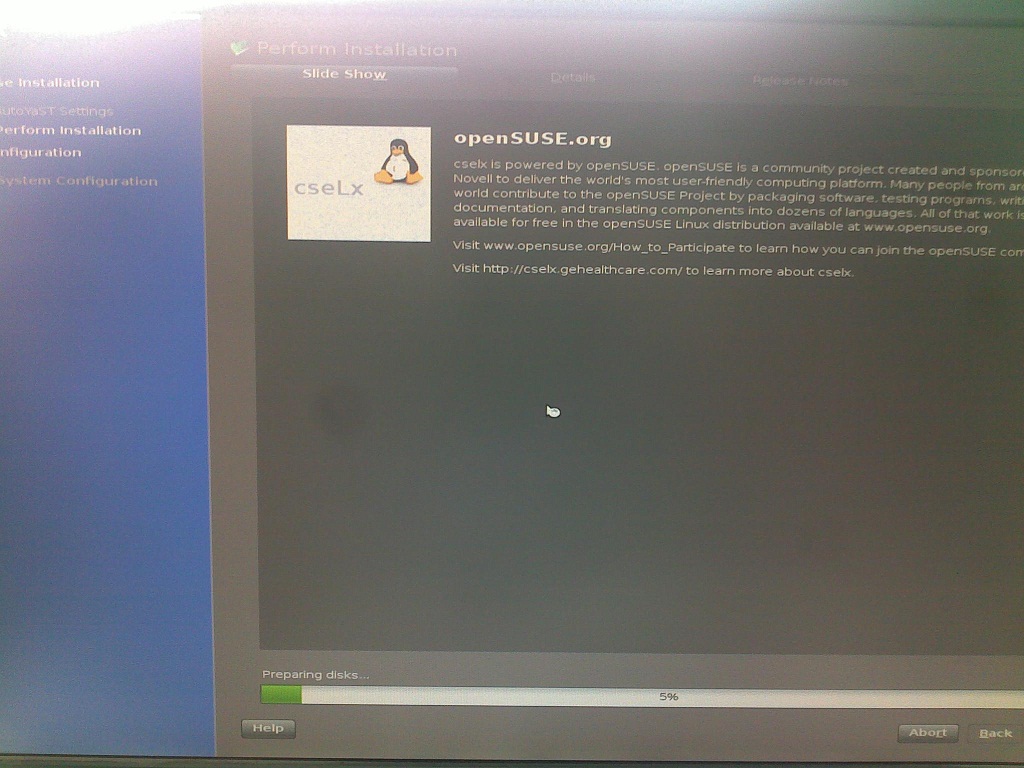
After about 90 seconds, a progress message displays, indicating that the install image is being transferred. (See Figure 2.)
Figure 2. Transferring Install Image to Hard Drive

Two minutes later, an additional message displays indicating that the install process has begun. (See Figure 3.)
Figure 3. Starting Install Process
- Once the installation is complete,click ‘enter’ on the prompt asFigure 1; the OS disk will be ejected automatically, ensure the disk is removed from the drive. Do not insert the Applications DVD at this time!
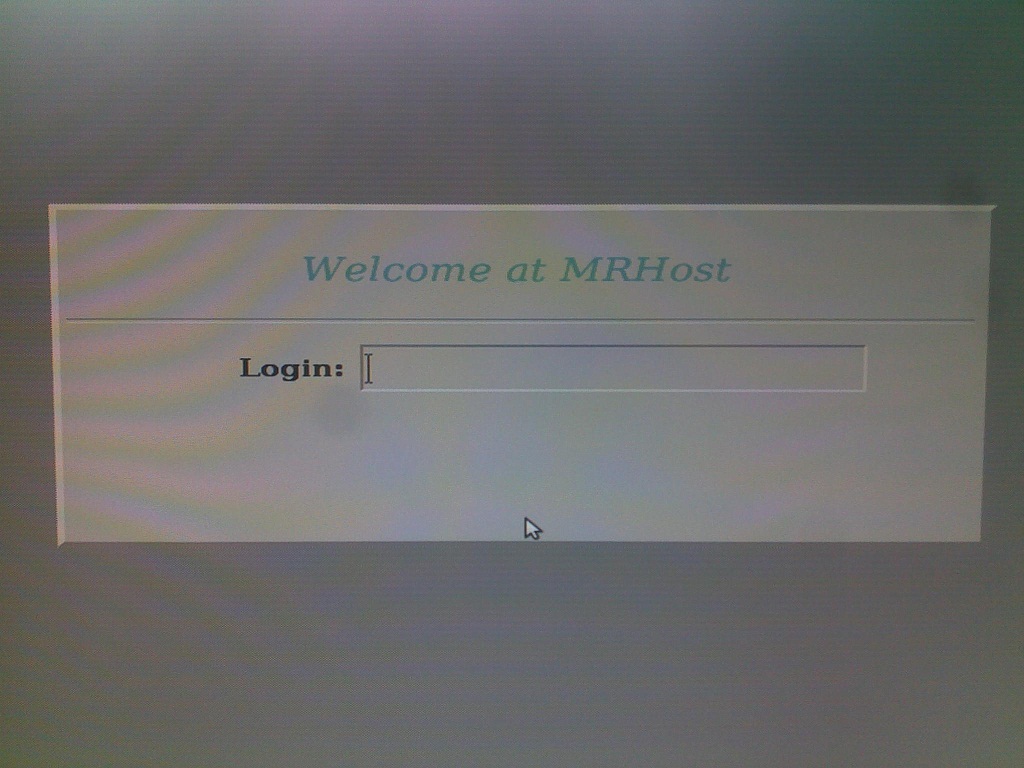
- When a terminal window displays after a couple of minutes, the
OS software load is complete. Continue to the next section.
Figure 4. Terminal Window
 |
2 Loading MR Applications Software
Procedure
- Insert the MR Applications DVD into the DVD drive of the Host computer with root account, password operator.
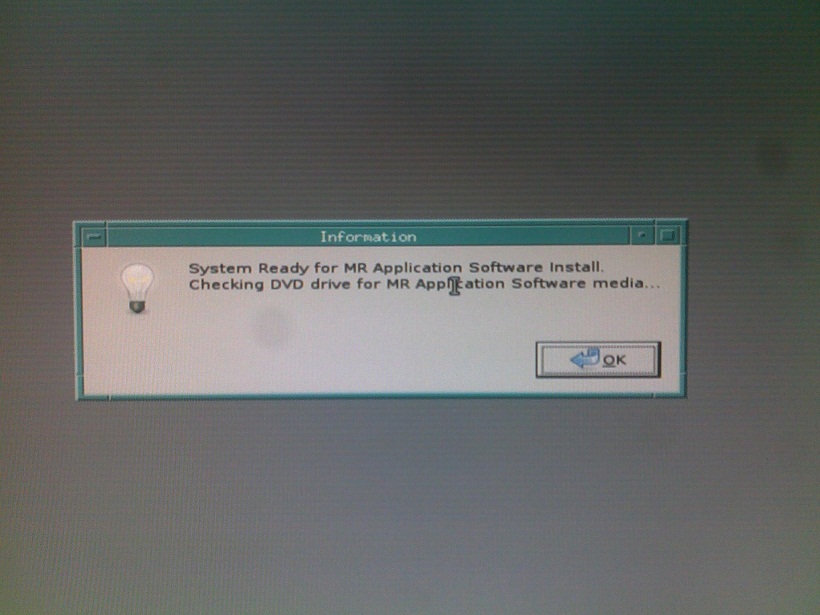
- When the Information window (shown in Figure 5) displays,
click OK to confirm the run.
Figure 5. Confirmation Window
The system begins partitioning the hard drives. A progress window displays. (See Figure 7.)
Figure 6. HDD Probe Complete
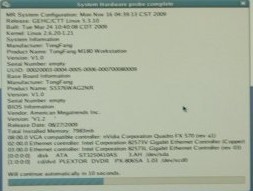
Figure 7. Disk Partitioning Screen

The system reboots automatically when the partitioning is complete. Do not interact with the system.
- notice
- The following screen is shown while system is installing Guided
Install Package after click OK of “HDD preparation complete”.
Figure 8. installing Guided Install Package.

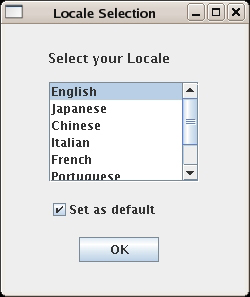
- When the Locale Selection window (shown
in Figure 9) displays, select the proper locale and language, then click OK.
Figure 9. Select Location
- The Guided Install screen will display.
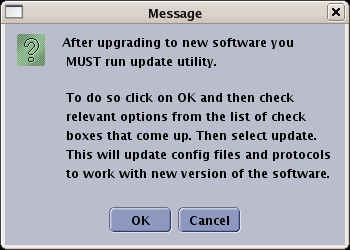
When the Message screen (shown in Figure 10) displays indicating
the improvements made from the previous software version, click OK to continue.
Figure 10. Guided Install Upgrade Screen

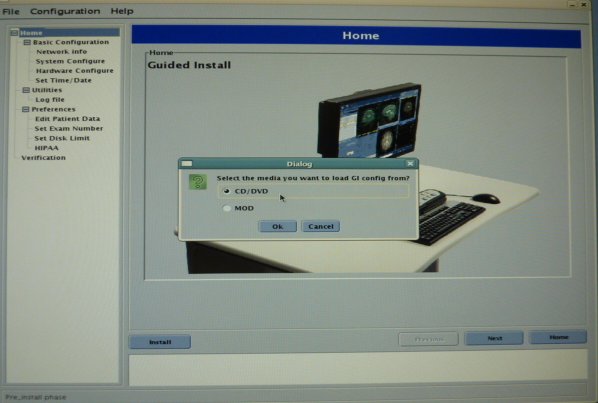
- A message box concerning the Guided Install Configuration Media
will display. (See Figure 11.)
Figure 11. Install Configuration Media Window
- notice
- Remove Application DVD and insert the Save Info DVD. Verify
that the correct values are restored by checking each tab in the next
step. Click OK to reinstall the last GUI installation
configuration values.
-
The SaveInfo files are not restored at this point in the software load, but will be restored later.
-
If the GUI configuration was not saved, or the load is being performed for the first time, click Cancel to continue manually with the installation.
-
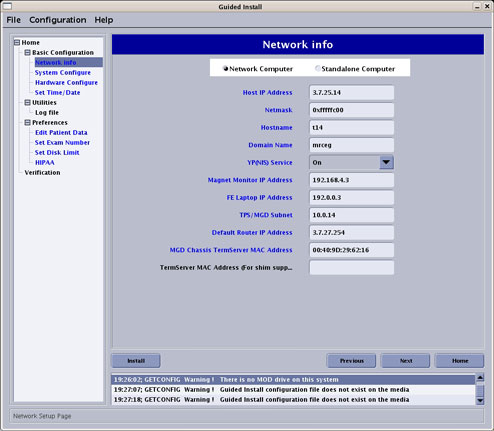
- Select Basic Configuration tab shown in Figure 12. Verify that
all values under this tab are configured properly, including Time/Date.Refer to Guided Install Options to verify the configuration
for each item.
-
If failures are noted, click on the failure, then click Go to Tab.
-
If any parameter does not match the expected criteria, the values in the left column will be red. If everything is acceptable, all values remain black. A changed value is indicated in blue.
Figure 12. Guided Install - Configuration Screen
 note:
note:Select proper governing body for the customer site; usually IEC (or other selection if required by local regulation). For Japan, select ‘MHLW-JIS’."
-
- If the Guided Install configuration was successfully restored
from the DVD, it is not necessary to change any of the parameters.
- Check the parameters on the Verification tab, and confirm there are no failures. If there are failures, make the necessary changes.
- Make sure all required configuration tabs are filled out (not in any specific order) before continuing. The Verification tab lists any formatting errors as well as current settings.
- notice
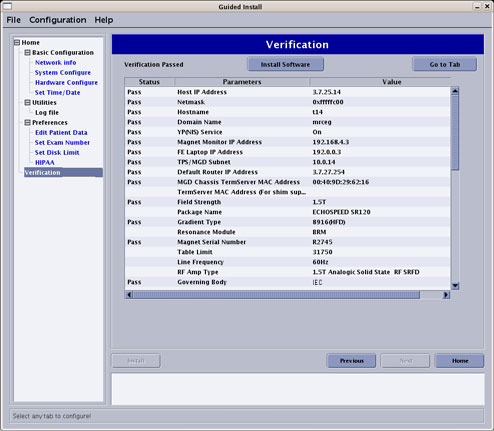
- Proceed to the Verification tab shown in Figure 13.
- Look for any items with a Fail status. Go to the tab with the error and correct it.
- Click Install to open the Verification tab again.note:
Failed entries are due to missing or incorrectly formatted entries. The Install Software button is inactive if there are failures.
Figure 13. Guided Install - Verification
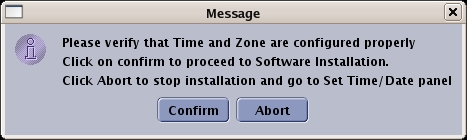
- If all entries pass verification at this point, click Install Software to begin the MR Applications load. If
the time and time zone are correct, click Confirm to proceed. (See Figure 14.)
Figure 14. Confirming Local Time
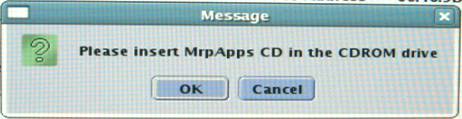
- A message box will display concerning that if the MR Application
DVD is in the DVD driver. (See Figure 15)
Remove SaveInfo DVD-R and Insert MR Application DVD click [OK] to proceed.
Figure 15. Confirming MR Application CD
 note:
note:If the Application Software Installation does not move to the next stage as Step 13, click [Install Software] button again described in Step 10.
If the disk is ejected automatically with a message window “Please Insert MrpApps CD in the CDROM drive” is showed, insert disk to the drive manually; then wait until loading completed which can judge from the indicator light. It takes around 30 seconds, then click “OK” on the message prompt.
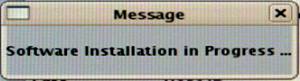
- A Software Installation in Progress message will display. The
MR Applications load will take 10-15 minutes, depending on the host
PC. (see Figure 16)
Figure 16. Software Installation Message
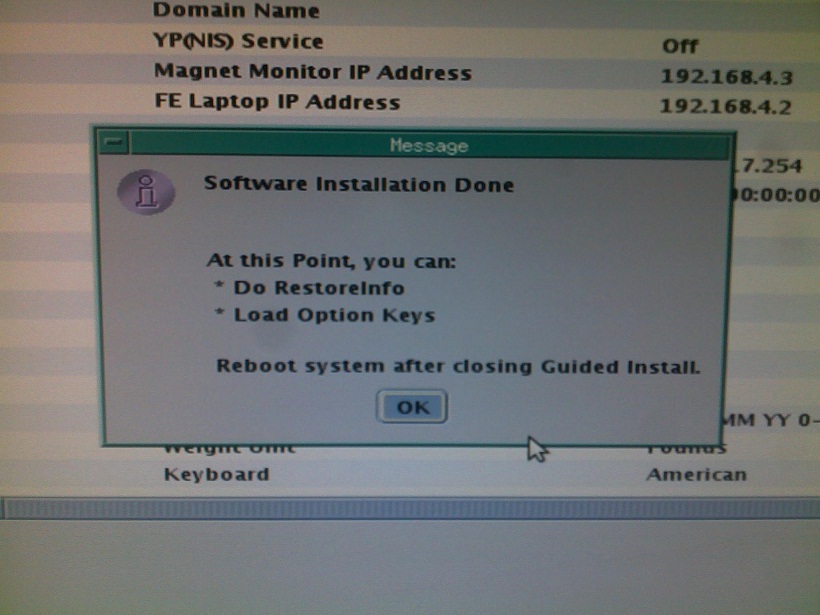
- Once the MR Applications load is complete, a confirmation message
(shown in Figure 17) displays. Click OK to close the window.
Figure 17. Guided Install - Software Installation Completed
- The GUI returns to the Guided Install window.
Under the Utilities tab in the left navigation,
select Save/Restore to open the Save/Restore screen shown in Figure 18.
- If the DVD with the saved configurations is not available, go
to each tab in the Install GUI and complete all system information
manually. A Help button that provides information
on the required data and its format is available on each tab.
Figure 18. Save/Restore Screen

- If the DVD with saved configurations is available, click Restore Information, and select the proper media from the dialog box. (See Figure 11.)
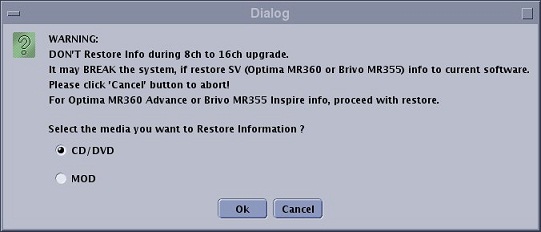
- When the Restore Info Dialog box (shown
in Figure 19) displays, click Restore all files automatically, then click Continue.
Figure 19. Restore Option Window
 note:
note:If restoration fails, the DVD automatically ejects the media. Exit the Guided Install and allow the system to reboot. When the system restarts, return to the Guided Install and attempt to Restore Info again.
- If the DVD with the saved configurations is not available, go
to each tab in the Install GUI and complete all system information
manually. A Help button that provides information
on the required data and its format is available on each tab.
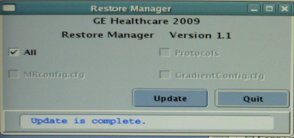
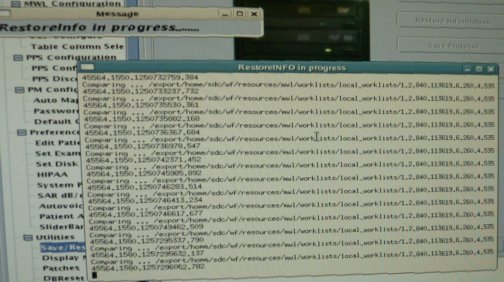
- A RestoreInfo in Progress window scrolls filenames as they are restored.
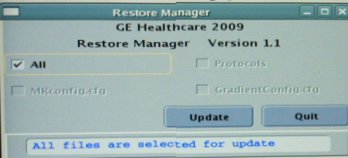
- Select All to restore all items, and click Update.
- When the update is finished, the message 'Update is complete.'
is displayed at the message area. Click Quit.
Figure 23. Guided Install - Restore Utility
- Click Yes when the Quit Tool message (shown in Figure 24) displays.
Figure 24. Quitting Restore Manager

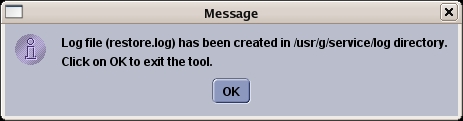
-
The message shown in Figure 25) confirms that a log file was created. Click OK to finish.
-
The MR Applications software load is now complete.
Figure 25. Log File
-
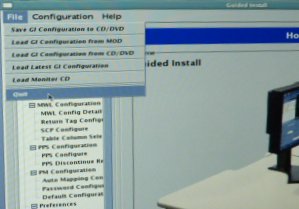
- Quit the Guided Install by selecting ‘File’ -> ‘Quit’
Figure 26. Quit the Guided Install
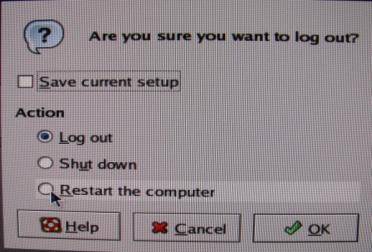
- Reboot the system, by click the right mouse button and choose
Reboot, by selecting Desktop on the left corner
of the monitor, then Logout, then Restart the computer, and then OK.(SeeFigure 27 and Figure 28)
Figure 27. Log out
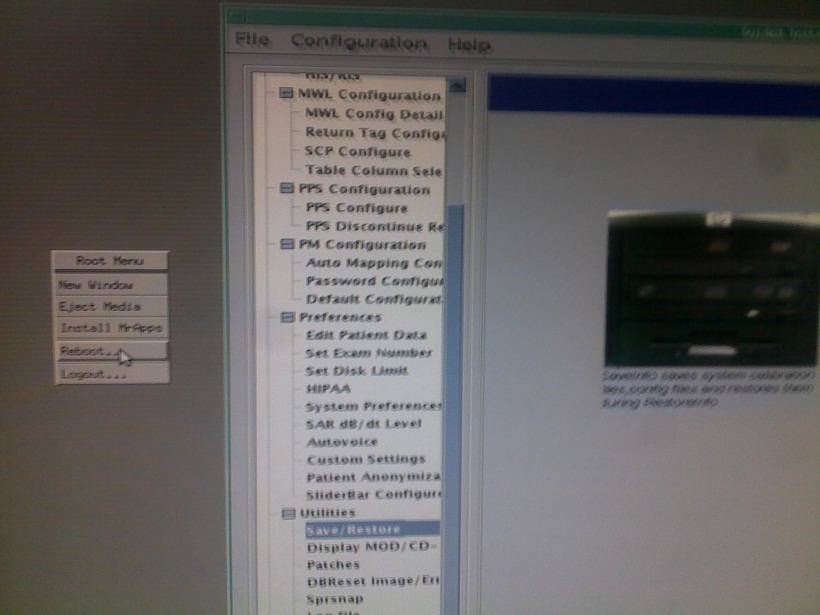
Figure 28. Restart the computer
- Log in to the system as root (password
is operator)
Figure 29. Log in

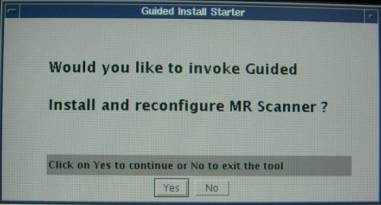
- The Guided Install Starter will pop up. Click [Yes] to start
Guided Install. (See Figure 30)
Figure 30. Guided Install Starter
- Manually eject the DVD driver and remove the MR Applications DVD.
- Proceed to Loading and Configuring VRE Software.
|
|
|
3 Loading and Configuring VRE Software
Procedure
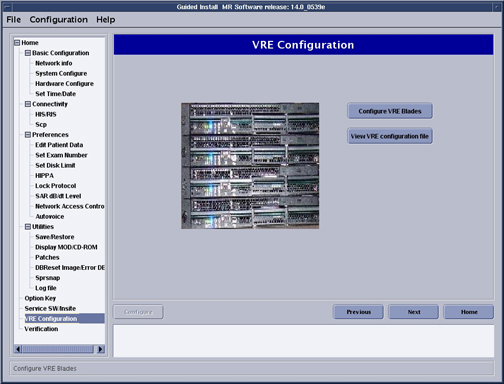
- From the Guided Install interface left navigation menu, select VRE Configuration.
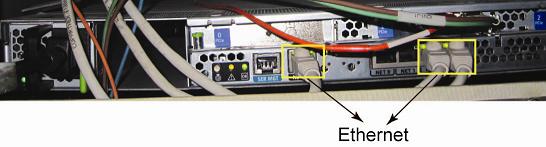
- When the Information window (shown in Figure 32) displays, click Continue to confirm that the VRE Gigabit Switch Ethernet
and Host Ethernet connections (Figure 33) are complete
and correct.
Figure 32. Confirm VRE Installation

Figure 33. VRE Gigabit Switch and Host Ethernet Connections (ICN 4170M2)
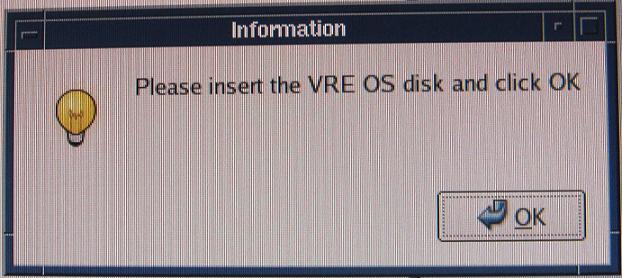
- After M4 software, a pop-up message will prompt the user to
insert the SV OpenSuse OS DVD for copying the ICN OS contents onto
the hard drive. Insert the SV OpenSuse OS DVD into the DVD-ROM drive
of the host computer and click [OK]. VRE configuration progress details
will display while ICN OS contents are being copied. For M3 software,
skip this step and perform next step.
Figure 34. Insert DVD OS Disk Pop-Up
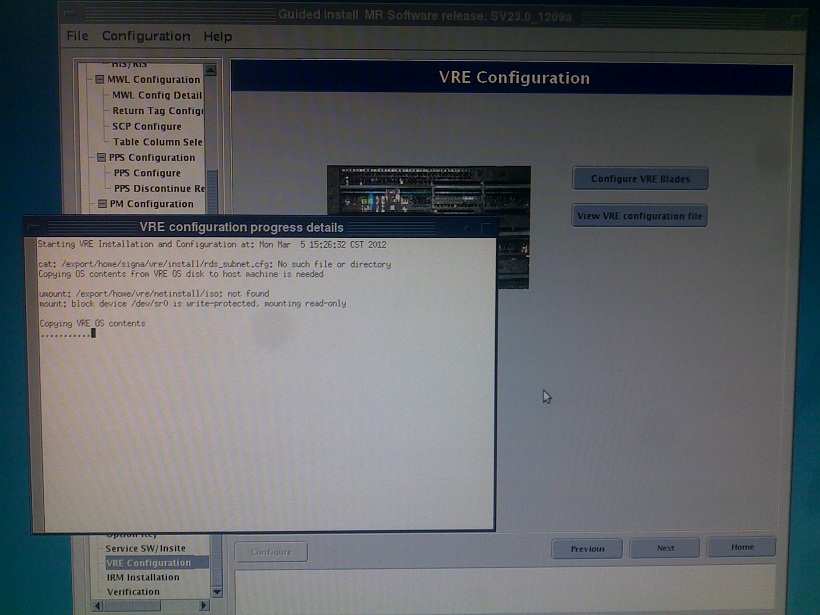
- The system needs to be configured for 1 ICN. This procedure
will take between 25-30 minutes.
-
A VRE Configuration Progress Details window shown in Figure 35 will display.
-
When VRE configuration is complete, a configuration Success message is displayed. Click [OK] to continue.
Figure 35. VRE Configuration Progress Details
-
- When the Information window confirms that the configuration is complete, click OK.
4 Other software Installation
Procedure
- Remove Service Software CD from the system.
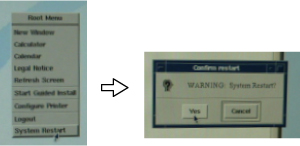
- Restart Linux PC by right-clicking on
desktop, and then selecting [system restart]. Click [Yes] for the question ‘System
Restart?’.
Figure 36. Reboot the computer.
- You will need to enter the following login ID and password twice
for system boot.
login ID: sdc
Password: adw2.0
- Insert the Service Methods CD into the CD-ROM drive in the PC.
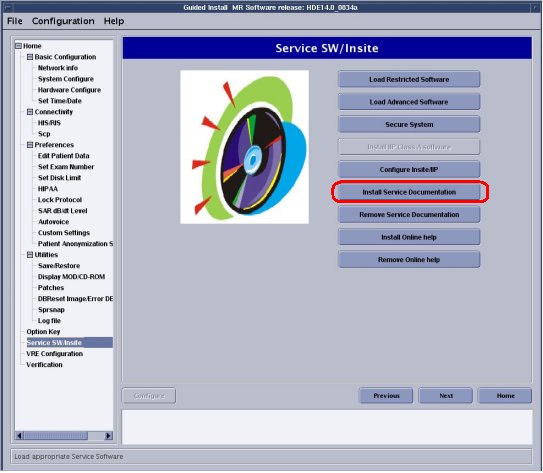
Click on Install Service Documentation. See Figure 37.note:
The Service Methods CD can be loaded onto the software platform. The load will take approximately 12 minutes to complete.
Figure 37. Loading Service Documents To The Scanner
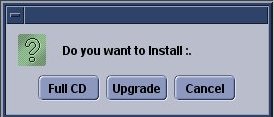
- Select [Full CD].
Figure 38. Message
- Remove the Service Methods CD after installation is done.
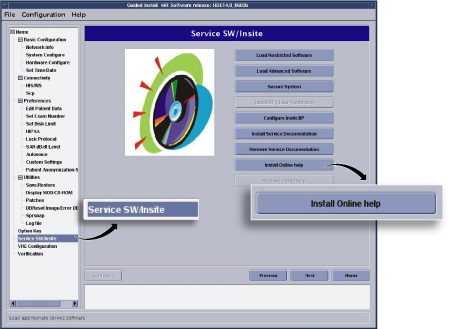
- Insert the Online Help DVD into the CD/DVD ROM drive in the
PC. Click on [Install Online Help] Button.
Figure 39. Loading Online Help
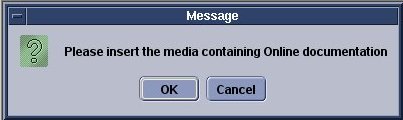
- Click OK.
Figure 40. message
- Select the language of Online Help and click [OK].
Figure 41. Language Selection

- Verify that the following message comes up. Then, click [OK].
Figure 42. MESSAGE

- After the installation of the Online help, remove the Online help DVD from PC.
- If necessary, install option software.note:
For installing the software using the e-licensing , refer to Signa Software Option Install with eLicens
5 SaveInfo Procedure
Procedure
- Perform Save Info.
- If verify info is not done yet, perform Verifying Save Restore Media.
6 Finalization
Procedure
- IMPORTANT: Make sure that the latest Service Pack is loaded. See the latest revision of MR Service Pack Software Matrix, DOC1667089, available from the online documentation library.
- If more information is needed for how to load Service Packs, refer toInstalling Software Updates
- Restore IIP configuration data which was write down before Software installation.
- Restore protocol and worklist favorite which was write down before Software installation. Refer to How to record/restore protocol and worklist favorite.