- 00000018WIA30DAA650GYZ
- id_20250411.9
- May 12, 2020 3:04:50 PM
Installing McAfee ePolicy Orchestrator (ePO)
The customer takes on the responsibility of checking that they meet the product requirements, downloading the McAfee ePolicy Orchestrator (ePO) software, and configuring the server appropriately.
Prerequisites
| Personnel requirements | |||
|---|---|---|---|
| Required persons | Preliminary requirements | Procedure | Finalization |
| - | - | 60 minutes of customer IT time. The GE FE does not need to be on site. | - |
| Required conditions |
|---|
| A Windows machine featuring appropriate hardware and system requirements for the latest McAfee ePO according to the system use case. Refer to the requirements here: |
| Administrator rights on said Windows machine. |
| Port 1434 open for traffic. |
| Local running SQL Server and Database. Microsoft SQL Server is a relational database management system developed by Microsoft. As a database server, it is a software product with the primary function of storing and retrieving data as requested by other software applications—which may run either on the same computer or on another computer across a network. |
About this task
Follow these instructions to install McAfee ePolicy Orchestrator on a remote Windows machine. McAfee ePO should be installed by first downloading the free trial version from the McAfee website, and inserting the license key provided by GEHC during the setup process in order to upgrade to the full licensed version of the software.
- The McAfee free trial can be downloaded from the McAfee Enterprise ePolicy Orchestrator web page. https://www.mcafee.com/enterprise/en-us/products/epolicy-orchestrator.htmlNote: If the link does not work, navigate to the McAfee website and navigate to the Enterprise version of their software. Search for ePolicy Orchestrator to click the McAfee ePolicy Orchestrator link to navigate to where the Free Trial file is located.
- The license keys can be found in your Option Key statement.
Procedure
- The Database Information step will require the server and database names, as well as an authentication method.
- Click Next. The client will now attempt to connect to the SQL Server using the credentials provided. Note: If a dialogue box saying Setup was unable to access the SQL UDP port 1434 shows, click Ok and enter an open port number in the port field, or open UDP port 1434 from your Windows and Firewall Settings. Click Next.
Figure 1. Database Information window 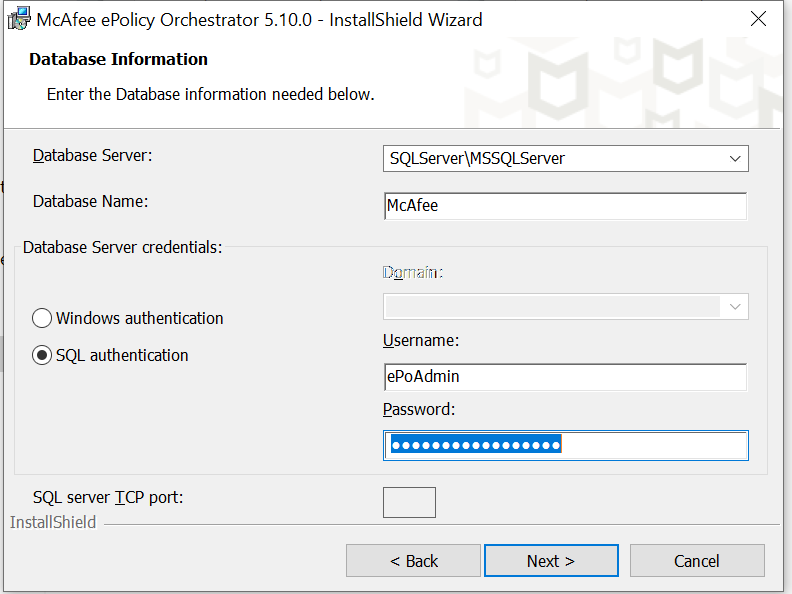
- Click Next. The client will now attempt to connect to the SQL Server using the credentials provided.
- The Pre-Installation Auditor now starts automatically. This is the client’s installation diagnosis tool, aiming to make sure proper data flow can occur between the SQL server and the ePO. Review the results and correct any failures or warnings. Refer to the documents linked by the client if needed. Click Rerun. After all checks have passed, click Finish.
Figure 2. McAfee ePolicy Orchestrator Pre-Installation Auditor window 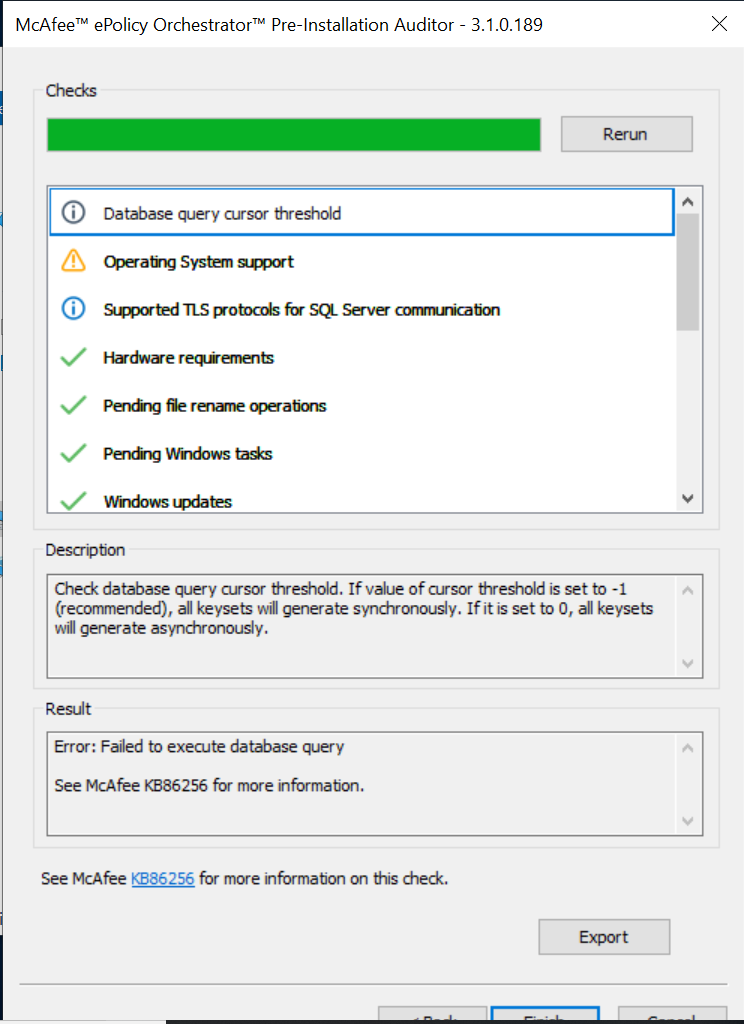
- In the HTTP Port Information step, review the port assignments and click Next. Make sure the assigned ports are not already in use. You can change some of the ports now, but after the installation is complete only the Agent wake-up communication port and Agent broadcast communication port can be changed. See the example below (your ports might differ).
Figure 3. HTTP Port Information window 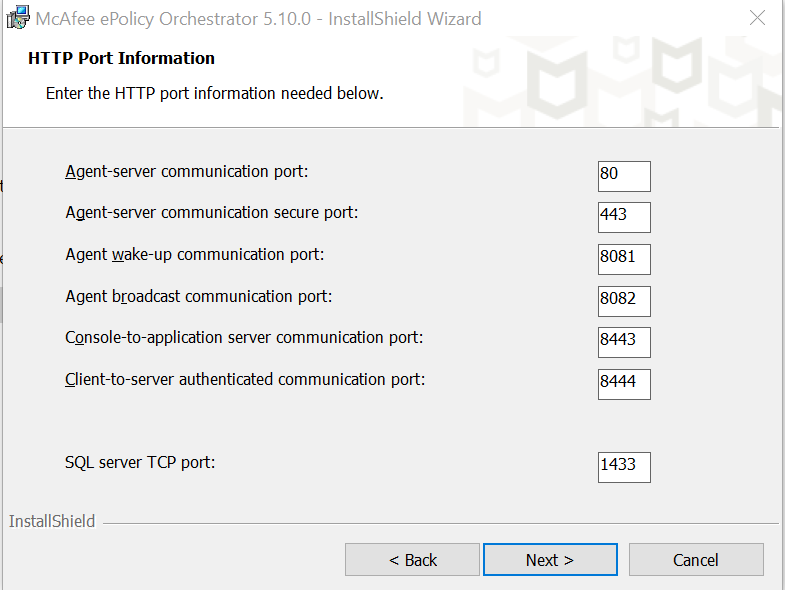
- In the Administrator Information step, enter the following information.
- User name and password to be used for the primary administrator account.
- Server recovery passphrase. This passphrase should be remembered, as it is needed to decrypt the Disaster Recovery Snapshot records and McAfee cannot recover it. It includes 14-200 characters, no backslashes, no spaces, no double quotation marks, and no characters below ASCII 32 or above ASCII 6535. Click Next.
Figure 4. Administrator Information window 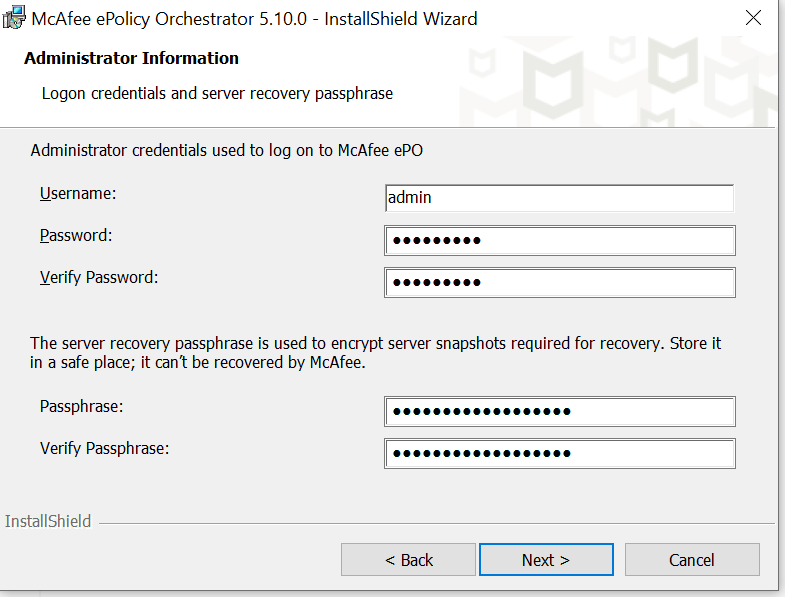
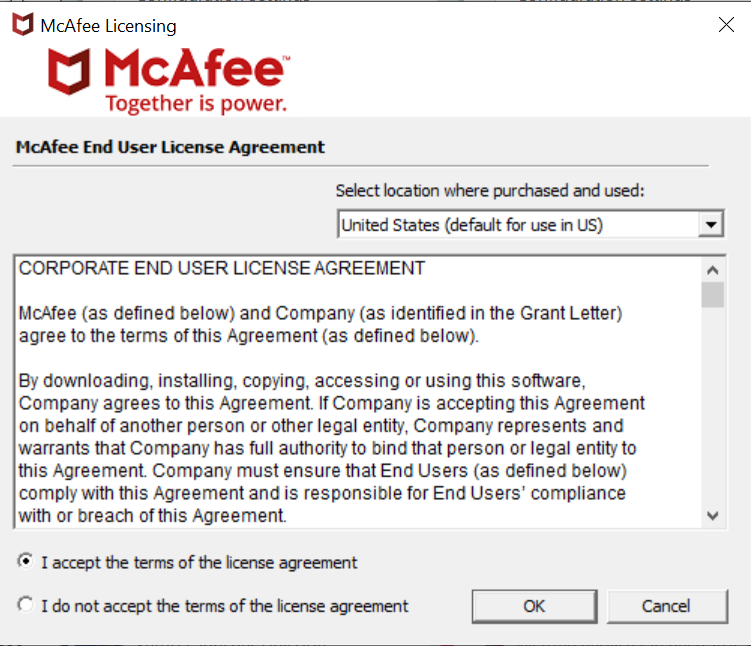
- Accept the McAfee End User License Agreement and click OK.
Figure 5. McAfee End User Agreement License window