- Topic ID: id_17423038
- Version: 4.0
- Date: Jan 20, 2020 8:35:14 PM
Thermistor Replacement
Prerequisites
Overview
This procedure defines the necessary steps to Remove and Install the Thermistor.
1 Preparation
Procedure
- Move table to home position, fully out and down.
- Remove right side gantry cover.
Refer to Parts Replacement → Gantry → Enclosure → (Cover Removal Procedure).
- Stop the rotor of X-ray tube in case of Liquid Bearing Tube before HVDC off. Refer to Liquid Bearing Tube Rotor stop procedure for details.
- Turn OFF the Axial Drive and HVDC switches on the gantry’s Service Switch Panel.
- Position the detector at 12 o'clock and lock gantry rotation.
- Turn OFF the 120 VAC switch on the gantry’s Service Switch Panel.
- Remove the gantry left side cover, top covers and front cover.
2 Removal Procedure
Procedure
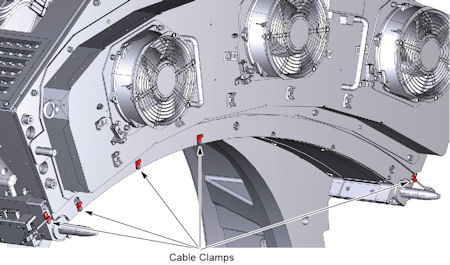
- Remove cable clamps as necessary.
Figure 1. Cable Clamps
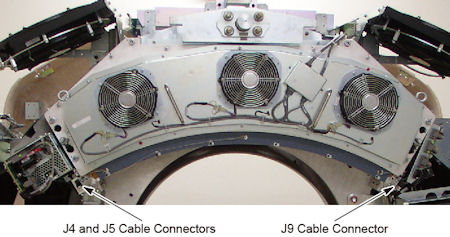
- Disconnect the thermistor cable connector(s) from the thermistor
assembly.
Figure 2. Thermistor Cable Connectors
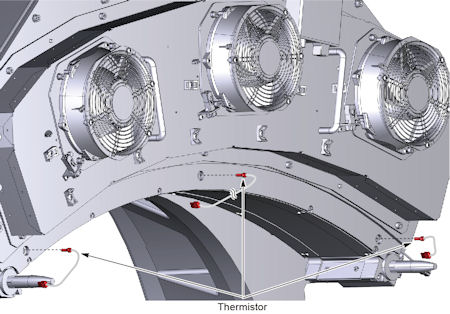
- Unscrew the thermistor from the detector.
Figure 3. Thermistor(s) Removal
3 Installation Procedure
Procedure
- Screw in the new thermistors using proper torque. Do NOT overtighten.
- Connect the thermistor cable connector to the thermistor assembly.
- Install the cable clamps as necessary.
4 Gantry Reassembly
Procedure
- Make sure the Axial Drive, HVDC and 120 VAC switches on the gantry’s Service Switch Panel are OFF.
- Release the gantry rotational lock and install gantry covers,
all except the right side cover.
Refer to Replacement → Gantry → Enclosure → (Cover Removal Procedures).
- Turn on the 120 VAC, HVDC and Axial drive service switches.
- Install gantry right side cover.
5 Finalization
Procedure
- Allow the detector to warm up while monitoring the detector temps to make sure all 3 zones are coming up to temperature. The detector may take up to 45 minutes to come up to temperature. Check Detector temps to make sure the detector warms up to 38 degrees C and stays there. Detector warm up may take up to 45 minutes.
- Perform a Fastcal.
- Perform the [Quality Assurance Test] from the [Functional Checks] menu of the service manual to ensure system operation.