- Topic ID: id_15460856
- Version: 3.0
- Date: Apr 22, 2019 12:55:29 AM
Install Software Options - Optima CT660
If you do not have the Options DVD-RAM, you can use the eLicense Tool. Follow this link to the eLicense Page: http://elicense.gehealthcare.com/elicense/.
This section of the procedure will need to be repeated for each and every Option DVD-RAM, until which point all options have been installed.
The order in which Options are loaded is important. Use the lists (Standard Options / Additional Options) in Installation manual for proper installation order.
Software Option licences are also saved and restored via the System State Backup Media. This procedure is only required when installing a Option for the first time or if the System State Backup media is not available.
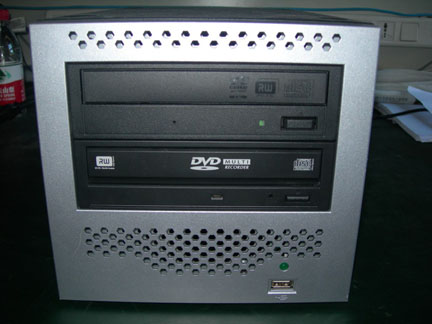
Figure 1. PMT: DVD-Multimedia

Figure 2. PMT: DVD-RW and DVD-RAM
1 Procedure
-
Insert the Options DVD-RAM in the Peripheral Tower DVD-RAM drive.
-
Click on the Service icon to access the Common Service Desktop (CSD).
-
Click on Configuration Tab of CSD and select Install Options.
-
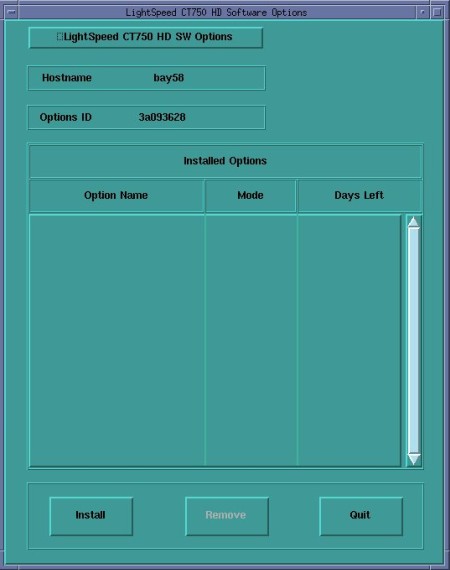
A Software Option Install Window will open. SelectInstall.
Figure 3. Install Option Window
-
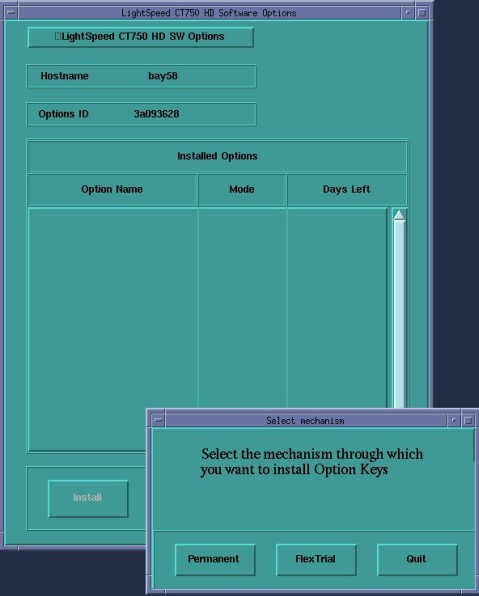
The Select Mechanism box appears.
Select Permanent.
Figure 4. Select Mechanism Window
-
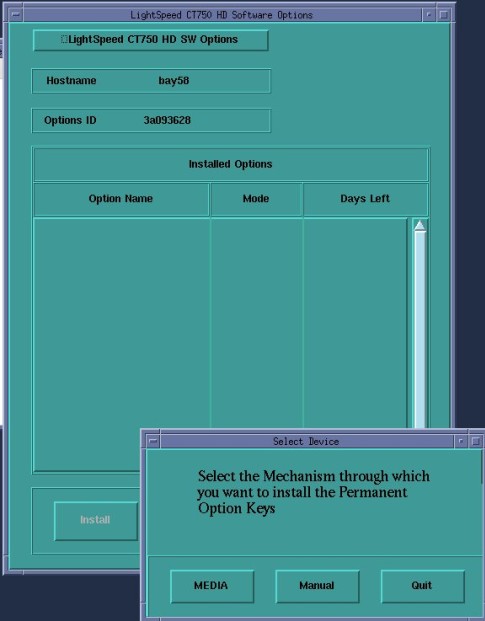
The Select Device box appears.
Select MEDIA.
Figure 5. Select Device Window
-
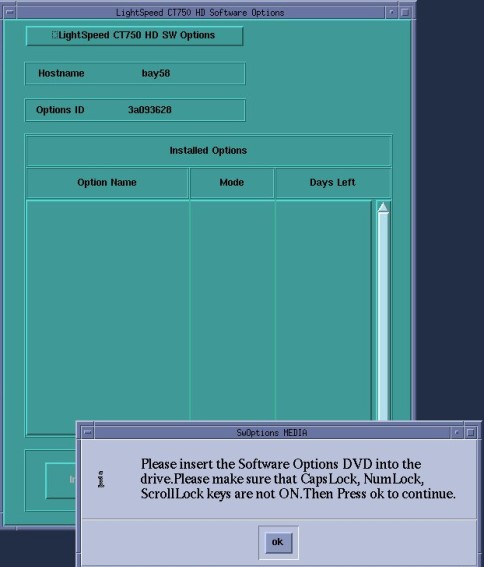
Confirm Options DVD is installed in DVD-RAM Drive.
Select OK.
Figure 6. Options DVD in Peripheral Drive Confirmation Window
-
Software options available for installation are displayed on the options screen.
Figure 7. Select Options Window
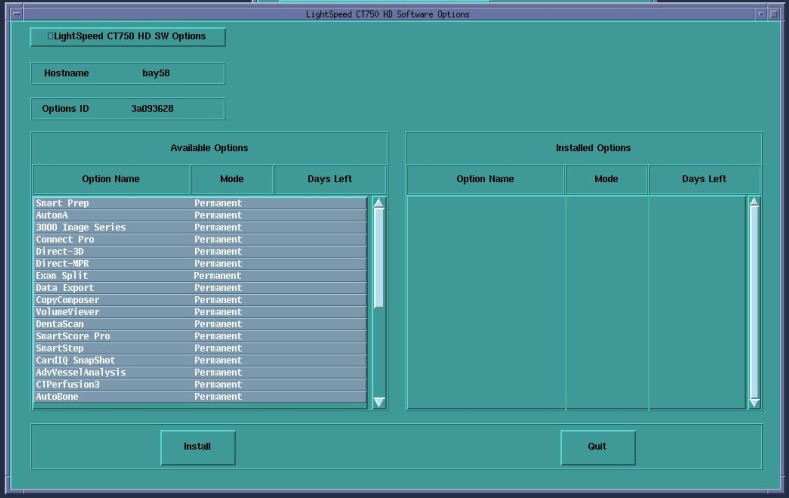
Select Options by clicking on the first listed option and dragging the mouse downward to highlight the rest of the visible listed options. If Options list is longer than what is displayed (without moving the vertical slider), perform this step as many times as needed until all Options are loaded. Do not attempt to select all Options in one step. The user interface will not allow the selection of all Options beyond what is visible in the window.
Select Install.
-
Select Quit exiting the Select Options Window when the process is complete.
-
Select Quit again to exit Install Options window.
-
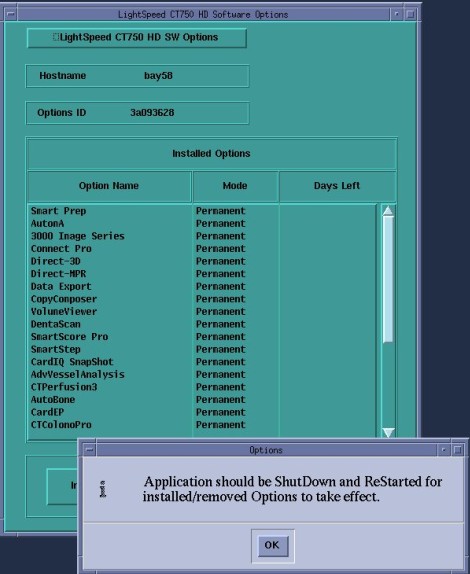
A window pops-up displaying: “Application should be shutdown and restarted for installed/removed options to take effect.”
Select OK.
Figure 8. Select Options Window - Shutdown/Restart
-
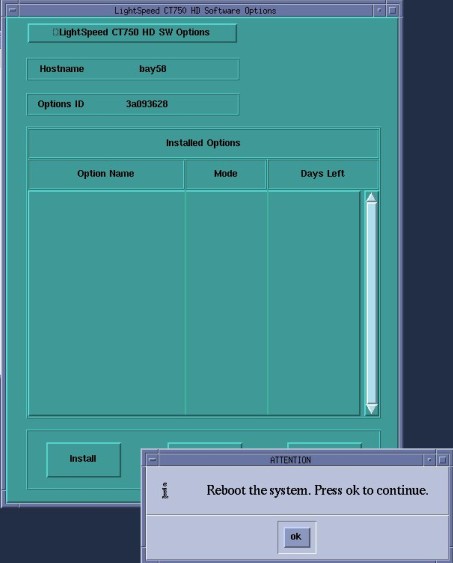
A window pop-up displaying: “Reboot the System. Press OK to continue.”
Select OK.
Figure 9. Select Options Window - Reboot
-
Reboot the System. Select Shutdown on the Desktop and select Restart, then OK on the Attention Window.
-
Allow the System to come up fully into Application Mode. If the CT Applications fail to start automatically, open a Terminal Window.
Type: {ctuser@hostname} stENTER.
-
Check that the Options are now loaded via the View Options selection in the Configuration Tab screen in CSD.
2 Finalization
-
If performing a Load From Cold, return to 10HW02.x / 10HW33.x Load From Cold or 11HW34.x Load From Cold.
-
If installing a new Option, perform a system scanning test that utilizes the new Option.