- Topic ID: id_15460686
- Version: 2.0
- Date: Nov 8, 2018 1:36:50 AM
VeRB2 BIOS CMOS Settings
Prerequisites
Overview
The following procedure describes and illustrates the BIOS CMOS settings for the VeRB2 Computer.
Only those settings that are altered from the installed BIOS defaults settings are listed in the procedure. The procedure first restores default values. Select settings are then changed to meet specific needs for the hardware application.
DIG Motherboard BIOS Revision: S5000.86B.11.00.0096.101720071530, (E0-Stepping CPUs).
1 BIOS Settings Preparation
Procedure
- Shut down Applications from the Common Service Desktop, Utilities Tab.
- Open a Terminal Window, and log on as root:
- Type: {ctuser@hostname} su- ENTER
- Type the root password and press ENTER
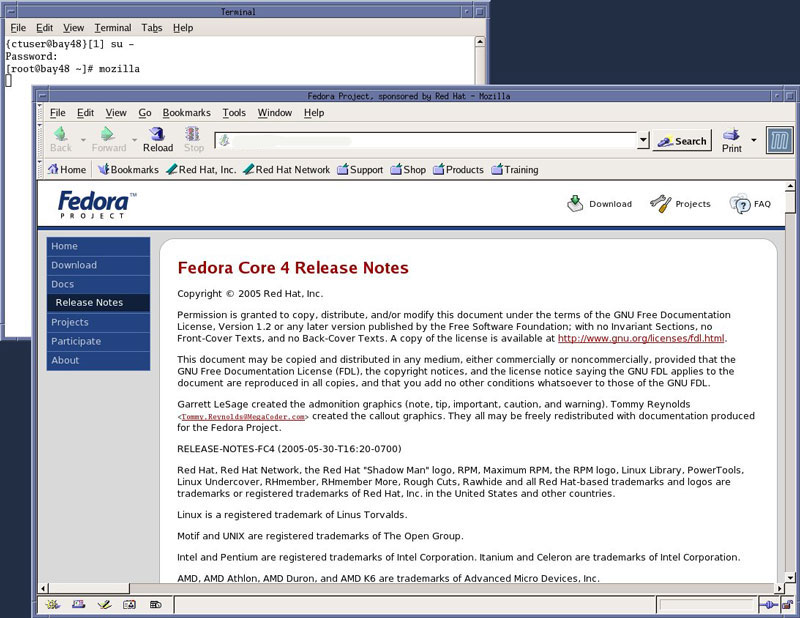
- Launch the Mozilla WEB browser:
- Type:{root@hostname} mozilla ENTER
- Select default profile.
- Select Start Mozilla.note:
Steps b & c will only appear if the Mozilla Browser default profile has been altered and saved.
Figure 1. Mozilla Web Browser
- Follow instruction listed in the following section for setting the VeRB2 Computer Motherboard BIOS Settings.
2 VeRB2 Motherboard BIOS Settings
Procedure
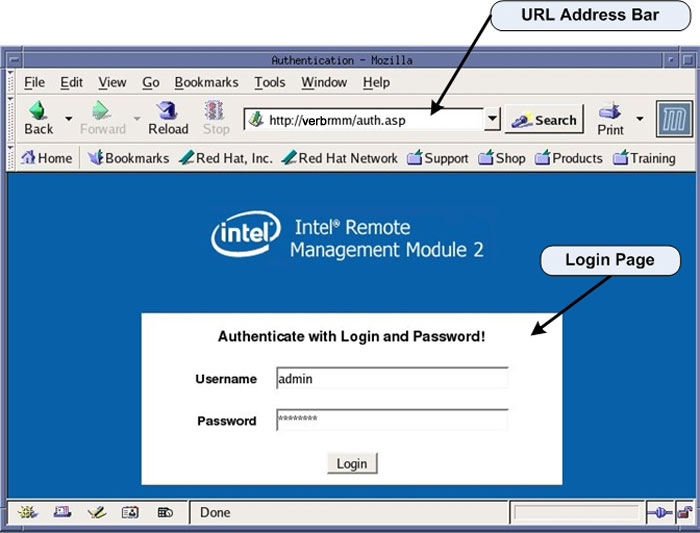
- In the WEB Browser URL Address Bar:
Type: verbrmm ENTER
- The WEB Browser will update and display the Login page for the
VeRB2 RMM.
Username Type:admin TAB
Password Type: password ENTER
Figure 2. VeRB2 RMM Login Page
- The WEB Browser will update and display the Home page for the
VeRB2 RMM.
Figure 3. VeRB2 RMM Home Page
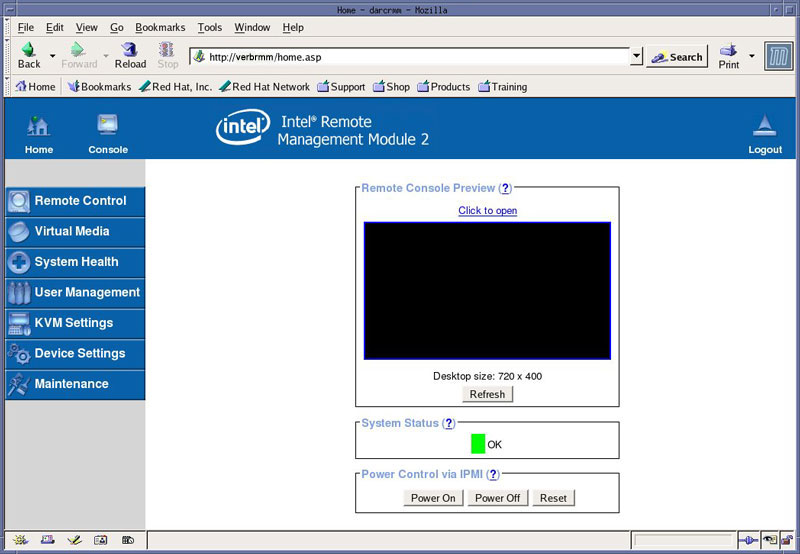
- Click on Console icon or Click
to Open in the Remote Console Preview window on the RMM Home Page to open a Remote Console.note:
The Remote Console is a redirected display of the VeRB2 Computer. It will appear blank when first accessed. The Remote Console will act much like a KVM Switch, virtually using the Host Computer’s Monitor, Keyboard and Mouse
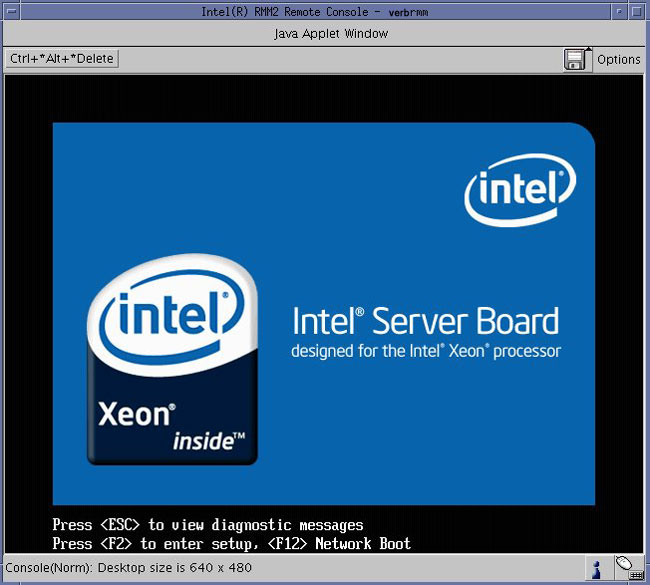
- Reset the VeRB2 Computer by pressing the RESET button on the VeRB2 Computer front panel. This will cause the VeRB2 Computer to reboot, but does not reset the RMM. Shortly there after, the Boot Screen of the VeRB2 Computer should be displayed in the Remote Console window.
- Press F2 on the keyboard when instructed,
to enter the VeRB2 Computer’s Motherboard BIOS setting routine.
See Figure 4.note:
Multiple F2 presses may be needed to enter BIOS Setup.
Figure 4. BIOS Setup Flash Screen
- Press F9 and click YES to load Optimized Defaults (BIOS Default Settings).
- Select the Main tab.
- Use +/- keys to change defaults, see on-screen menu keys for additional help.
- Set Post Error Pause setting to DISABLED.
- Hit Esc to return to the top level of BIOS Setup.
- Navigate to the Advanced tab.
- Set System Acoustic and Performance Configuration > Throttling Mode to CLOSED LOOP.
- Hit Esc to return to the top level of the Advanced tab.
- Set PCI Configuration > Dual Monitor Video to ENABLED.
- Hit Esc to return to the top level of the Advanced tab.
- Set PCI Configuration > OnBoard NIC2 ROM to DISABLED.
- Hit Esc to return to the top level of the Advanced tab.
- FOR E0 STEPPING CPU's, BIOS REV. S5000.86B.11.00.0096.101720071530
ONLY. Set Processor Configuration > Deep C-State Support to OFF.note:
BIOS Revision can be found on the Main tab.
- Hit Esc to return to the top level of BIOS Setup.
- Navigate to the BOOT OPTIONS tab.
- Set the boot order settings as follows:
-
1. IBA GE Slot 400
-
2. Intel RMM2 Vdrive
-
3. EFI shell
-
4. N/A
-
5. N/A
-
- Press the F10 and YES to save settings and exit.
- The VeRB2 Computer will reboot.
3 Verify VeRB2 Computer Operation After BIOS Settings
Procedure
- After completing the BIOS Settings Procedure, the VeRB2 Computer
will reboot. Verify that the VeRB2 Computer has powered up and is
not displaying or sounding any POST Errors.note:
See VeRB2 Troubleshooting if any Post Errors appear.
- Close Mozilla Browser and reboot the system by typing:
Type: [root@hostname] reboot ENTER
- In order to assure proper operation of the VeRB2 computer, perform
the System Configuration procedure located in the
applicable folder of this service
methods publication.note:
No changes are required in the System, Preferences, Hardware, and Network settings. The procedure just needs to be executed in order for the automated scripts to run. During the re-configuration process the DHCP Server running on the Host Computer is reconfigured to support the new VeRB2 Computer Ethernet MAC addresses
note:Until the System Configuration Procedure is performed, the Linux OS bootup text will display an error message when the VeRB2 computer attempts to mount its NFS on the Host Computer. Ignore the error message.
4 Finalization
Go to Functional Checks in this manual and perform System Scanning Test to confirm proper operation.