- SIGNA™ Hero 3.0T Service Methods
- 5852800-8EN Revision 1.0
- 00000018WIA3075D840GYZ
- id_20152874.0
- Feb 22, 2021 1:47:27 AM
Setting up Adaptive Image Receive (AIR) MP medium coil
Prepares the Adaptive Image Receive (AIR) MP medium coil for the Multi-Coil Quality Assurance (MCQA) check.
Prerequisites
Note: Coils do not ship with phantoms. Phantoms come in a unified phantom set with the system.
| Personnel requirements | |||
|---|---|---|---|
| Required persons | Preliminary requirements | Procedure | Finalization |
| 1 | - | 30 minutes | - |
| Tools and test equipment | |||
|---|---|---|---|
| Item | Quantity | Part number | Manufacturer |
| TL Unified Phantom (for 3.0T) | 2 | 5343347-2 | - |
Procedure
- Put the flat filler panel on the table.
Figure 1. Flat filler panel 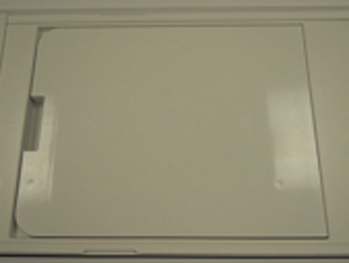
- Place a TL unified phantoms on the cradle with the short edge of the phantom along the SI direction and the long edge of the phantom aligned with the edge of the flat filler panel.
Figure 2. TL unified phantom aligned with the flat filler panel edge 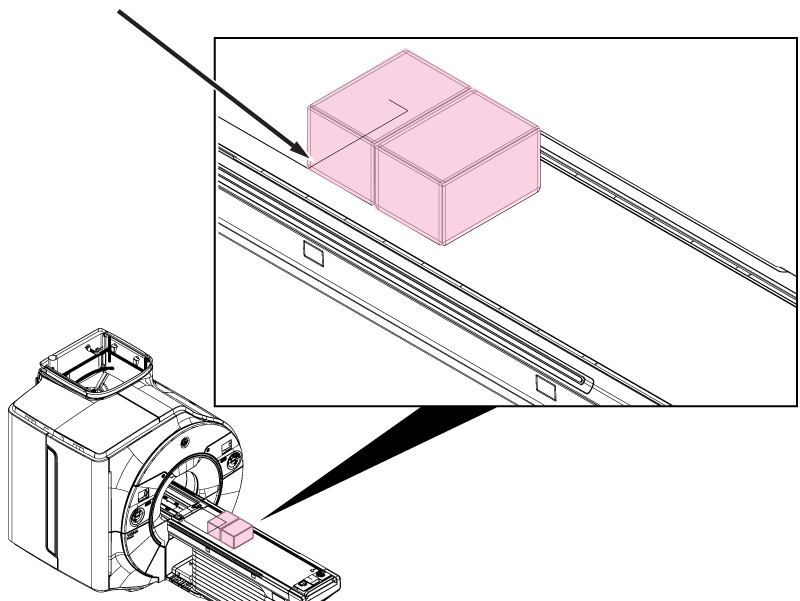
- Landmark the center point of the line where the edges of the phantoms meet.
Figure 3. Phantom landmark 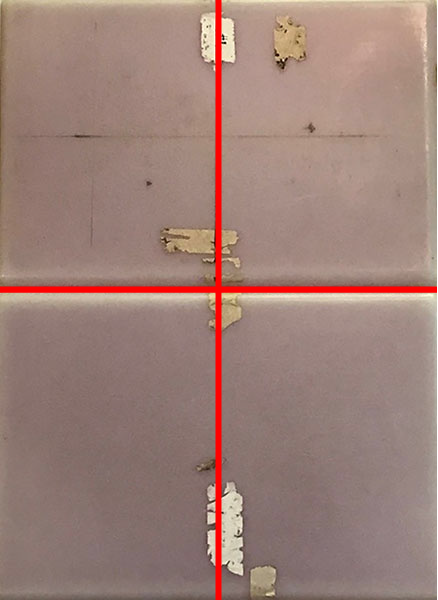
- Position the coil center on phantom setup with the center of the coil aligned with the landmark crosshairs.Note: Coil orientation is critical. Make sure the interface box is on the operator's right side of the bore (the same side as P2).Note: There is NO need to wrap and secure the coil with straps.
Figure 4. Coil placement on phantoms 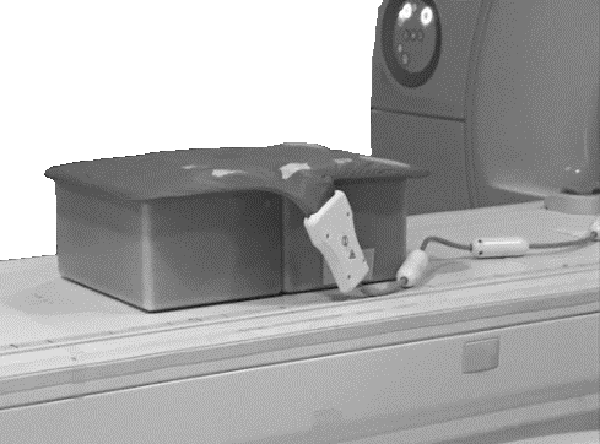
- Make sure the cable is inside the boundaries of the table so that it does not get caught in the tracks.
Figure 5. AIR MP coil route 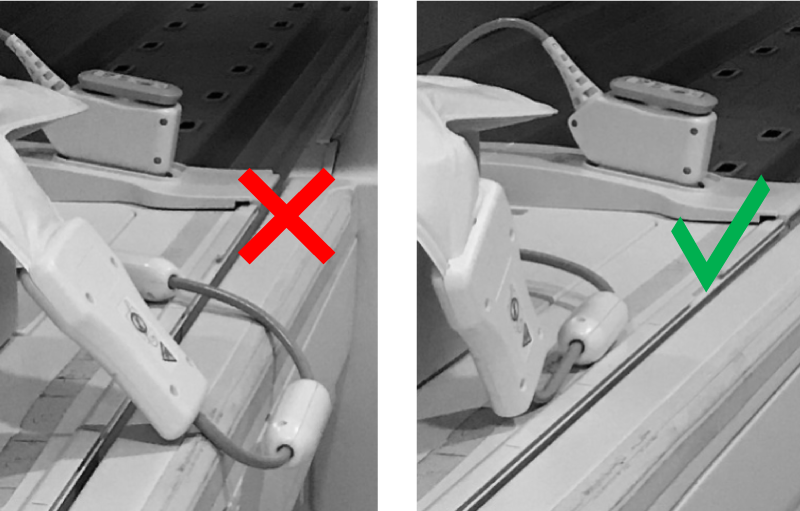
- Landmark the center of the AIR MP M coil as shown and press Advance to Scan.
Figure 6. Coil landmark location (center) 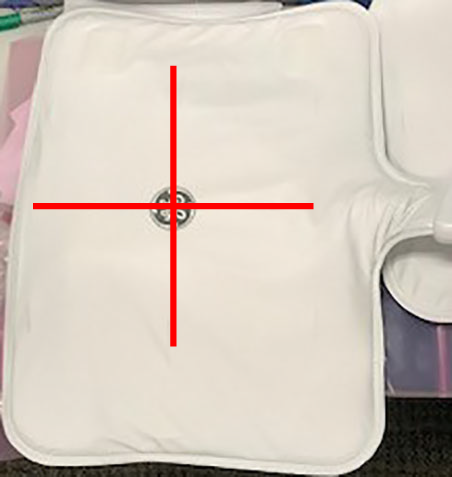
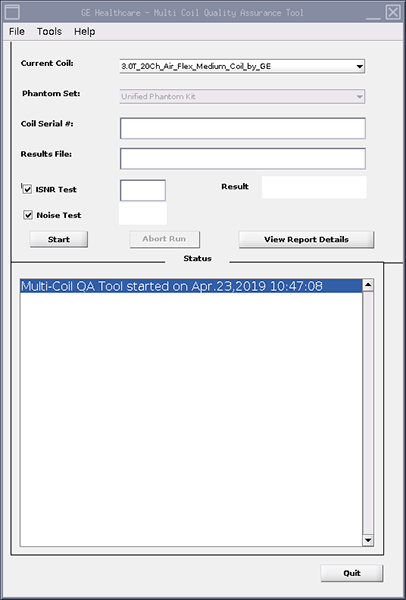
- Run the MCQA check.Note: Select 3.0T_20Ch_Air_Flex_Medium_Coil_by_GE (or equivalent platform option) in the Current Coil field.
Figure 7. MCQA tool menu