
- SIGNA™ Hero 3.0T Service Methods
- 5852800-8EN Revision 1.0
- 00000018WIA30A11E20GYZ
- id_131060597.2
- Jul 13, 2021 6:26:23 PM
Check Scan (Good-Bye)
Prerequisites
| Required persons | Preliminary requirements | Procedure | Finalization |
|---|---|---|---|
| 1 | Not Applicable | 15 minutes | Not Applicable |
About this task
This document details the “check scan” used at the conclusion of many procedures. This functional check assures the unit is in good clinical working order.
It is important to use a phantom with known geometry, such as the DQA Phantom, so the image can be analyzed for correct orientation.
Procedure
- Landmark on the center line of the DQA III phantom. The laser must be in the middle of the black circumferential line on the phantom. Press [Advance to Scan] button.
Figure 1. Phantom Positioning on Table 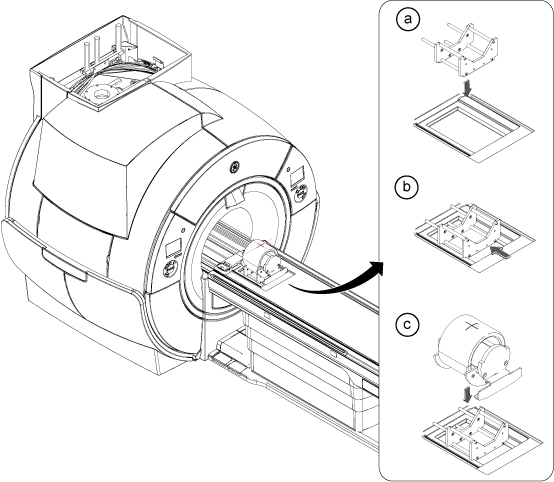
Create a New Worklist item.Notice 
- Click New Worklist .
Figure 2. New Worklist Icon 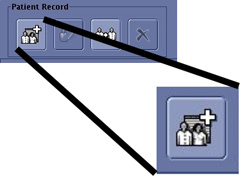
- Select a Patient ID workflow (other than geservice).
Figure 3. Entering a New Work List 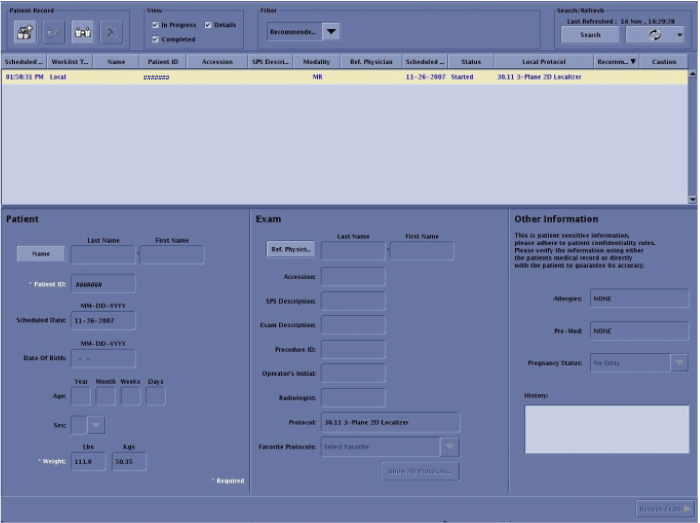
- When the Protocol Selector menu opens:
-
Select for the Protocol Library: GE.
Figure 4. Setting Protocols 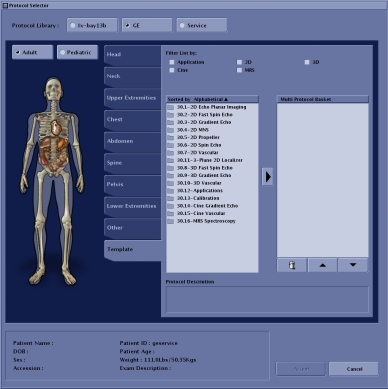
-
Select Adult.
-
Select the Template tab.
-
In the Template tab, select 3 - Plane 2D Localizer.
Figure 5. Protocol Selected 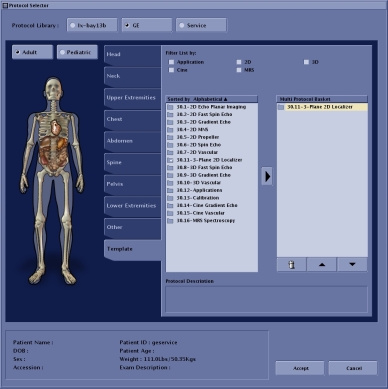
-
In the Template tab select the right arrow to move to the box on the right.
-
Click on Accept.
-
- Click New Worklist .
- Enter the following Image parameters.
Figure 6. 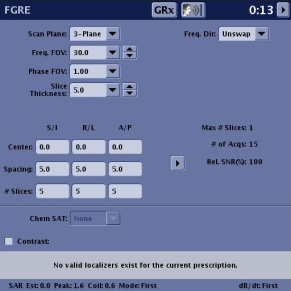
- Select Body Coil.
Figure 7. Coil Selection 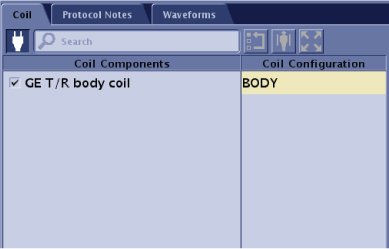
- Select Anatomical Region (Any) and click Accept.
Figure 8. Anatomical Region 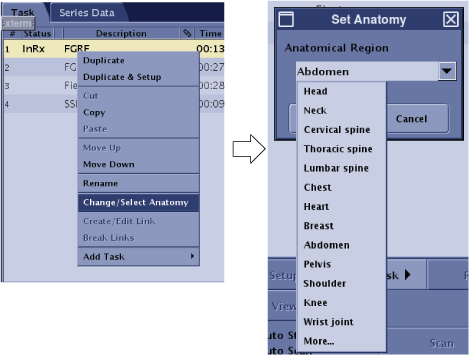
- Select Body Coil.
- Review the images and verify that you have the correct orientation.
Figure 9. Setup 
Finalization
No finalization steps.