
- Discovery MR750 3.0T System Service Methods
- 5690009-2EN Revision 4
- 00000018WIA30618840GYZ
- id_20151663.1
- Jul 13, 2021 3:56:30 PM
Setting up the 3.0T split-top head coil for MCQA
Prepares the 3.0T split-top head coil for running the Multi-Coil Quality Assurance (MCQA) tool.
Prerequisites
| Personnel requirements | |||
|---|---|---|---|
| Required persons | Preliminary requirements | Procedure | Finalization |
| 1 | - | 30 minuts | - |
Note: Coils do not ship with phantoms. Phantoms are included in the unified phantom set with the MR system.
| Tools and test equipment | |||
|---|---|---|---|
| Item | Quantity | Part number | Manufacturer |
| Head TLT Sphere for 3.0T (Pink Solution) | 1 | 2359877 | - |
| Head TLT Loader for 3.0T | 1 | 2360031 | - |
| Head Loader Positioner | 1 | 5110241 | - |
Procedure
- Place the head phantom, loader shell, and phantom positioner pad into the head coil.
Figure 2. Head TLT sphere phantom and loader placement 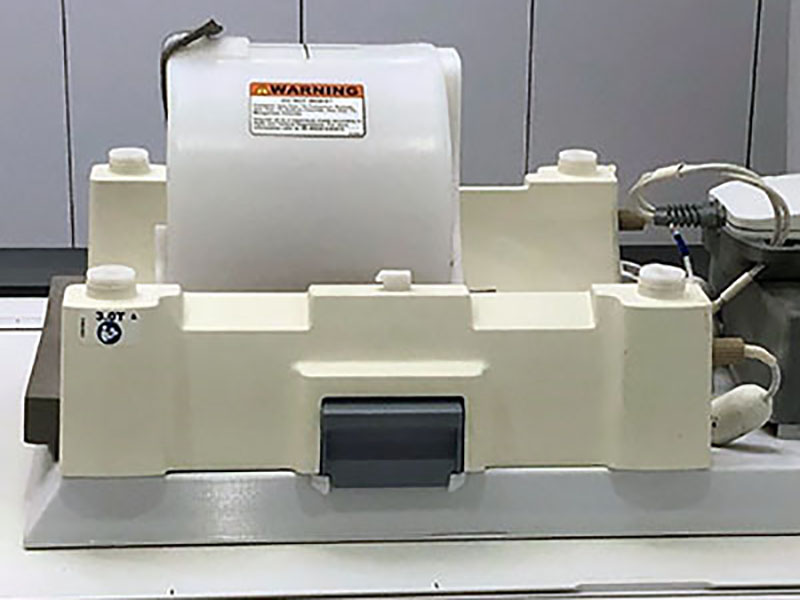
- Reattach the top half of the coil.
Figure 3. Split-top head coil top half attached 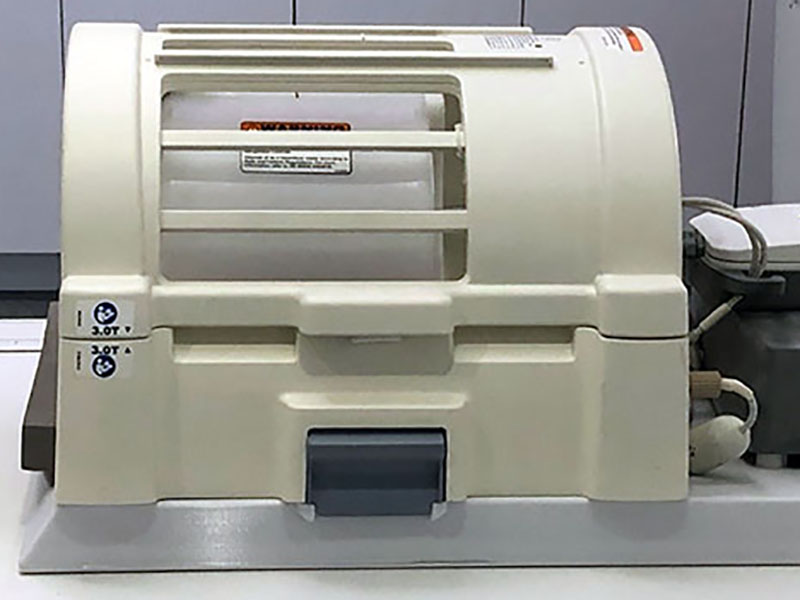
- Landmark the coil at the crosshair mark:
- Make sure that the wider portion of the coil is towards the scanner.
Figure 4. Split-top head coil landmark 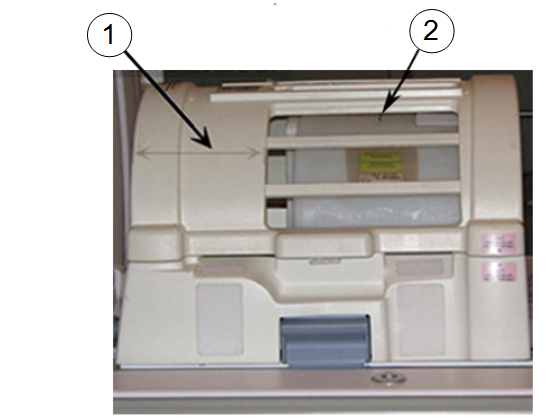
1 Wider portion of the coil 2 Loader shell cross mark
- Make sure that the wider portion of the coil is towards the scanner.
- Run the MCQA tool.
Figure 5. Multi-coil quality assurance tool menu 