Verifying Save Restore Media
Prerequisites
Verify SaveInfo Data is used to verify content of SaveInfo media to the original data on the system disk drive. The program firsts checks that all files are present on the SaveInfo media and then if check sums match.
Procedure
- Insert your already created SaveInfo DVD into the appropriate drive if it's not already there.
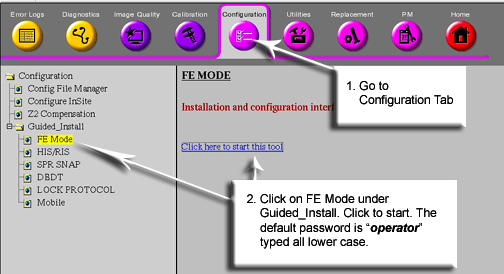
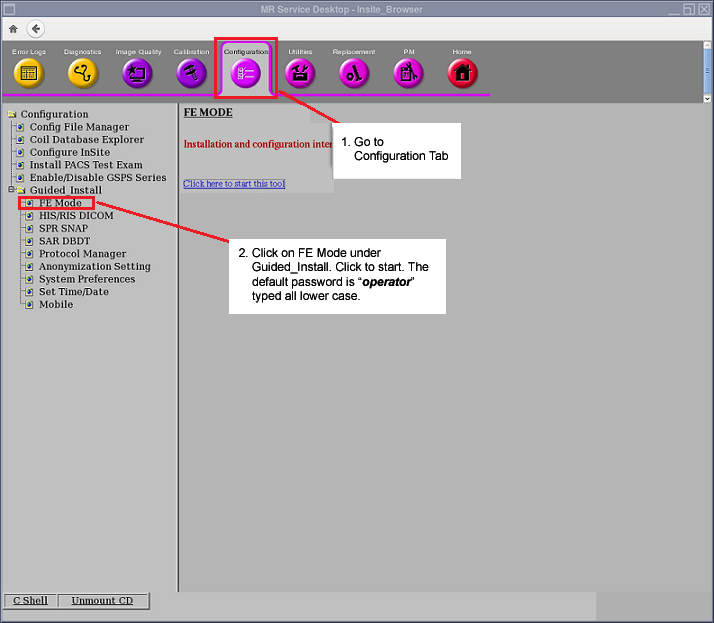
- At the host computer, go to the Service Desktop and open the
Service Browser if it's not already running and start the Guided Install
tool in FE Mode, Figure 1.
Figure 1. Starting Guided Install From The Service Browser
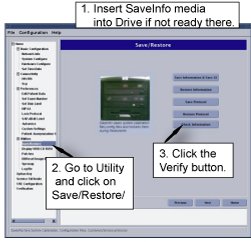
- In Guided Install, go to the Save / Restore screen and start
the verification process, Figure 2.
Figure 2. Starting SaveInfo Verification
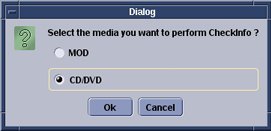
- The tool will then ask with a popup which media is being used
for SaveInfo. Answer CD/DVD, Figure 3.
Figure 3. Select SaveInfo Media
- The tool will then begin the verification of the data on the
media with that on the system hard drive. SeeFigure 4
Figure 4. Verification Wait Screen.
 If no media is present, the user will receive a error message at this time. See Figure 5
Figure 5. Error Message
 While the media is being checked, the popup shown in Figure 6will be displayed on the screen. The run will take about 2 minutes.
Figure 6. Verification Wait Screen.
- Once verification is complete, the system will ask if you want
to view the log. See . Click the Yes button, Figure 7.
Figure 7.

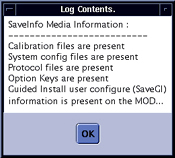
- A log will be shown that will list content found and it . See Figure 8. If any errors are reported, it his highly suggested that a new
SaveInfo be created.
Figure 8. SaveInfo Verification Log
1 Finalization
Procedure
- Store Save/Restore media in a safe place.
- Do a test scan before customer turnover to ensure proper operation.