Express Coil: Head Neck Array Coil Latch Replacement
Prerequisites
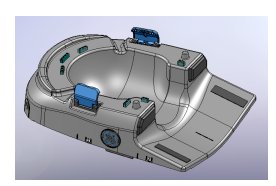
Overview
Follow this process to replace the Latch assembly.
1 Anterior Latch replacement
Procedure
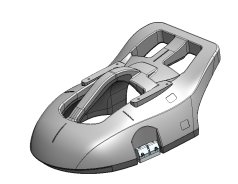
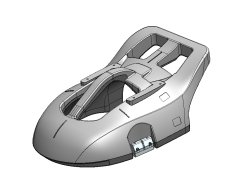
- Take the HNU Anterior Assembly.
Figure 1.
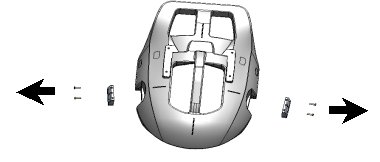
- Detach existing Latch Clip assy (2Nos) # 2422855.
Figure 2.
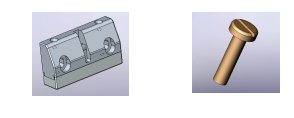
- Take new Latch Clip assy (2Nos) # 2422855.
Figure 3.
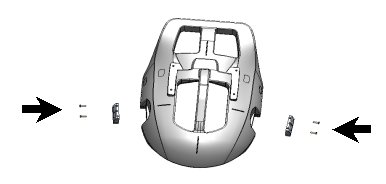
- Attach the new Latch Clip assy (2Nos) # 2422855.
Figure 4.
- HNU Anterior Assembly # 5344765 with replaced new latch assembly
is ready for use.
Figure 5.
2 Posterior Latch replacement
Procedure
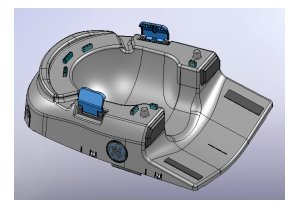
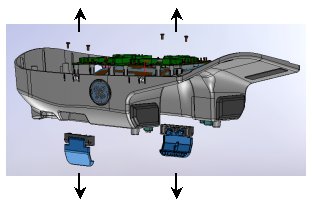
- Take the HNU posterior Assembly # 5344780.
Figure 6.
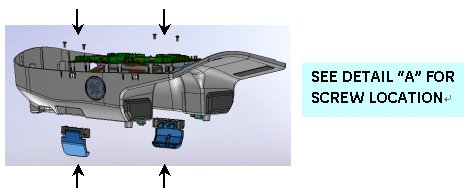
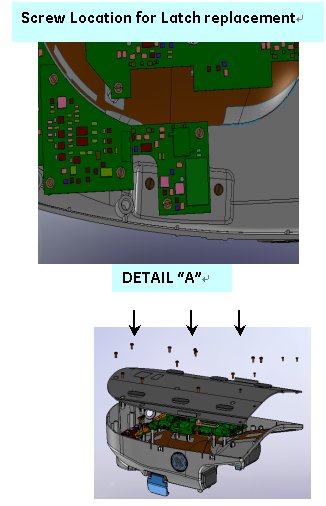
- Remove HNU Posterior Bottom # 5334673 by removing M5 Screws
(12 Nos) and M4 Screws (4Nos) using screwdriver.
Figure 7.
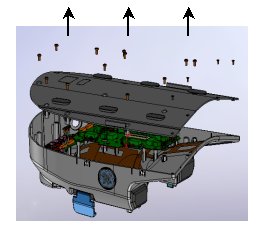
- Remove HNU Posterior Bottom # 5334673 by removing M5 Screws
(12 Nos) and M4 Screws (4Nos) using screwdriver.
Figure 8.
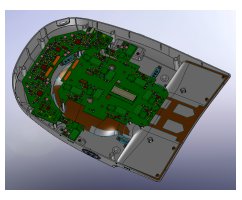
- Remove the existing Latch assembly # 2422854 (2Nos) by removing
M4 Brass screws (4Nos) using screwdriver.
Figure 9.
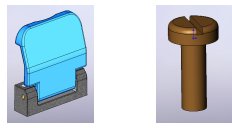
- Take new Latch Clip assembly (2Nos) # 2422854 and M4 Brass screws
(4Nos) from the FRU Kit.
Figure 10.
- Attach the new Latch assembly # 2422854 (2Nos) by fixing Tightly
the M4 Brass screws (4Nos) using screwdriver.
Figure 11.
- Attach HNU Posterior Bottom # 5334673 by Tightly fixing M5 Screws
(12 Nos) and M4 Screws (4Nos) using screw driver.
Figure 12.
- HNU Posterior Assembly # 5344780 with replaced new latch assembly
is ready for use.
Figure 13.
3 What to do next
Finalization
Ensure that the anterior and posterior sections of the coil Latch smoothly, firmly latched and are functioning properly.