1.5T HD Shoulder Array Cable Replacement
Prerequisites
Follow this process to replace the cable assembly on the 1.5T HD Shoulder Array by GE/USAI (M3335MN).
Procedure
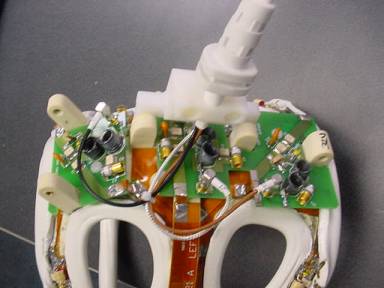
- Remove the coil covers by taking out the screws located in the covers (six on right side, three on left).
- Remove the cover from the shoulder coil
Figure 1. Remove the cover
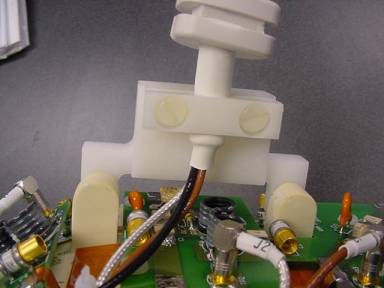
- Remove the two screws that hold the cable clamp in position (cable is
captured beneath).
Figure 2. Ttwo screws that hold the cable clamp
- Remove the three SMB connectors located on the tuning boards (TP1, TP2, TP3).
- Remove the cable assembly from the coil.
- To install the new cable assembly, start by capturing the cable beneath the cable clamp and install the two screws removed in Step 3
- Connect the SMB connectors to the correct PCB (Black RF-TP1, Silver RF-TP2, Brown RF-TP3).
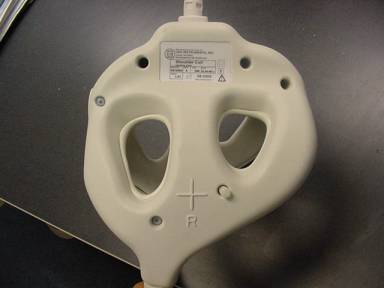
- Install the covers and replace the screws removed in Step 1. Make sure
to capture the strain relief inside of the covers.
Figure 3. Install the covers
Finalization
No finalization steps.