- Topic ID: id_15460713
- Version: 4.0
- Date: Jan 20, 2020 8:33:03 PM
(09MW29.14 or Earlier) System State Save Restore
Prerequisites
Overview
The following procedures describe and illustrate the System State save and restore process. It is important to follow the steps listed below in order.
1 Save System State
Before proceeding with Save System State:
-
Use GE Healthcare approved media.
-
Make sure to have formatted DVD-RAM. See Peripheral Tower Functional Test for DVD-RAM disk initialization.
-
Make sure the DVD-RAM disk is not write-protected.
Procedure
- Insert the System State DVD-RAM optical media into the Peripheral
Tower DVD-RAM drive.note:
Use GE Healthcare approved media.
- Wait until the DVD-RAM drive is ready (i.e., front panel DVD drive LED is no longer lit).
- Select: [Service] icon to access the Common Service Desktop (CSD).
- Click OK as required.
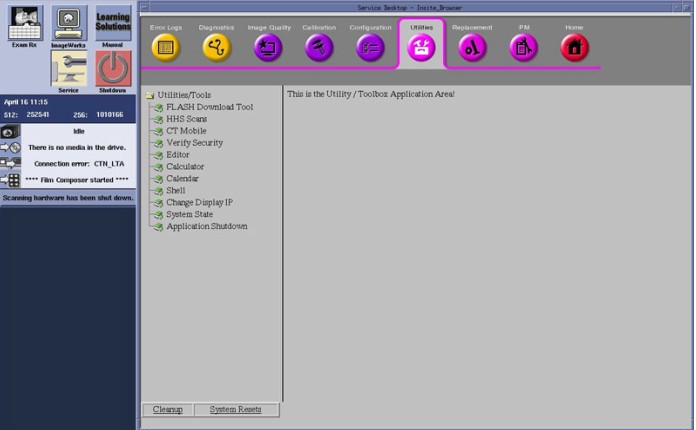
- Select: Utilities tab.
Figure 1. Common Service Desktop (CSD), Utilities Tab
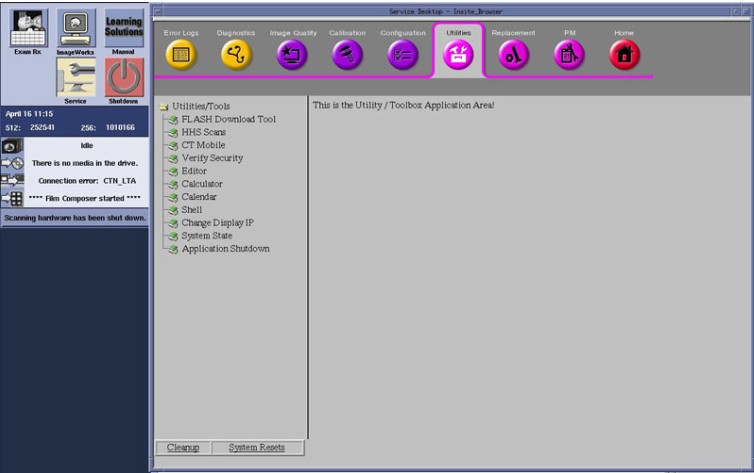
- Select: System State. The System State
Save/Restore screen appears.
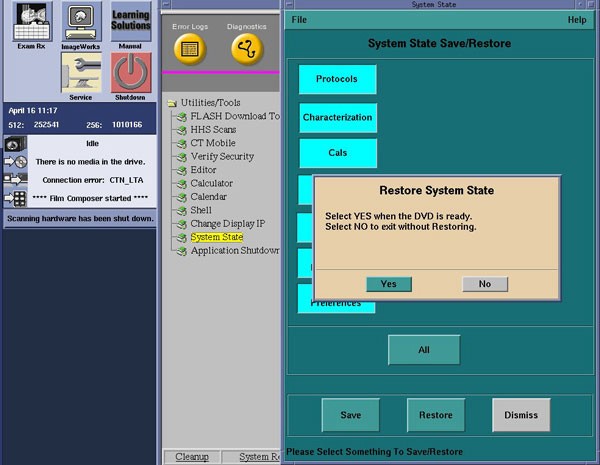
Figure 2. System State Window
- Select All.
- Select [Save]. The Restore System State pop-up window appears.
- Select [Yes] in the Restore System State pop-up window.
Figure 3. Restore System State Pop-up Window
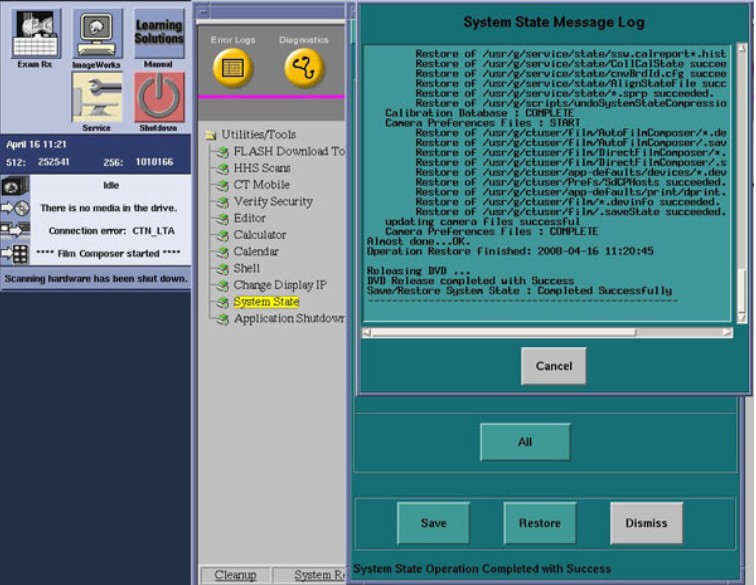
- Verify that the "Save" of System State was successful. A message
at the end of the System State Message Log Window should state: Save/Restore
System State: Completed Successfully.
Figure 4. System State Message Log Window
- When completed, select [Cancel], then [Dismiss].
- Close the Common Service Desktop window at the upper left corner of the screen.
- Remove System State DVD-RAM disk from the DVD Peripheral Tower. Label DVD-RAM disk appropriately and place in a safe location.
2 Restore System State
Procedure
- Insert a previously saved System State DVD-RAM into the SCSI Tower DVD drive.
- Wait until the DVD drive is ready (i.e., front panel DVD drive LED is no longer lit).
- Select the [Service] icon to access the CSD (Common Service Desktop).
- Select: [Utilities].
- Select: [System State]. The System State Save/Restore screen appears.
- Select [All].
- Select [Restore]. The Restore System State box appears.
- Select [Yes].
- Verify that the "Restore" of System State was successful. If not, restore the System State again. A message at the end of the Restore should display: Save/Restore System State Completed Successfully.
- When completed, select [Cancel].
- Select [Yes] when the Scan Hardware Reset pop-up appears.
- When completed, select [Dismiss].
- Remove System State DVD-RAM disk from the DVD Peripheral Tower and place in a safe location.
- Reboot the Operators Console by selecting [Shutdown] Desktop,
then select [Restart] in the Attention Window.
Figure 5. System Shutdown Attention Window

3 Finalization
Procedure
- Verify Save System State
Insert System State DVD-RAM disk in Peripheral Tower. Perform Functional Checks>Console>Peripheral Tower Functional Test, DVD-RAM Checks and confirm files have been saved to disk.
- Verify Restore System State
-
Visually verify that the system has the correct configuration and preference settings by opening a Terminal Window.
-
Execute the system configuration script “reconfig”.
note:See System Configuration for detailed instructions on running “reconfig.”
-
Visually verify that Systems Settings and Preferences have been set correctly, comparing System Configuration and Preference settings with Console Information Sheet.
-