- Topic ID: id_17479489
- Version: 2.0
- Date: Nov 19, 2019 11:09:25 PM
Axial Drive Noise Filter Replacement
Prerequisites
Overview
This procedure describes the steps necessary to install Axial Drive noise filter into the Danaher axial drive assembly.
1 Preparation for Replacement
Procedure
- notice
- Remove gantry right side cover and disable axial drive and HVDC
service switches from the service switch panel.
Refer to Replacements > Gantry > Enclosure > Gantry Side Covers Removal and Re-Install.
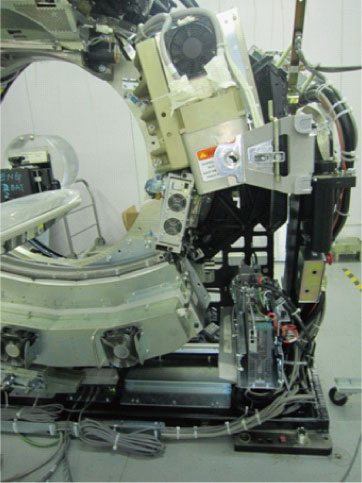
- Position the tube at 4 o'clock position for easy access to brake assembly.
- Disable the 120 VAC service switch. Remove all system power at the Main Disconnect panel and use proper Lockout/Tagout procedures.
- Remove the gantry left side, top and front covers. Connect the cover E-stop circuit to the terminators on the gantry.
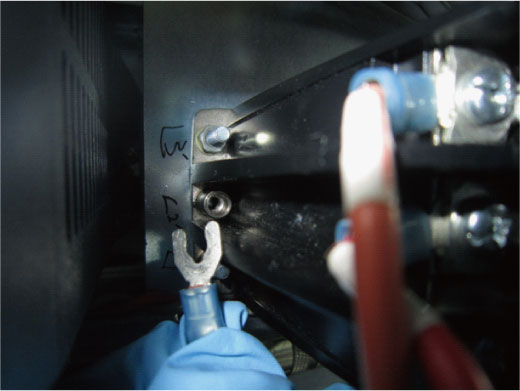
- Remove 3 cables (L1, L2, L3) from each side of the filter.

- Remove the ground cable.
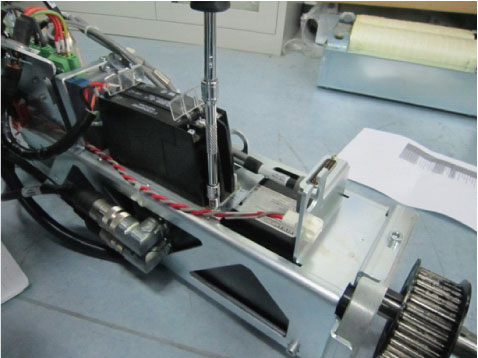
- Remove 4 nuts use 7mm hexagon socket wrench, then remove the
filter from the axial driver assy.
 |
2 Reassemble gantry
Procedure
- Fasten the side safety cover on the tilting assembly if loosened or removed during previous steps.
- Install the gantry front cover, top and left side covers.
- Turn on the Axial drive, HVDC and 120VAC service switches from the service switch panel.
- Install the gantry right side.
3 Finalization
Procedure
- Run the System Scanning Test from the Functional Checks procedure list.