- Topic ID: task_b3k_wdn_2jb
- Version: 3.0
- Date: Dec 29, 2020 12:58:48 AM
Install Software Options by eLicense
Prerequisites
Overview
This procedure describes how to install eLicense option keys to CT systems.
1 Generating eLicense
Procedure
- Obtain the Host ID of the host computer by executing the check_config command in Unix shell.
- On your laptop PC, connect to the eLicense website at http://elicense.gehealthcare.com/elicense/
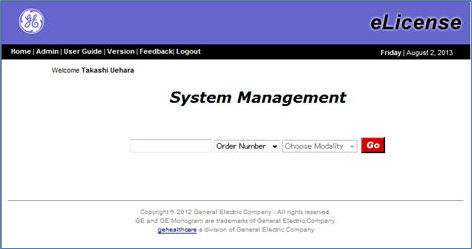
- Login with your SSO ID and password. The eLicense home page displays.
Figure 1. Login Screen
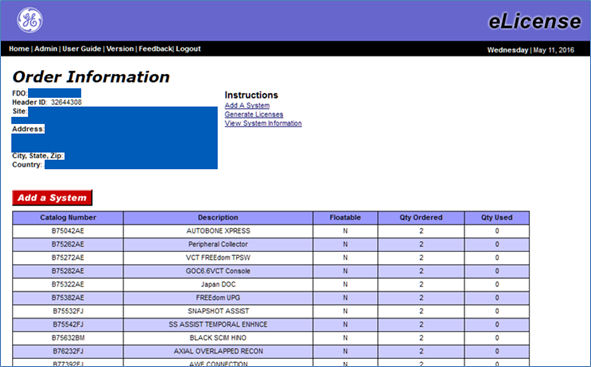
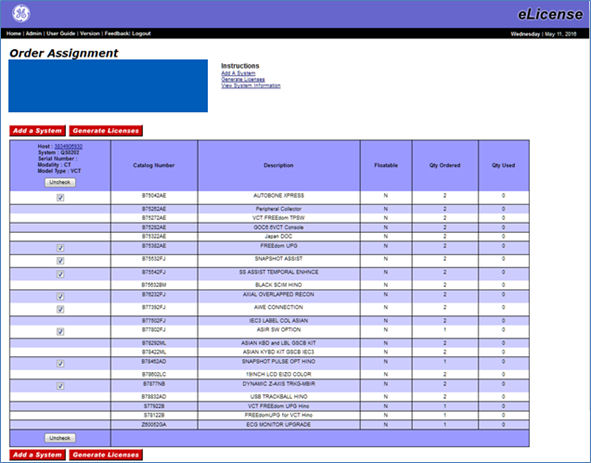
- Enter the GON (Global Order Number) and click Go. The Order Assignment screen will be displayed.
Figure 2. Order Assignment Screen
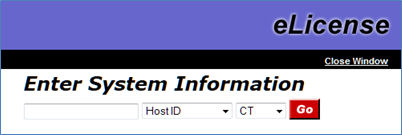
- Click Add a system button. Enter System Information window opens. Enter Host ID and click Go.
Figure 3. Enter System Information Window
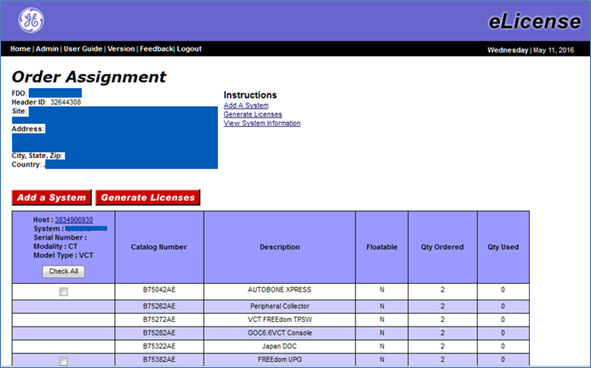
- Enter the System ID and click Continue in the next screen. The new column is added with system information at the left.
Figure 4. Order Assignment Screen with System Information
- In the Order Assignment screen, click Check All button and Generate Licenses Button.
Figure 5. Generate Licenses Button on Order Assignment Screen
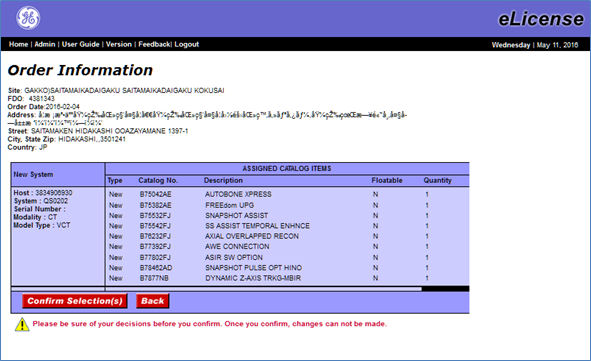
- Confirmation screen appears. Click Confirm Selection (s) button if the information is correct.
Figure 6. Confirmation Screen
- If the eLicense keys are successfully generated, the check boxes are changed to key icon. Click the Host link.
Figure 7. Key Icon on Order Assignment Screen

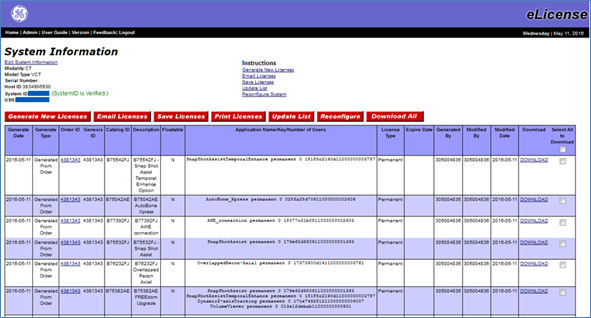
- Detailed eLicense information is displayed.
Figure 8. eLicense Information Screen
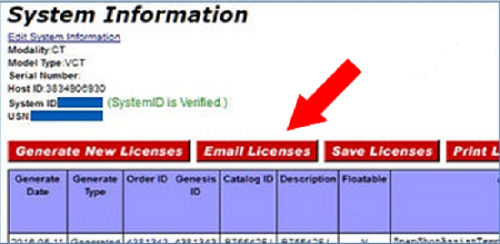
- Click Email Licenses button. A license.dat file will be saved to your PC.note: Do NOT click Save Licenses button when generate e-license.
Figure 9. Email Licenses Button
- Copy the license.dat file to the USB disk.note:
- Don’t modify the license.dat file content manually after generated from website.
- It support FAT32 format for USB disk.
- It can save license.dat file and system state in the one USB disk.
2 Installing eLicense Key
Procedure
- Open Common Service Desktop and find Configuration Tab. Click Install Options and a window as Figure 10 depicts will display.
Figure 10. Install Options Window
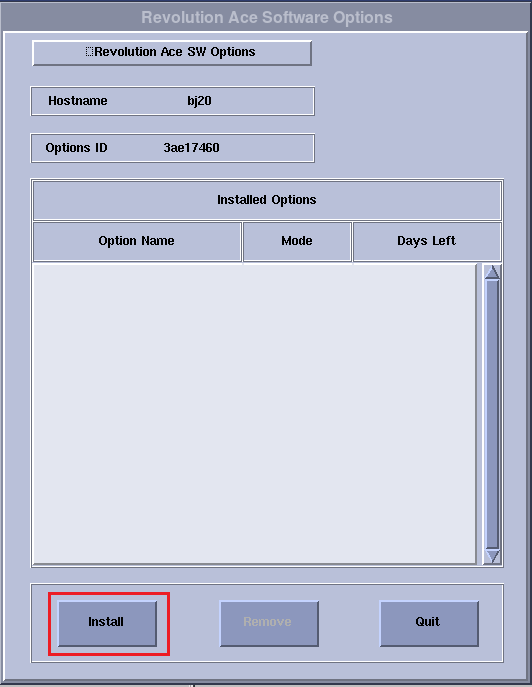
- Click Install button and a selection information will pop up as Figure 11 depicts.
Figure 11. Selection mechanism Window
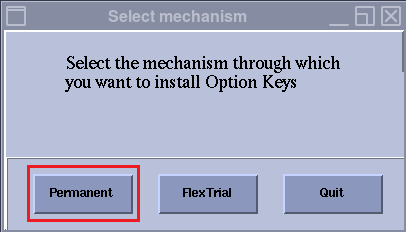
- Click Permanent button and another window will display as Figure 12 depicts.
Figure 12. Select Device Window
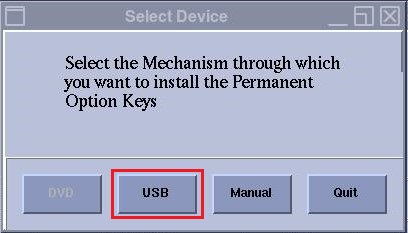
- Click USB button and an information window will display.
Figure 13. SwOptions Media information Window
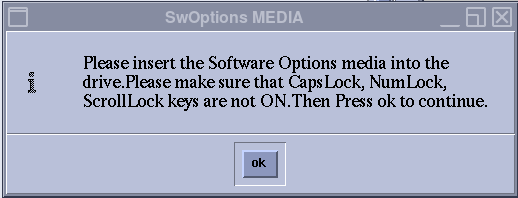
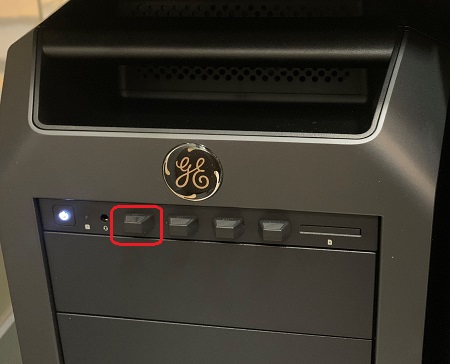
- Insert the USB memory which contains the license.dat file into the left USB port on Host computer (See Figure 14), and click ok button displayed in Figure 13.
Figure 14. USB Port
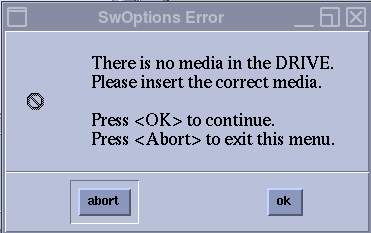
- If there’s no valid USB memory plugged in, system cannot detect USB memory and will pop up an error information as Figure 15 depicts. Check and insert a valid USB memory and click ok button.
Figure 15. No-media Error Window
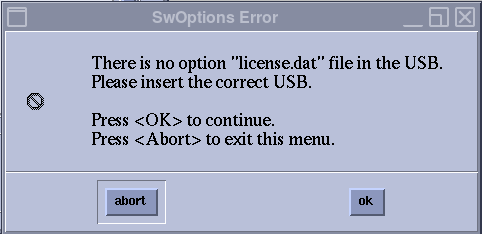
- Otherwise, if there’s no valid license.dat file in the USB memory, system will pop up another error information as Figure 16 depicts. Make sure the license.dat file is valid and click ok button.
Figure 16. No-file Error Window
- If there’s no valid USB memory plugged in, system cannot detect USB memory and will pop up an error information as Figure 15 depicts. Check and insert a valid USB memory and click ok button.
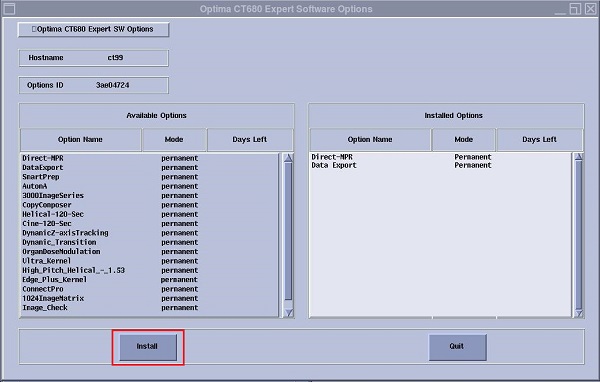
- If USB memory and license.dat file are valid, system will recognize all available Options automatically with popping up a window as Figure 17 depicts. The available Options is listed at the left, and the installed Options is listed at the right.
Figure 17. SwOptions install Window
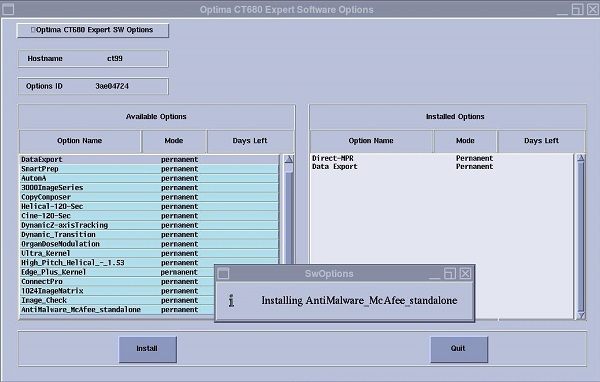
- Select the Options you want to install and click Install button. The selected Options will be installed one by one, as Figure 18 depicts.note: Some options will ask you to confirm the settings. Check or enter the appropriate parameters.
Figure 18. Selected Options installing Screen
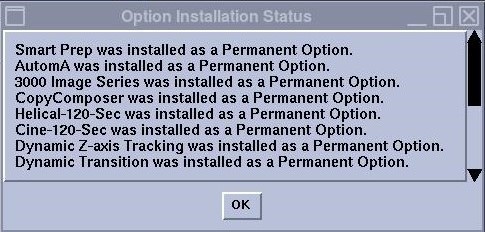
- After all selected Options are installed, a message window as depicts will pop up.
Figure 19. Option Installation Status Window
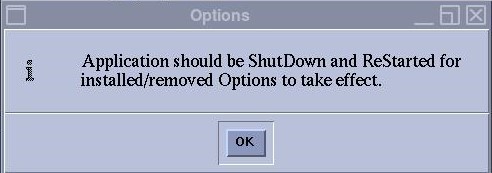
- Click OK button and a message window as Figure 20 depicts will pop up. Then click OK.
Figure 20. Message Window
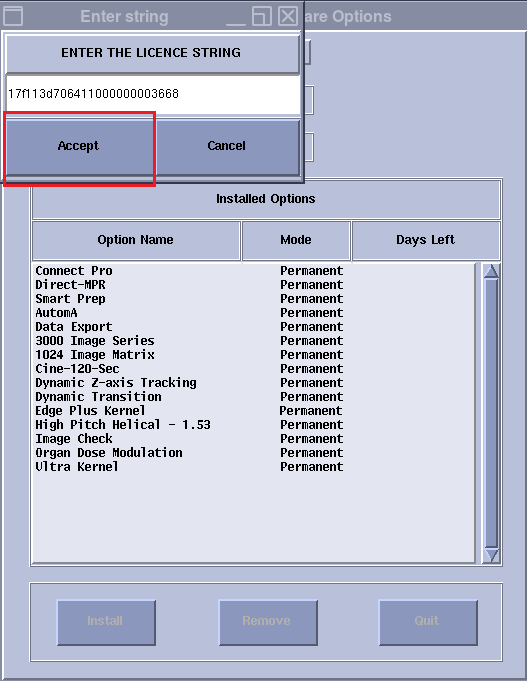
- Shutdown and restart Application.note: Some option key installation may fail due to dependency to other options. If failed, try manual installation by clicking Manual button displayed in Figure 12. Then a window as Figure 21 depicts will pop up to let you input the license string. Click Accept button when finish inputting.
Figure 21. Enter string Window
3 Finalization
Procedure
- After application start up, check that all options are installed successfully by Verify Options in Common Service Desktop - Configuration tab.