- Topic ID: id_15460506
- Version: 2.0
- Date: Nov 8, 2018 1:37:03 AM
Network Time Protocol (NTP) Setup
Prerequisites
Overview
The following procedure describes and illustrates connecting a system to a hospital or clinic Network Time Protocol (NTP) Server.
NTP is a protocol for synchronizing the clocks of computer systems over a network. On a Local Area Network (LAN), NTP can be used to synchronize all clocks to the same time scale. Below are a couple of the benefits to connect the system to a NTP server:
-
Synchronize time between multiple systems (CT to CT)
-
Synchronize time between system and data storage (CT to PACS)
-
Maintains time to prevent any system time jumps or discrepancies.
It is best to first discuss with the site's IT Department to determine if there is a specific Service IP Address preferred to connect to (e.g. same IP Address as PACS or other CT systems). If an IP Address is provided, skip to step 2.
Procedure
- Using a PC connected to the site's local network, determine
the NTP server available.
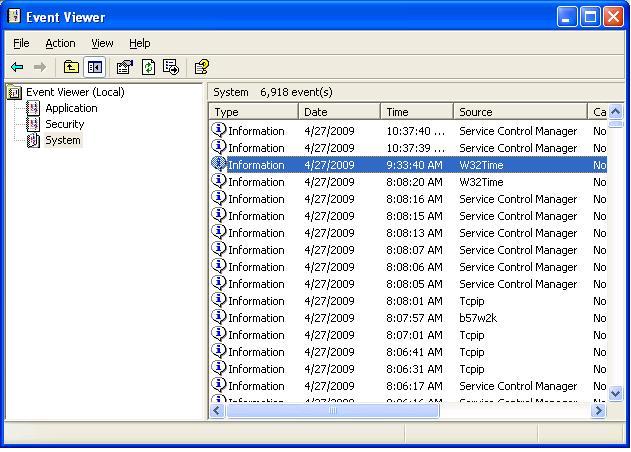
- On LAN connected PC, select START button, then Run.
- Type: eventvwr.mscENTER
- Select System
- Double-click W32Time
Figure 1. Event Viewer
- In the Event tab, look in
the Description section
Figure 2. Event Properties

- Record IP Address from Description.
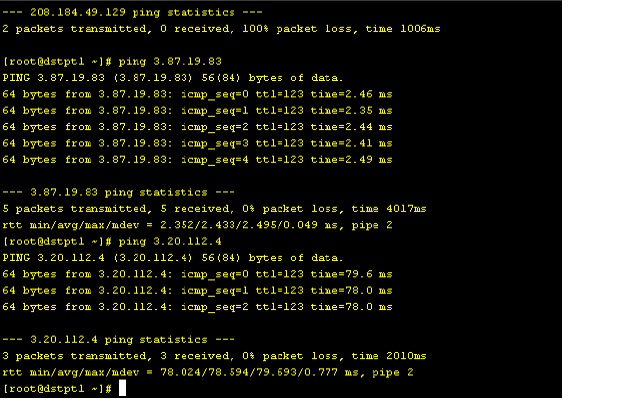
- Ping the IP Address on the system.
- Open a Unix shell on the scanner.
- Type: ping 3.57.52.193 ENTERnote:
Use the IP Address you recorded previously.
Figure 3. Ping
- Perform system config to update the scanner to use NTP.
- Become root:
-
Type: su -ENTER
-
Enter root password.
-
- Type: reconfig
- Select CONFIG
- Select NETWORK tab.
- Enter the IP Address previously recorded in the NTP section.
- Become root:
Finalization
No finalization steps.