- Topic ID: concept_qqy_tmw_y3b
- Version: 3.0
- Date: Dec 29, 2020 1:02:40 AM
HP Z8G4 BIOS Flash Procedure with USB Device
This procedure can only be used for HP Z8G4 host computer.
- Power on the console.
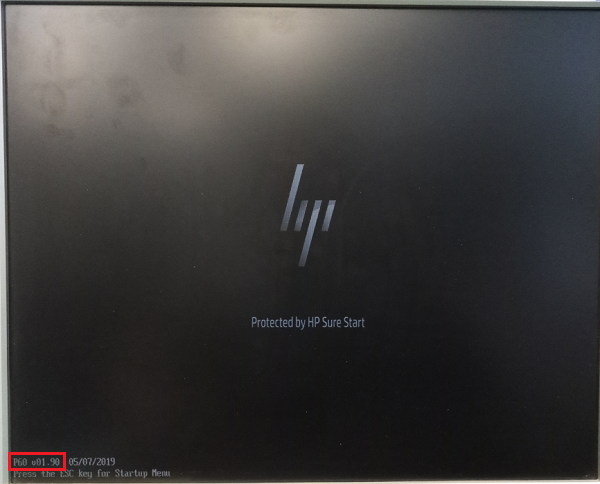
- Press F10 or Esc as soon as the display is active and the HP logo displayed on the screen and check the current BIOS version from the screen left bottom at the same time.
Figure 1. BIOS Version
 note: Before flash the new BIOS, remember save the BIOS customized configurations with USB device according to HP BIOS Customized Configuration Save and Restore Procedure with USB Device.
 - Get the .bin file according to the current BIOS version from MWS as below example shows.

- Copy the .bin file to the USB device: EFI/HP/BIOS/New.
- Power off the host computer.
- Insert the USB device into the host computer.
- Power on the host computer and press F10 or Esc as soon as the display is active and the HP logo displayed on the screen.
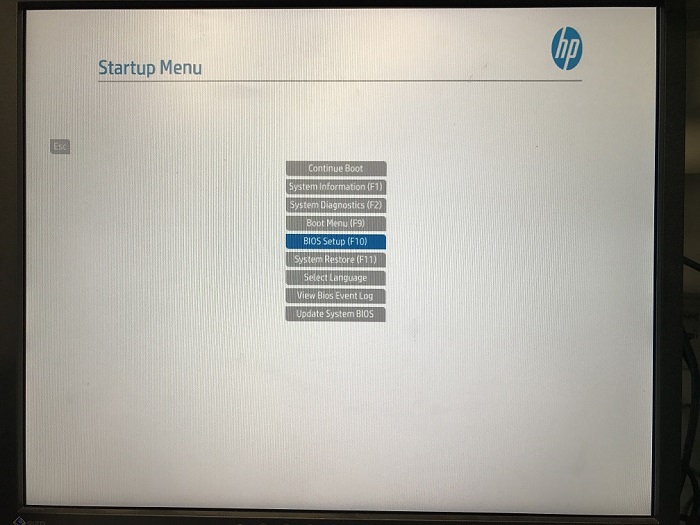
- The Startup Menu appears, use the up and down arrow keys to select BIOS Setup.
Figure 2. Startup menu
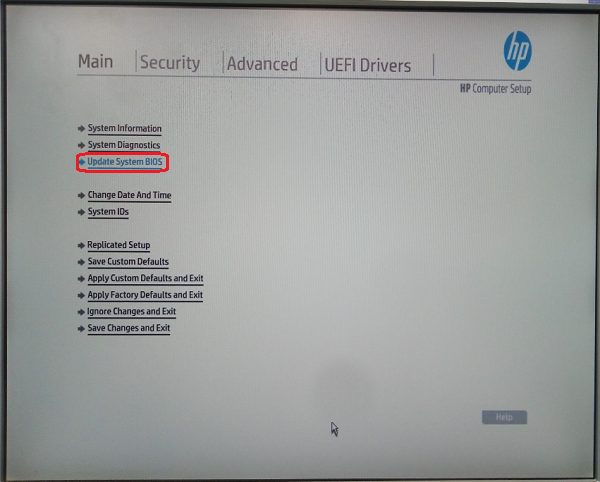
- In the Computer Setup (F10) Utility menu, select Main > Update System BIOS, and then press Enter.
Figure 3. Update System BIOS
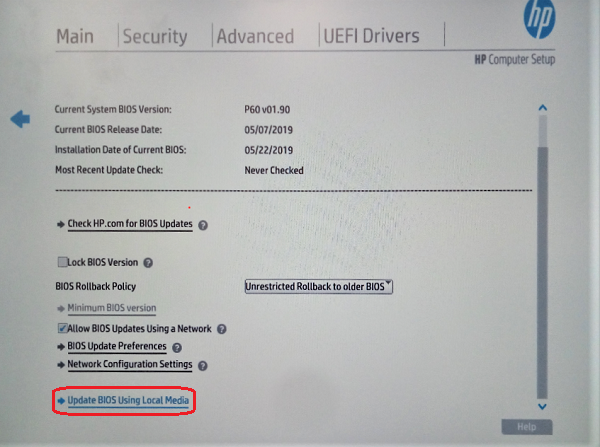
- Select Update BIOS Using Local Media, and then press Enter.
Figure 4. Update BIOS Using Local Media
- If a USB device is found, the System Bios Update screen appears (example).
Figure 5. System BIOS Available (Example)
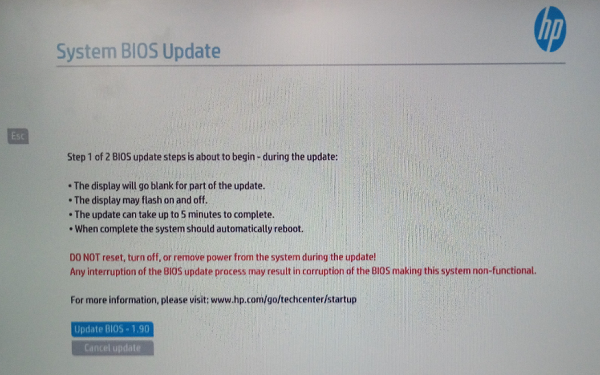
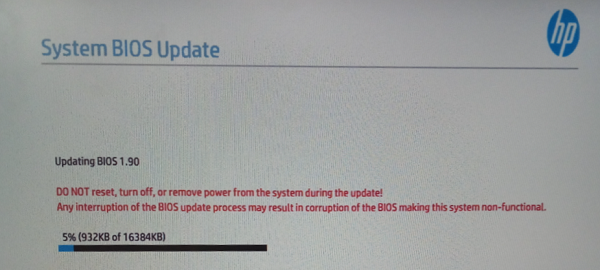
- Select Update Bios – x.xx, the update procedure is going (example).
Figure 6. Updating BIOS (Example)
- When the System BIOS update is completed, the “Upon restarting, the screen may be blank for a few minutes and various LED lights may flash. Please do not attempt to interrupt or power during this time.” appears. Click Reboot to restart the Host PC.
- Re-check the current BIOS version from the screen left bottom.